
1.Config Sophos XG
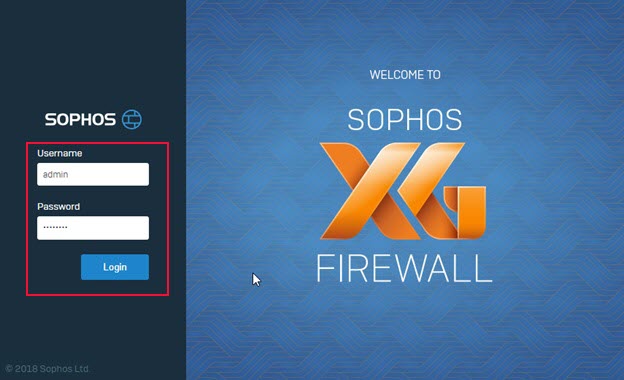
1.1. Login web administrator.
– Login in web administrator by https://<Please change your owned ip>:4444
- Username : admin
- Password: admin
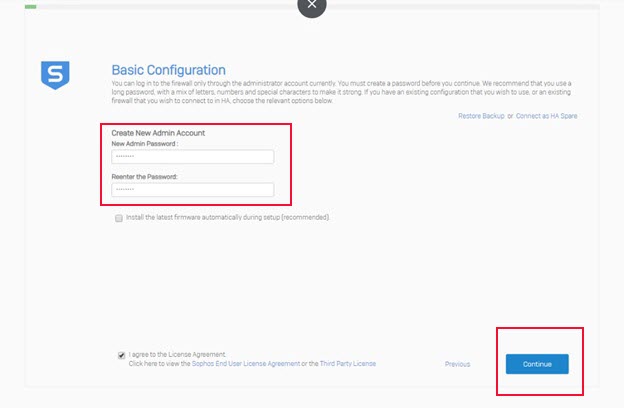
1.2. Active device.
– After login in web administrator, we will continue to config the active device Sophos XG as follows.
– Click Start Begin -> Enter new password in New Password Admin and Reenter the Password -> Click Continue
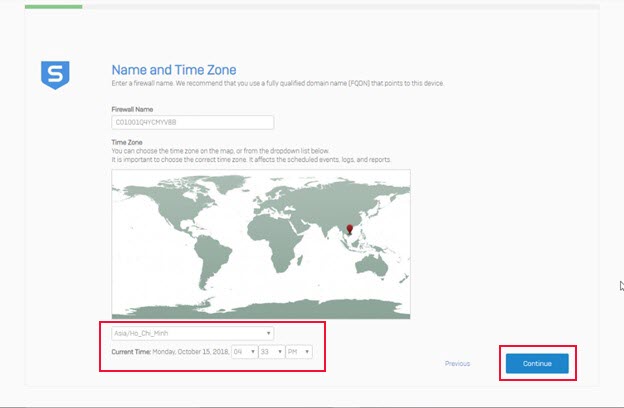
– Select the zone you want -> Click Continue.
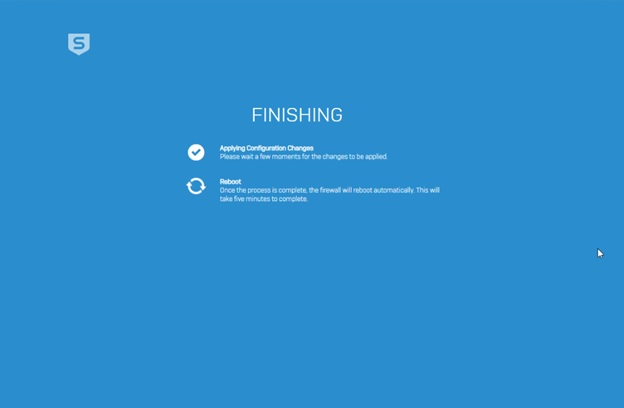
- In here, there are two select install the firewall
- Firstly: Click Skip to Finish, you will config interface, rule internet access from LAN to WAN, DHCP,DNS….
- Finally, The port settings, network protection, rules are already installed, just click continue and click finish to complete.
1.3. Selection Skip to Finish and Config (You can select Continue to configuration wizard as 1.4 ).
– In here, click Skip to Finish -> Click Finish to complete installation
– Then, enter Username as “admin” and new password just set in step above.
– This is web administrator display to management firewall Sophos XG.
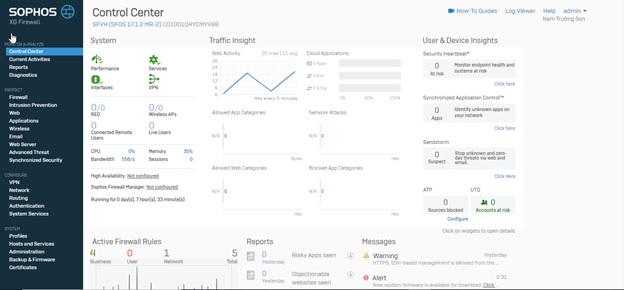
– Click Firewall -> Add Fire Rule to configure the policy that you want.

– There are two options as User/Network Rule and Business Application Rule
- User/Network Rule: Create Policies for Network, User, Access Internet, …..
- Business Application Rule: Create policies to protect Application (HTTP, Email Client), Facebook ….
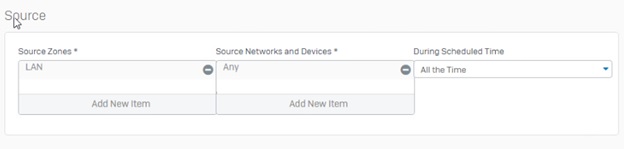
– These are the parameters in the User / Network Rule (This rule accept User in LAN Zone access internet to WAN Zone)
- Rule Name, Description, Action (include Accept, Drop, Reject)

- Declare Source information
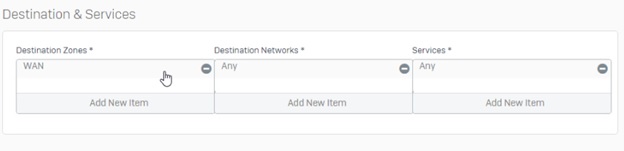
- Declare Destination information
- User / Group identity is allowed or not allowed (Deselect Match Known users to accept any users)
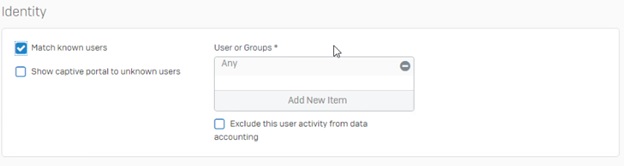
– Click Save to Save the policies.
– Click Network, this is where the network port configuration, DHCP, DNS , Zone,…..
– Click Network -> Interface, config Interface as picture:

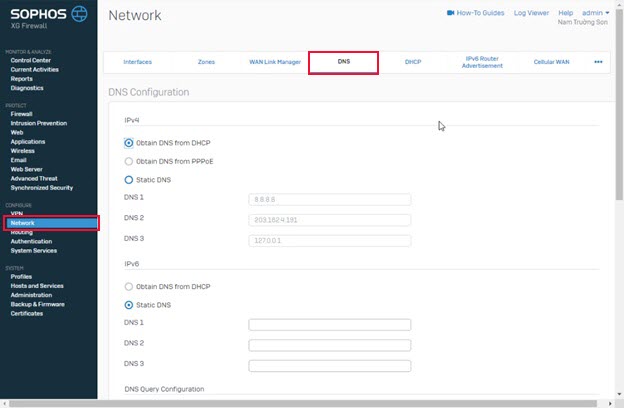
- Click Network -> DNS, config DNS as picture:
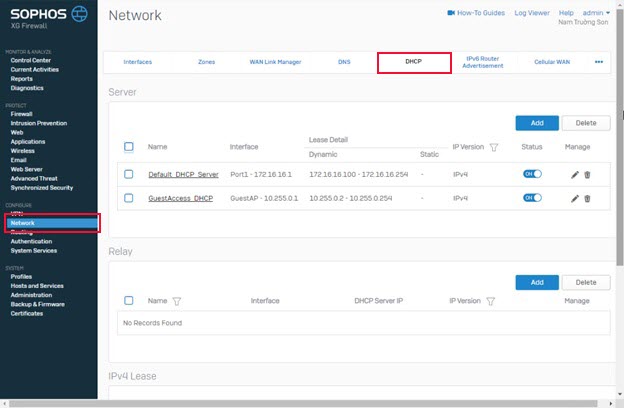
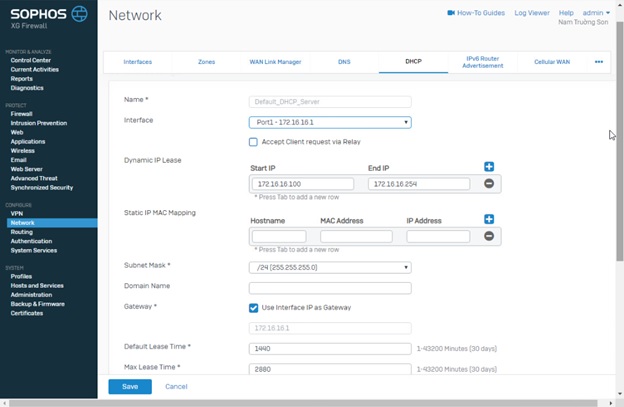
- Click Network -> DHCP, config DHCP as picture:
1.4. Selection Continue and config (Config by Wizard).
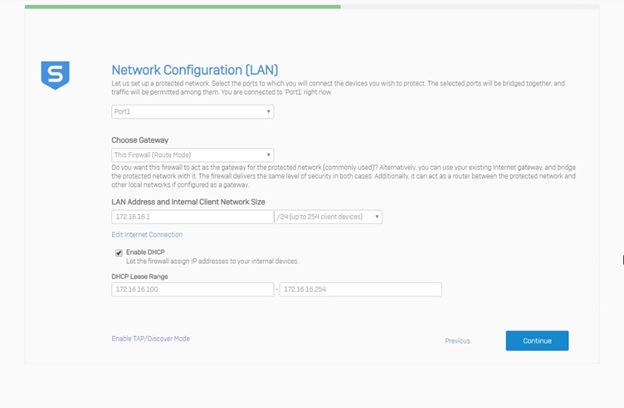
– In Network Configuration, Check the LAN interface configuration (Can change IP and Deselect Enable to turn off DHCP), click Continue:
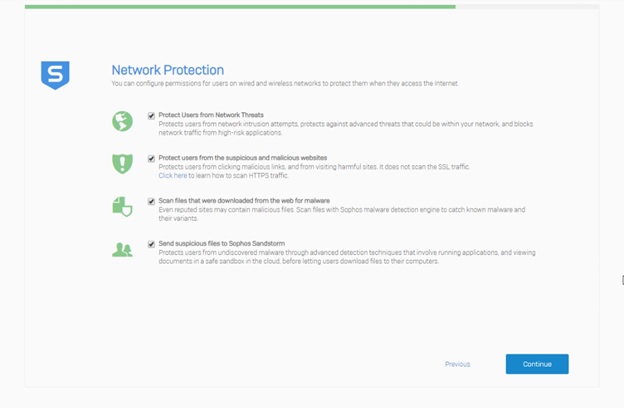
 – In Network Protection, you can select all functions or select function you want -> Click Continue.
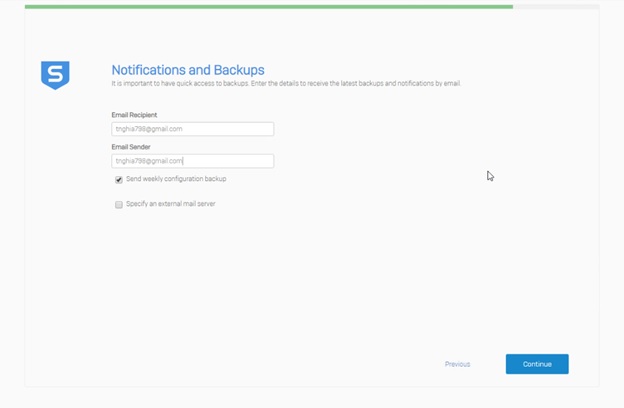
– In nofication and backup, enter email address – > Click Continue:
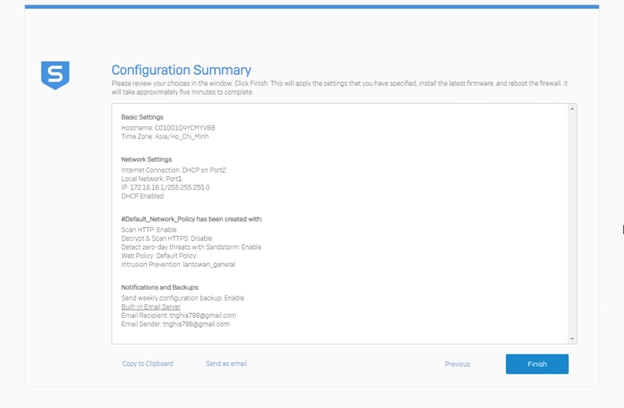
– Finally, Click Finish to complete the installation process.

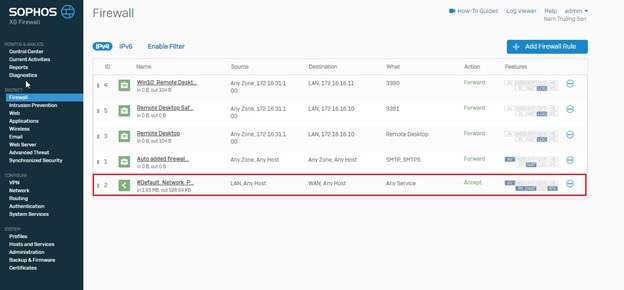
– With this option, after login to the web admin, the Rule Accept User in Lan access internet was created in Firewall -> #Default_Network_Policy is name of that rule.
Leave a Reply