
Overview
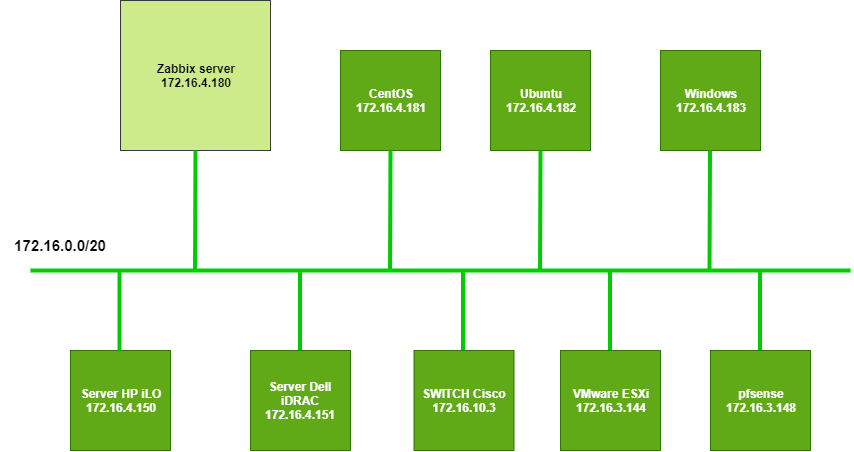
For small to medium-sized systems, the use of Pfsense firewall is heavily used in various network models, easy to configure and management. And monitoring the operation of the Pfsense firewall is also import. Article guide How to user Zabbix for monitoring
Diagram
How to configure
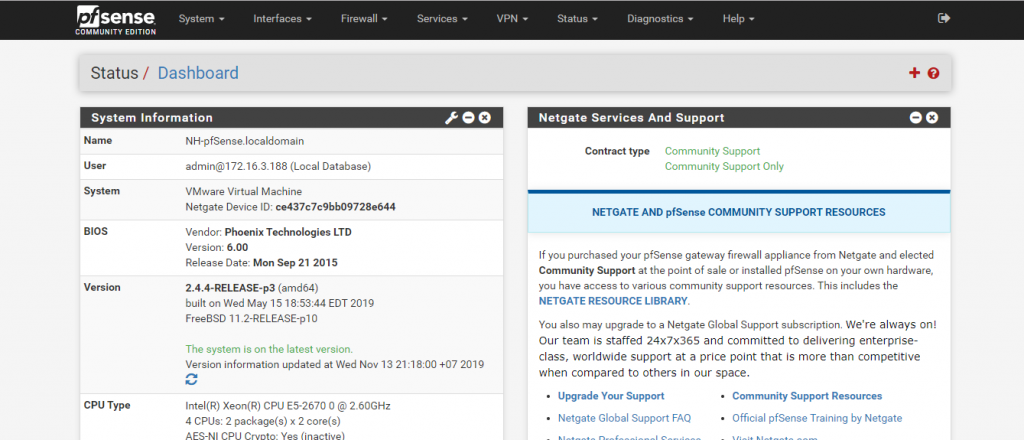
- Log in to Pfsense by Admin account
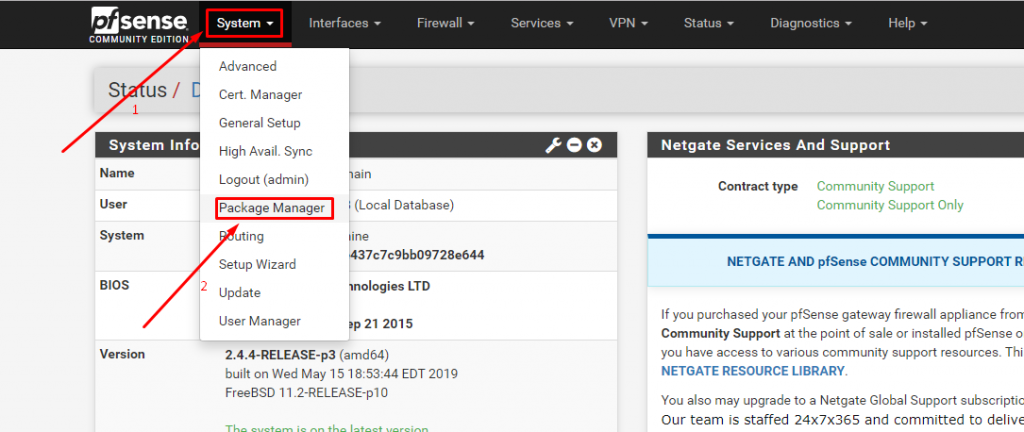
- Go to System -> Choose Package Manager
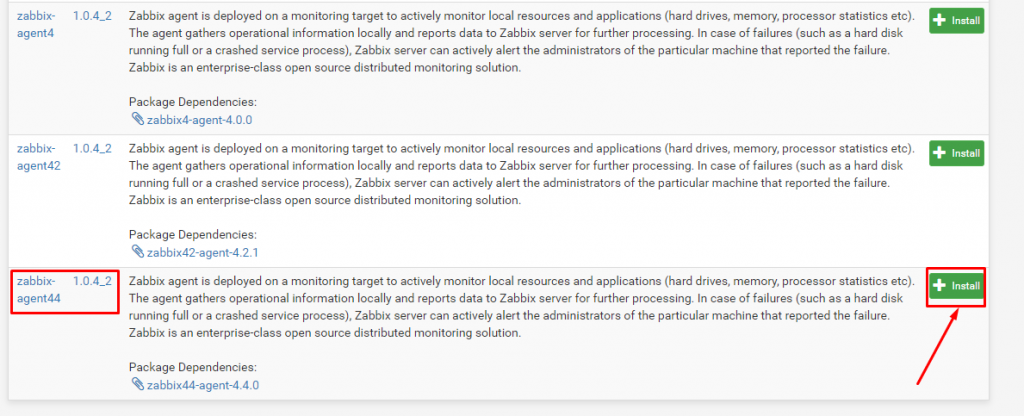
- In Available packages -> Enter zabbix-agent to Search item
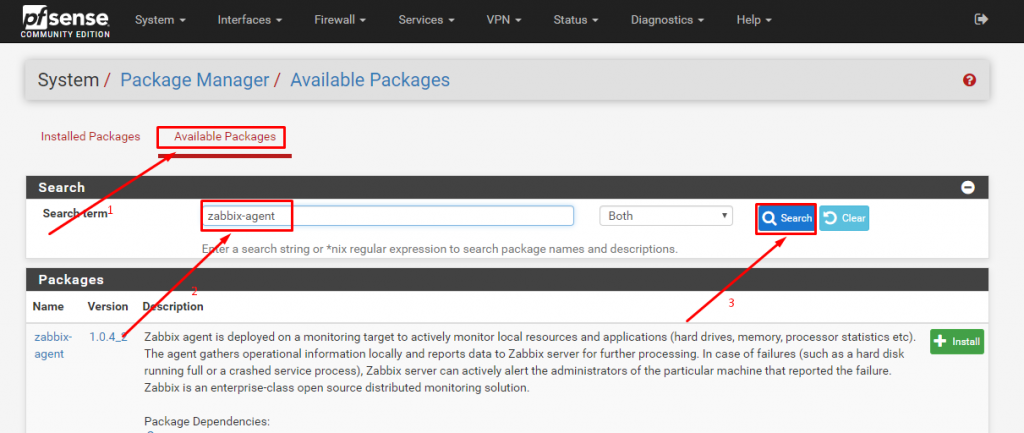
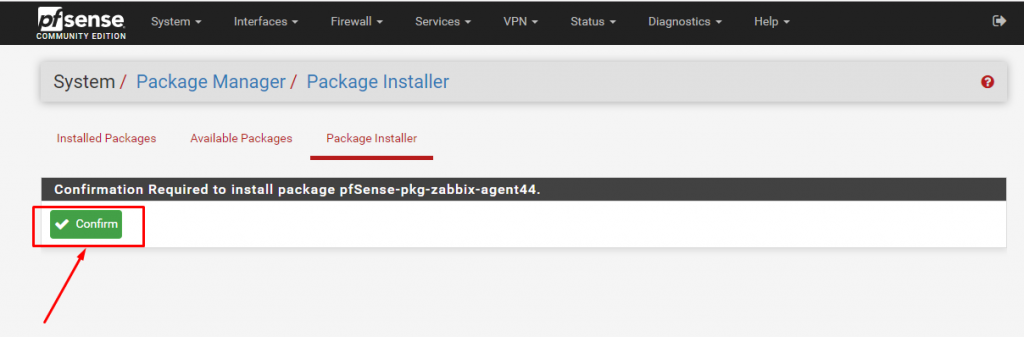
- Install zabbix-agent version 4.4

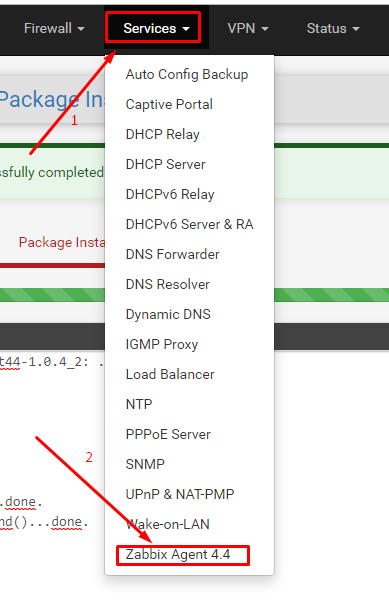
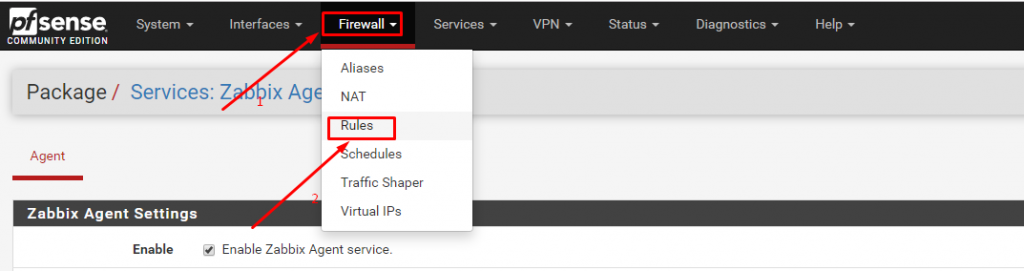
- Configure zabbix agent -> Choose Services -> Click Zabbix Agent 4.4
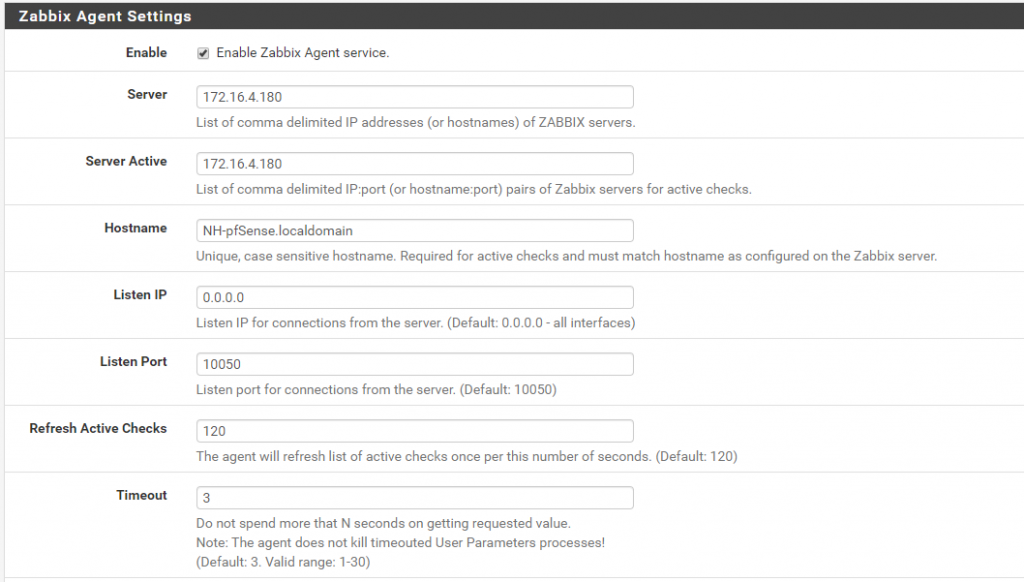
- Set up the parameters of the Zabbix Agent Settings
- Server: IP address of Zabbix Server
- Server Active: IP address of Zabbix Server
- Hostname: Name the Pfsense firewall hostname
- Listen IP: Enter 0.0.0.0
- Listen Port: Enter 10050
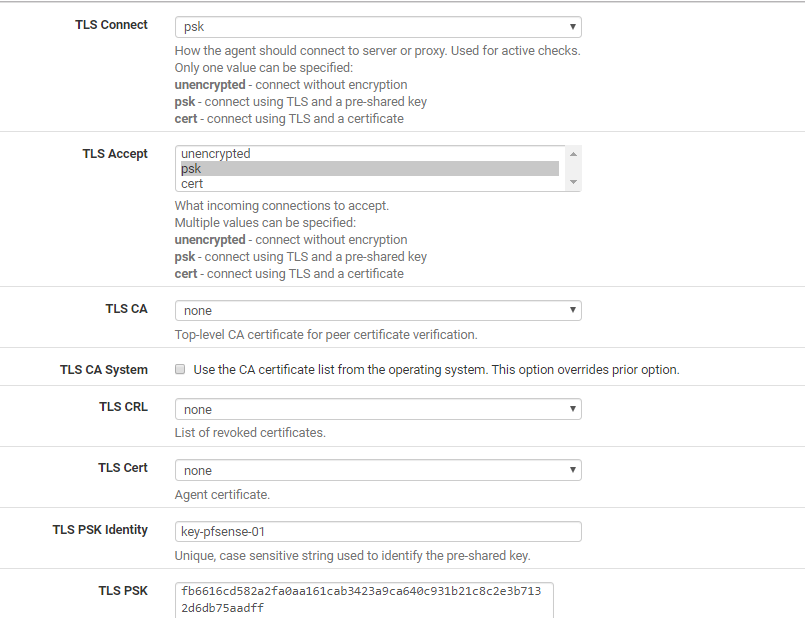
- Set up the parameters of TLS-RELATED Parameters
- In TLS Connect: Choose psk
- In TLS Accept: Choose psk
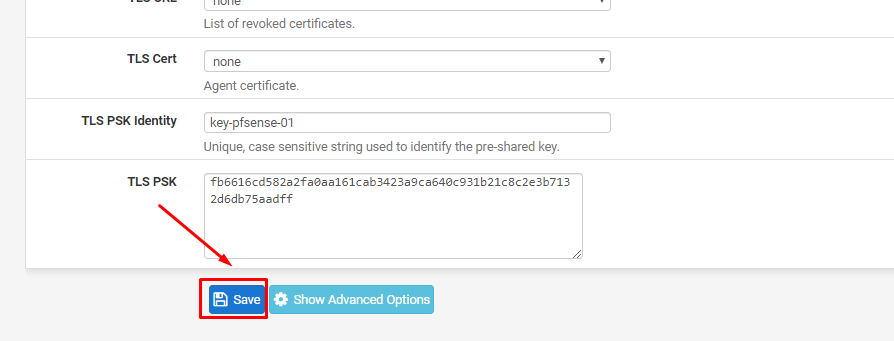
- In TLS PSK Identity: Enter name for key
- In PSK: Enter key
-> Click Save
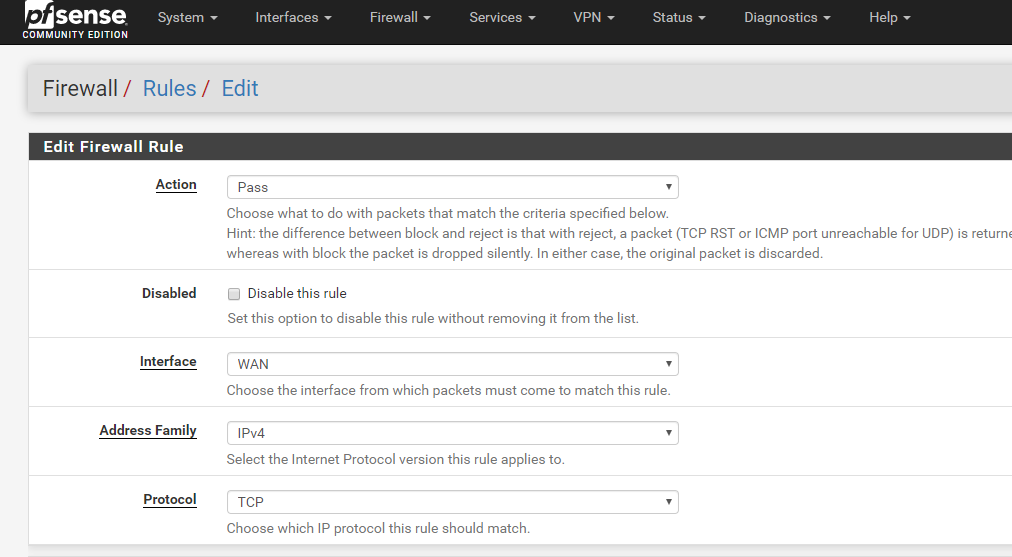
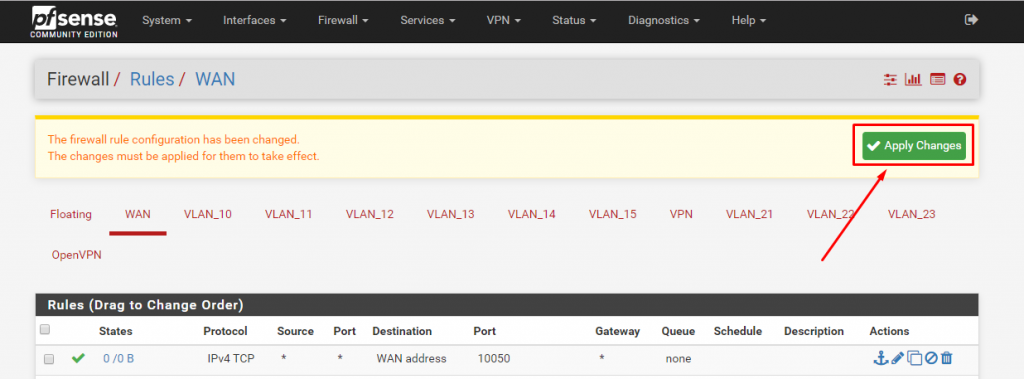
- Create firewall rules
- In Action: Choose Pass
- In Interface: Choose WAN
- In Address Family: Choose IPv4
- In Protocol: Choose TCP
- In Source: Choose any

- In Destination
- Destination: Choose WAN address
- Destination Port Range: Form (other) Custom (10050) To (other) Custom (10050)

- On Zabbix Server -> Check information from Pfsense firewall
touch /tmp/key-pfsense-01
vi /tmp/key-pfsense-01
- Add key on firewall Pfsense to /tmp/key-pfsense-01
- Use check command
zabbix_get -s 172.16.3.148 -k “agent.version” –tls-connect=psk –tls-psk-identity=”key-pfsense-01″ –tls-psk-file=/tmp/key-pfsense-01

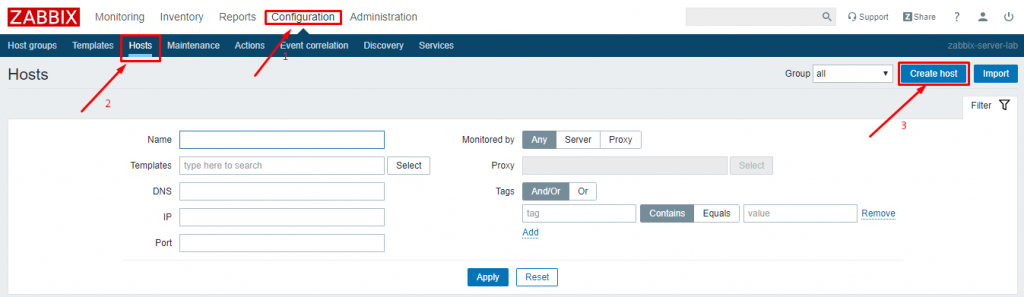
- Login to web interface of Zabbix Server -> Choose Configuration -> Choose Hosts -> Click Create host
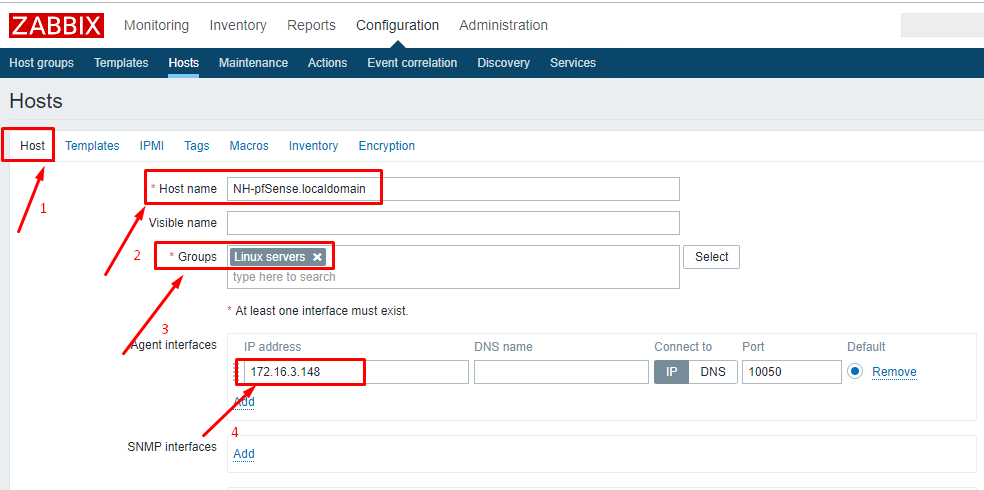
- In Hostname: Enter hostname
- In Groups: Choose Linux servers
- In Agent interface: Enter IP Address of Pfsense
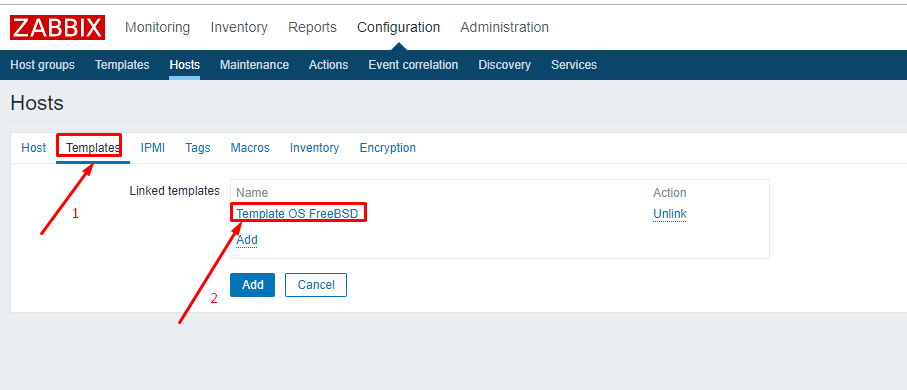
- Go to Templates: Choose Template OS FreeBSD -> Click Add
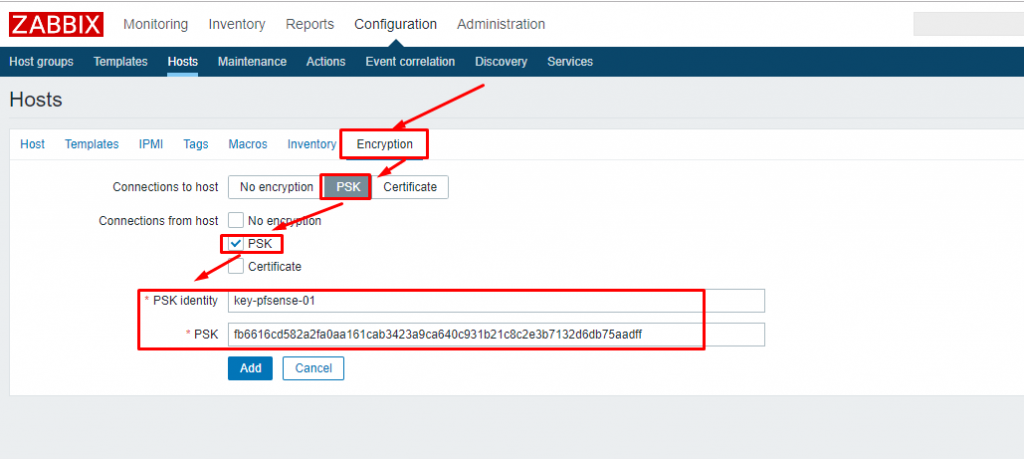
- Go to Encryption
- In Connections to host: Choose PSK
- In Connections from host: Choose PSK
- In PSK Identity: Enter name
- In PSK: Enter key
-> Click Add
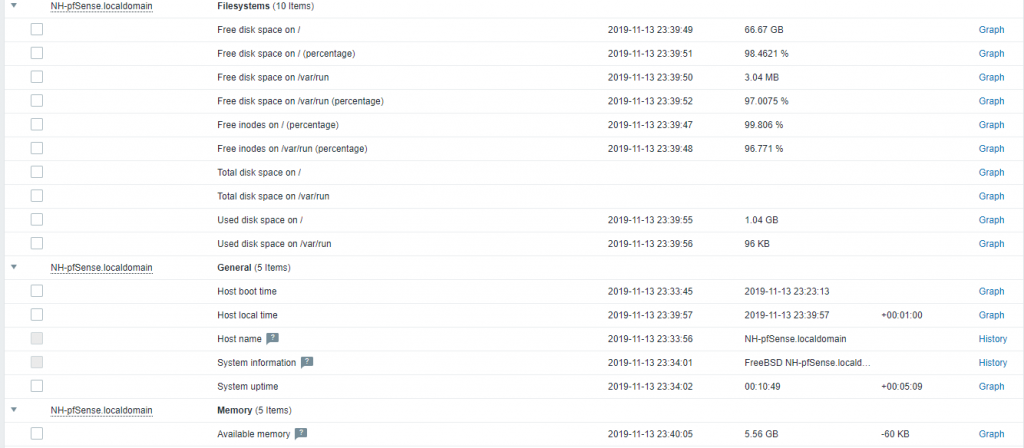
- When add successfully
Leave a Reply