1. Configure RADIUS on your Windows Server 2012
Where to configure: Windows Server 2012
Authorize your Network Policy Server with your Active Directory.
1.1. Open the NPS management console.
1.2. In the tree, expand ‘RADIUS Clients and Servers’.
1.3. Right-click ‘RADIUS Clients’.
1.4. Click ‘New RADIUS Client’.
1.5. In the New RADIUS Client dialog box, in the ‘Friendly name’ box, type a description of your UTM.
1.6. In the ‘Address box’, type the IP address or DNS name of the UTM.
1.7. In the ‘Shared secret’ box, type a shared secret.
1.8. Click Apply.
2. Connection Request Policies
2.1. In the tree, double-click ‘Policies’.
2.2. Right-click ‘Connection Request Policies’.
2.3. Click ‘New’.
2.4. Give it a name, preferably the same as the Connection Request Policy, click ‘Next’.
2.5. In the example click Add at Condition description. Select the ‘Client Friendly Name’ and give it a name.
2.6. Click Next until you arrive at Configure Setting.
2.7. In the Specify Attribute window, select ‘User-Name’
8. Click ‘Finish’.
3. Network Policies
3.1. Right-click ‘Network Policies’.
3.2. Click ‘New’.
3.3. Give it a name, preferably the same as the Connection Request Policy, click ‘Next’.
3.4. In the example used here, we will specify that this policy is run for users in a specific user
group, so highlight ‘User Group’ and click Add. Select the user group you want to use for
RADIUS authentication.
3.5. Add one more condition in this tab: click add and select ‘NAS Identifier’ in the condition dialog box.
3.6. Type in the corresponding identifier for the facility you want to use:
| User Authentication Service | NAS Identifier |
| SSL VPN | ssl |
| PPTP | pptp |
| IPsec | ipsec |
| L2TP over IPsec | l2tp |
| SMTP Proxy | smtp |
| User Portal | portal |
| WebAdmin | webadmin |
| SOCKS Proxy | socks |
| Webfilter | http |
| Authentication Client | agent |
| Wireless Access Points | NAS ID is the wireless network name. |
3.7. Add one more condition in this tab: click add and select ‘Client Friendly Name’ in the condition dialog box and give a name ‘ssl.astaro.vn’ for matching syntax with Connection Request Policies.
3.8. Click Next until you arrive at Configure Authentication Methods.
3.9. In the Specify Access Permission window, select ‘Access granted’.
3.10. Click ‘Next’.
3.11. In Authentication Methods click Add and choose ‘Microsoft: Protected EAP (PEAP)’ and ‘Microsoft: Secured password (EAP-MSCHAP v2)’
3.12. Select ‘MS-CHAP’ and ‘MS-CHAP-v2’.
3.13. Select ‘User can change password after it has expired’.
3.14. And then stick on ‘Unencrypted authentication (PAP, SPAP)’
3.15. Click ‘Next’ three times.
3.16. In the Encryption select No encryption
3.17. Click ‘Finish’.
4. Configure the Sophos UTM
Where to configure: WebAdmin
Related section: Definitions & Users | Authentication Services | Servers
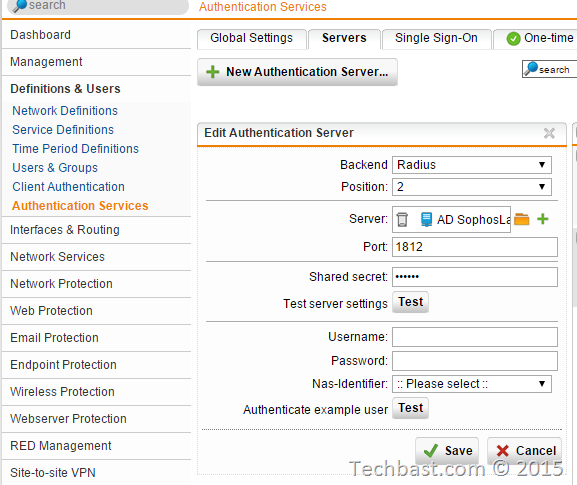
4.1. Add the server, service port (keep default unless absolutely certain) and shared secret from
Step I.
4.2. Save the configuration.
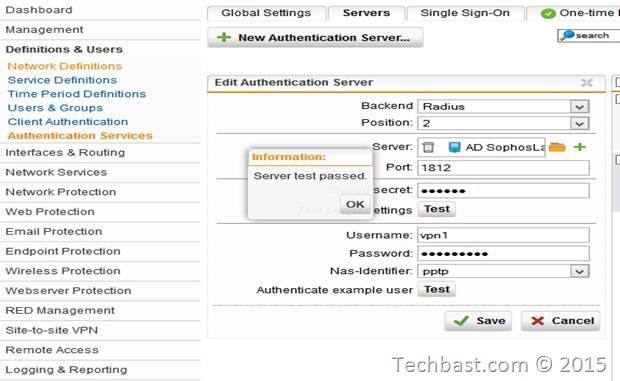
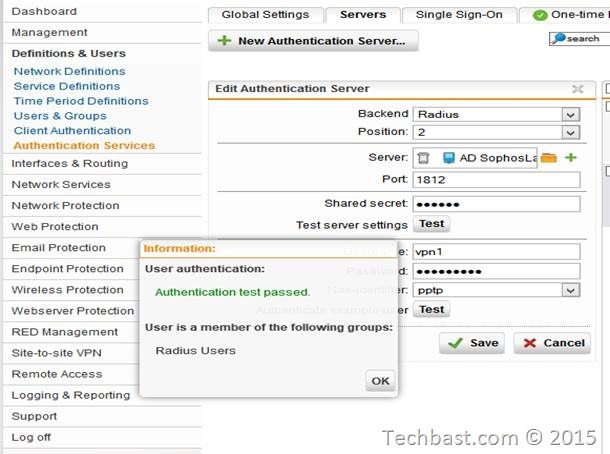
4.3. Testing with Sophos UTM
4.4. Finish


Leave a Reply