
What is GRE VPN ?
GRE is the first protocol developed by Cisco, which will encapsulate some types of packets inside IP Tunneles to form connection points. A Tunnel is used when sending packets from one network to another or through an unsecured network
This article will guide you to set up GRE Tunnel between two sites of a company
How to configure
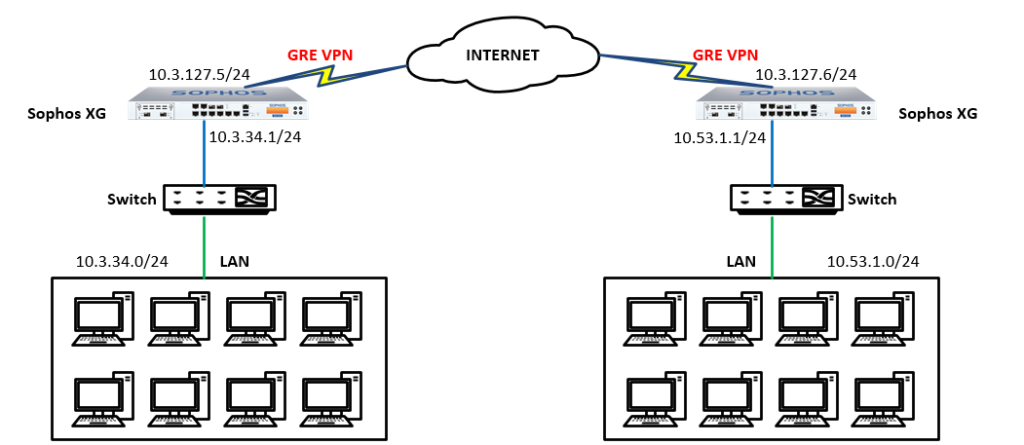
The article will be configured according to the following diagram
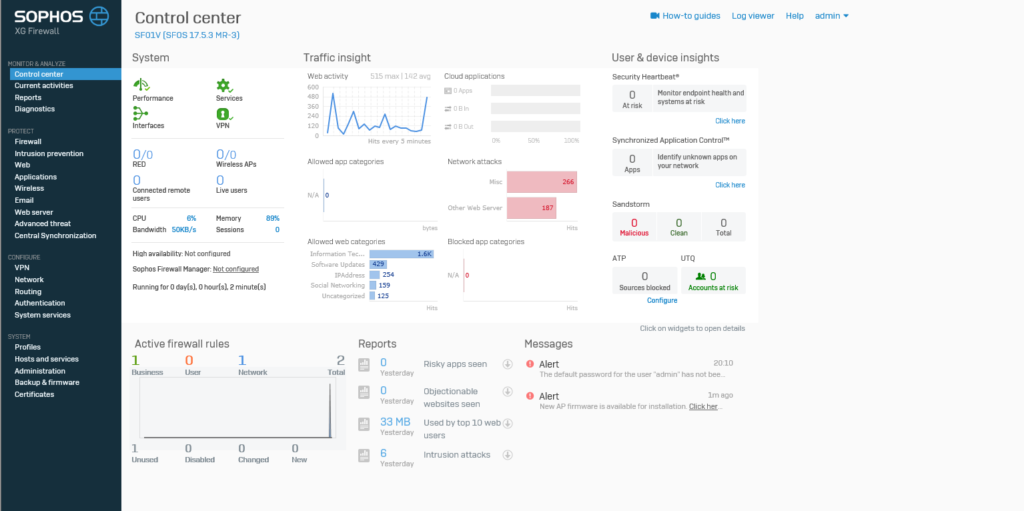
Step 1: Open the console of Sophos XG Firewall
Connect to console configuration interface of the firewall device
- You can use console ports and putty software to access or log into the Sophos XG device to open the console interface
- Here, I will log into the XG device and open the console interface
- Login to XG with Admin account
- In the right corner of the interface, admin section, click on the drop down menu -> Choose Console
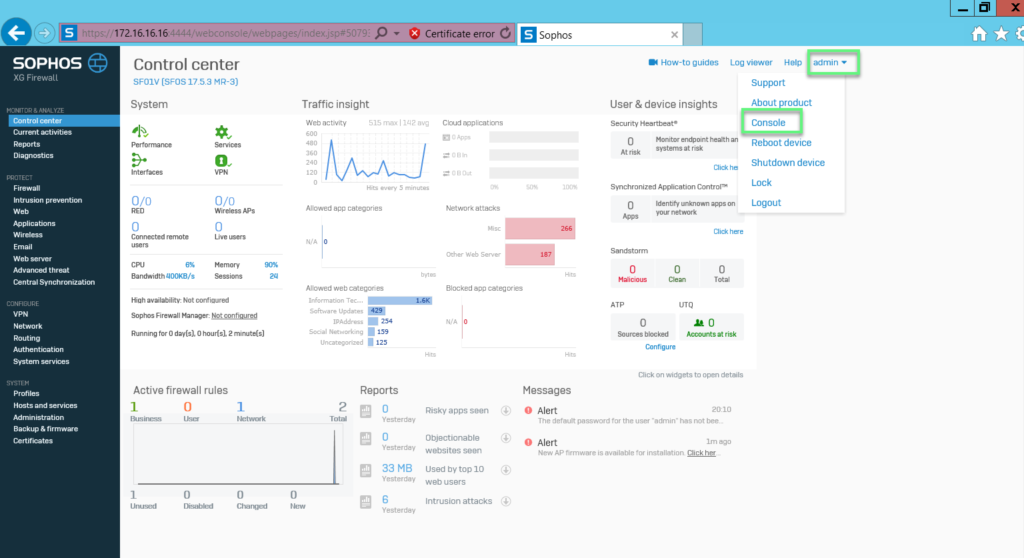
- Log in with Admin account
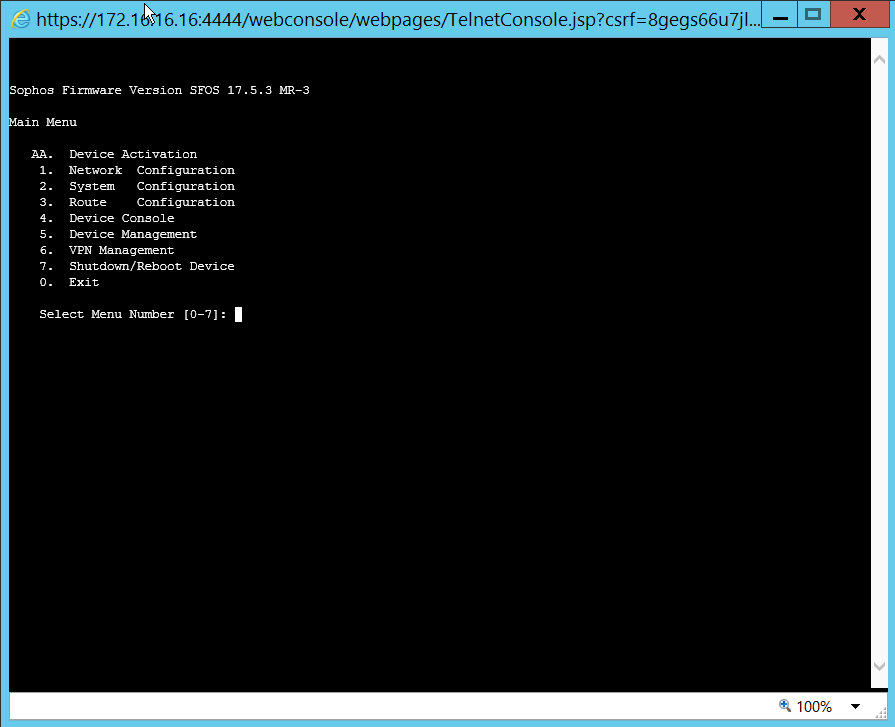
- Enter number 4 to enter the console mode
Step 2: Creating a GRE Tunnel connection
- Tunneling command: console > system gre tunnel add name gre1 local-gw Port2 remote-gw 10.3.127.6 local-ip 10.3.124.214 remote-ip 10.3.124.213
- Local-gw: Select the WAN port of the XG device
- Remote-gw: Enter the WAN IP of the other site
- Local-ip: Set IP for Tunnel as desired
- Remote-ip: Set IP for Tunnal as desired

Step 3: Creating routing to connect between 2 sites
- The routing command: console > system gre route add net 10.53.1.0/255.255.255.0 tunnelname gre1
- With Network is the network layer you want to route to
- Tunnel name: Select the correct GRE Tunnel name you created
-> Press Enter

** You can check GRE Tunnel configuration information with the command:
console > system gre tunnel show
console > system gre route show
Step 4: Creating a firewall rule to allow connection via GRE VPN
- Firewall -> Click Add Firewall rule -> User/network rule
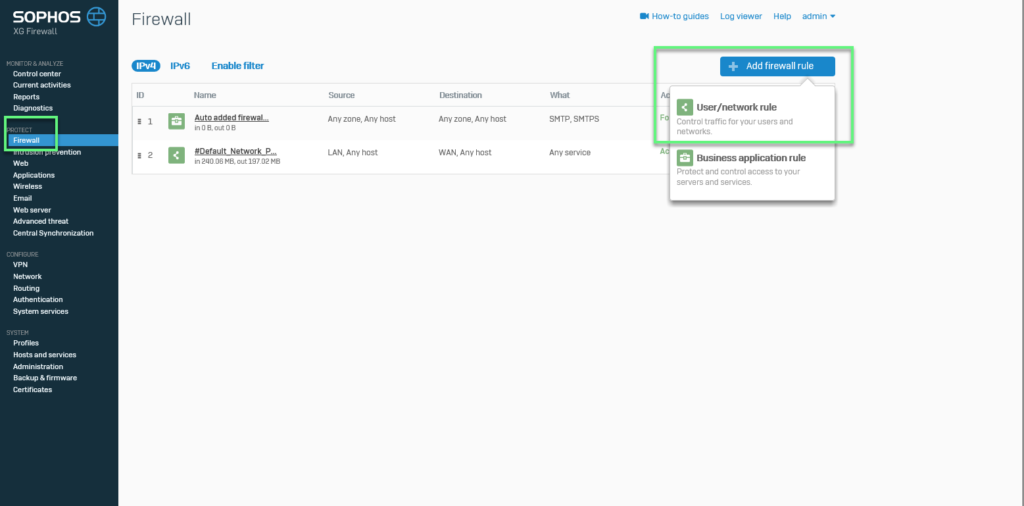
- Here we will create two allowable rules: VPN – LAN and LAN – VPN
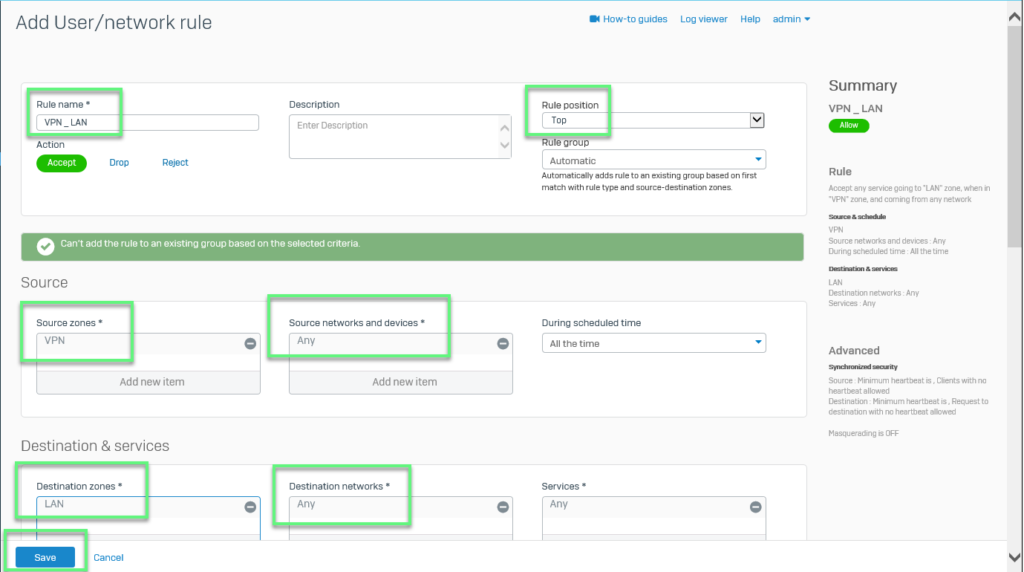
- In the first rule: Allow connection form VPN to LAN
- In Source zones: Choose VPN
- In Source networks and devices: Select Any
- Destination zones: Select LAN
- Destination networks: Select Any or the LAN layer you want
-> Click Save
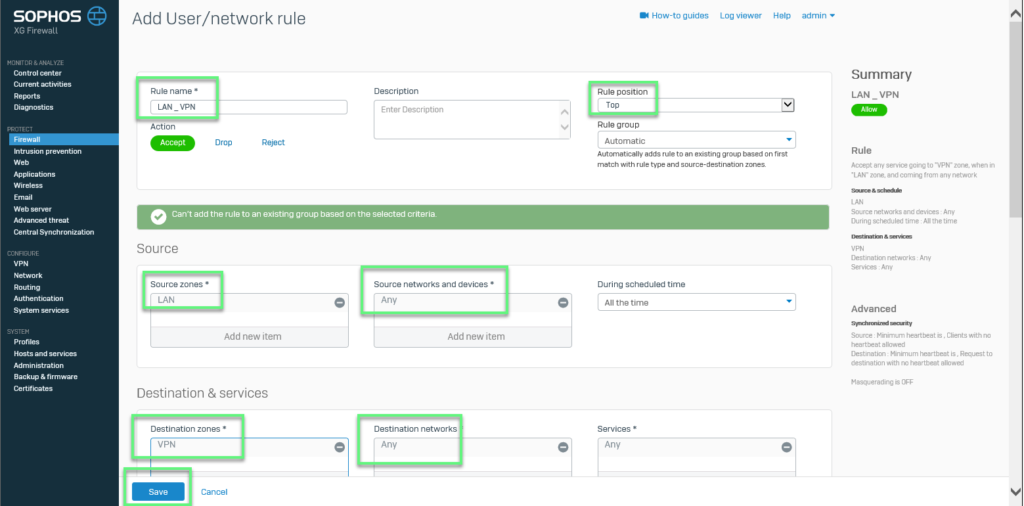
- In the second rule: Allow connecting form the LAN to the other ite using VPN
- In Source zones: Select LAN
- In Source networks and devices: Select Any or the LAN layer you want
- Destination zones: Choose VPN
- Destination networks: Select Any
-> Click Save
-> Finish, test ping between the two sites and perform tracert to check the path of the packet
** If you have difficulty configuring Sophos products in VietNam, please contact us:
EMAIL: info@thegioifirewall.com
HOTLINE: 02862711677
Leave a Reply