
Overview
This article will provide the necessary preparation steps and how to install exchange 2016.
Diagram
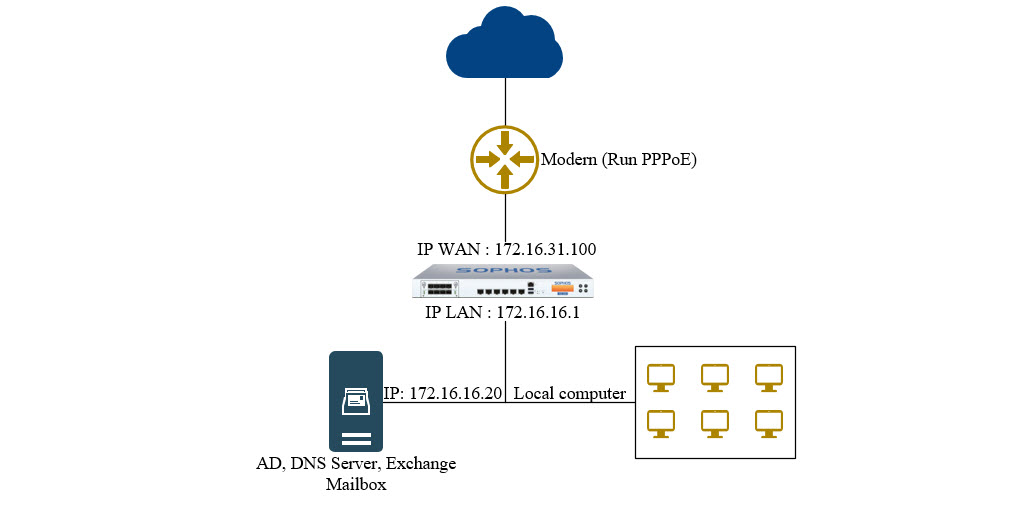
- In diagram, we have 1 modern run PPPoE, 1 Sophos XG Firewall with IP WAN 172.16.31.100/24, IP LAN 172.16.16.1/24, 1 Server with IP 172.16.16.20 and local computer.
- Server and local computer also in LAN area.
Prerequisites
We will execute on 1 virtual machines running windows server 2016 named DC with the following parameters
MailServer
- Domain Name : mail.trungnghia.xyz
- IP: 172.16.16.20
- Subnet Mask : 255.255.255.0
- Default Gateway : 172.16.16.1 (This is IP of LAN interface on Sophos XG)
- DNS : 172.16.16.20 and 8.8.8.8
Exchange configuration
Domain configuration on DC computer
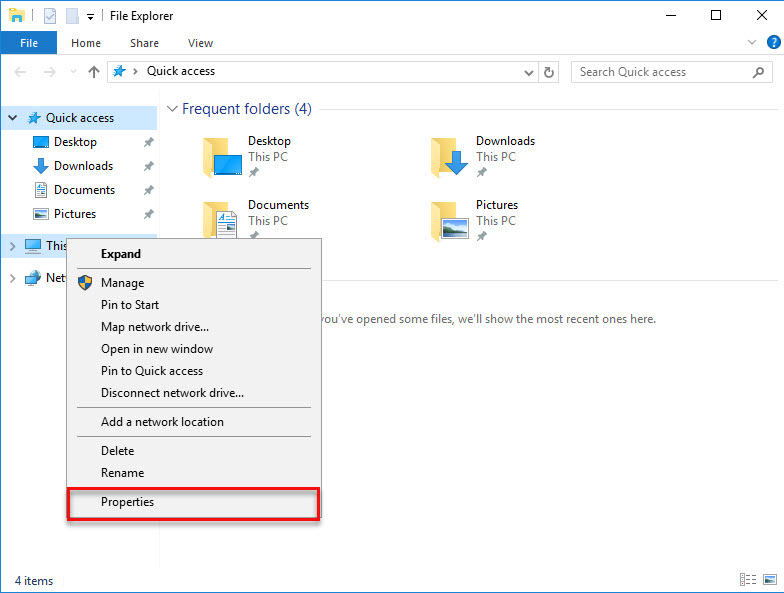
- Open File Explorer on TaskBar, right-click on This PC and select Propertise.
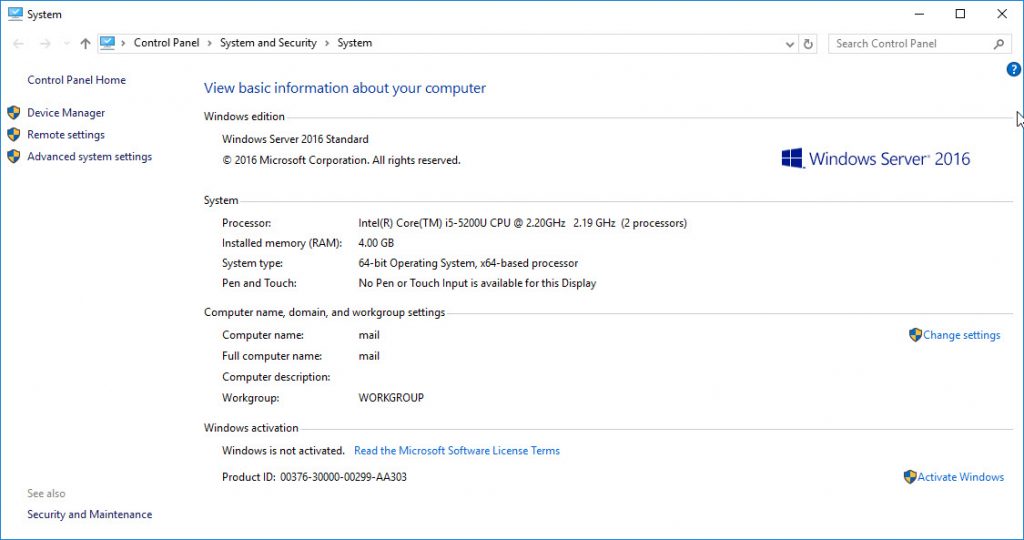
- Continue to click Change Setting on Computer name, domain and workgroup setting.
- In Computer Name tab, select Change.
- Computer Name/Domain Change windows appear, fill in ‘mail’ in Computer name box and then click OK.
- The computer will restart.
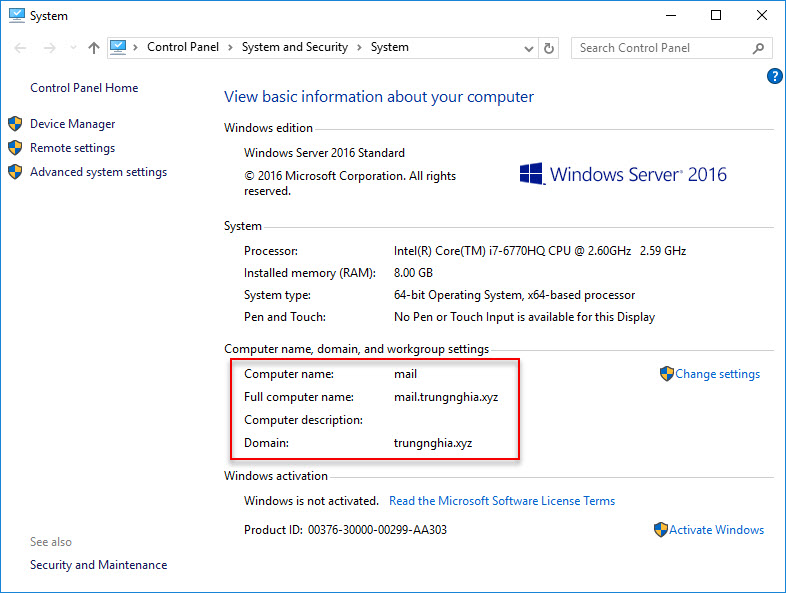
- Right-click on This PC and check name.
- Continue we will configure domain, to do this we open Server Manager.
- Select Add roles and features > click Next 3 times > check on box Active Directory Domain Services > click Add Features > click Next 3 times > click Install > click Close to finish configure.
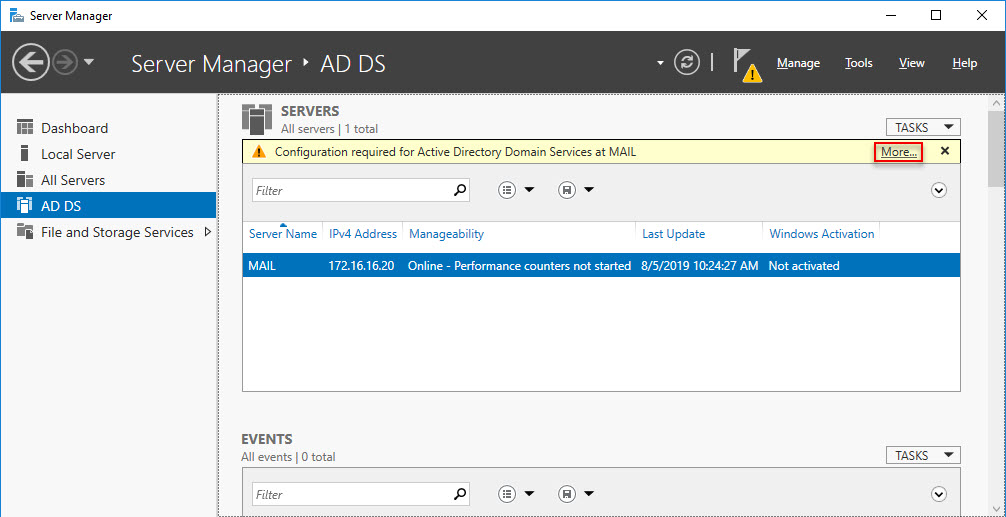
- Select AD DS on the left side on Server Manager, click More at Configuration required for Active Directory Domain Services at DC.
- All server task details windows appear, click Promote this server to a domain controller.
- Active Directory Domain Services Configuration Wizard windows appear, we just need to fill the paremeters for domain to proceed with the installation.
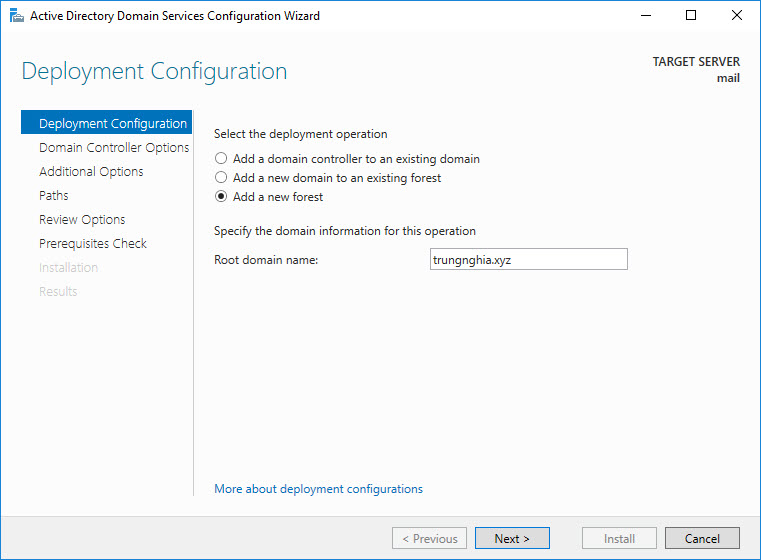
- In Deployment Configuration section, check Add a new forest and enter the name in the box next to Root domain name.
- As the example we will fill is trungnghia.xyz and then click Next.
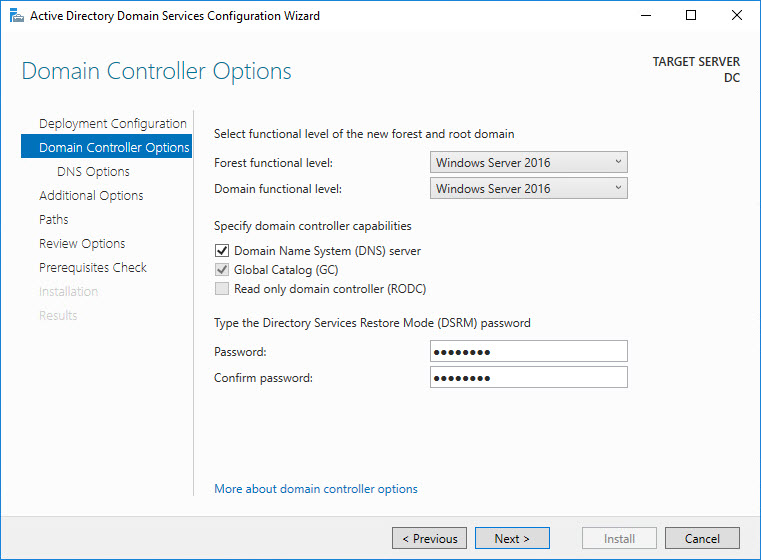
- In Domain Controller Options, we fill passoword for domain in Password and Confirm Password box and then click Next.(Note : We have to wait a few minutes for this).
- In DNS Options, we click Next to skip this section.
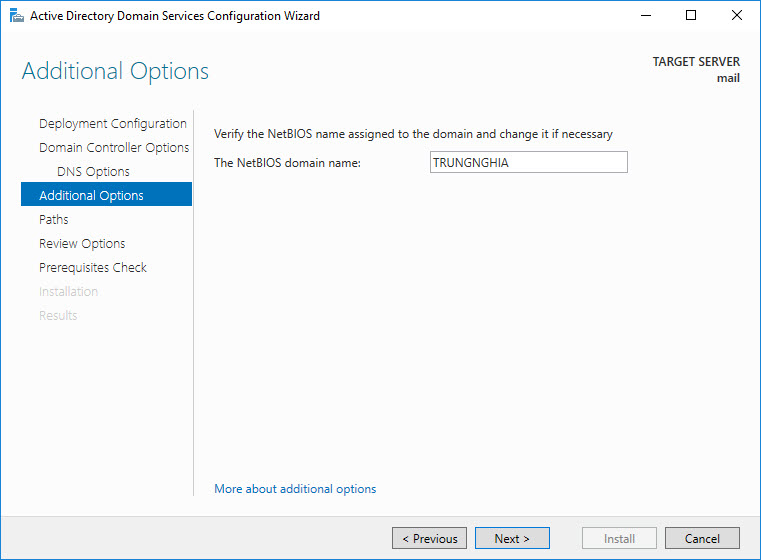
- In Additional Options section, we wait a few times to The NetBIOS Domain Name appear we will click Next.
- Click Next to skip Paths and Review Options section.
- In Prerequisites Check section, we wait a few times and click Install.
- We wait a few times and the computer will restart.
- Right-click on This PC to check.
Revert DNS configuration on DC computer
- The purpose is to configure the reverse lookup name from IP to Name.
- Open Server Manager > Tools > DNS, DNS Manager windows will appear.
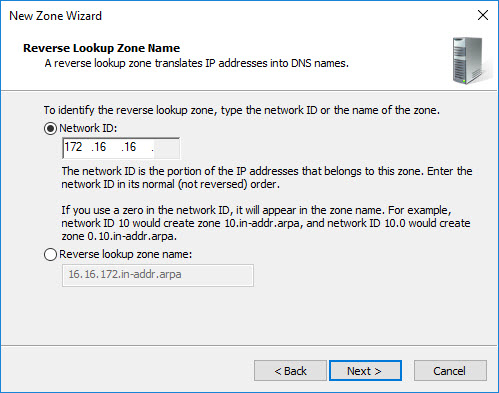
- Go to DNS > DC > Reverse Lookup Name, right-click on Reverse Lookup Name > New Zone > Click Next 4 times.
- In Network ID, enter 172.16.16 and click Next.
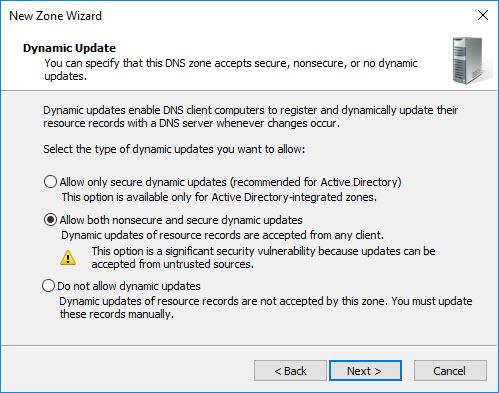
- Select Allow both nonsecure and secure dynamic updates and click Finish to completely install.
- Open CMD from search box to check DNS.
- Enter command nslookup and then enter the mail’s IP is 172.16.16.20 và check result.
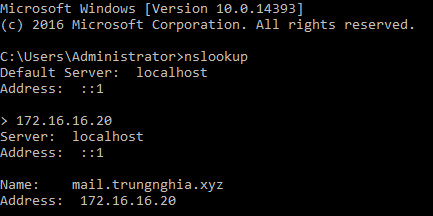
- As seen It successfully reversed lookup name from IP address to name.
Firewall configuration allows the use of Exchange-related ports including
List of ports related to Exchange:
- DNS: 53 (The default has been opened)
- HTTP/HTTPS: 80/443 (The default has been opened)
- IMAP4: 143/993
- POP3: 110/995
- SMTP: 25/587
- To configure the firewall to allow the above ports, we enter Windows Firewall on search box and click Windows Firewall with Advanced Security.
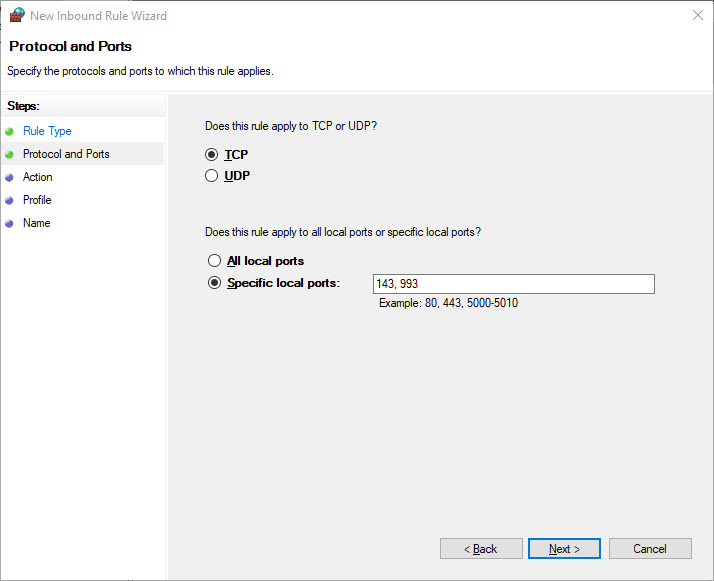
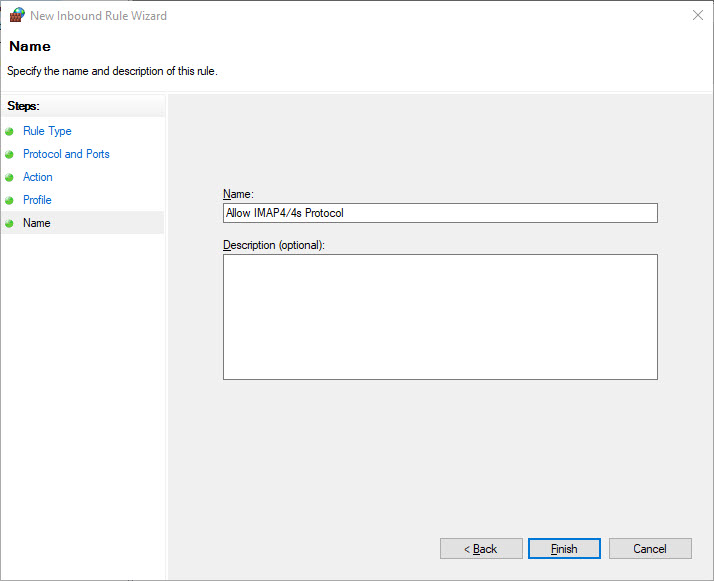
- Right-click Inbound Rules > New Rule. New Inbound Rule Wizard will appear, check Port and click Next.
- Enter 143, 993 port in box and click Next.
- Check Allow the connection and click Next.
- Check Domain, Private and Public, click Next.
- Enter name and click Finish to Finish.
- The remaining ports do the same.
Prepare schema properties before installing on DC computer
- Note : You need to install Net Framework 4.7.2 and download Microsoft Exchange Server 2016 ISO file.
- Link Download Net Framework 4.7.2.
- Link Download Microsoft Exchange Server ISO file.
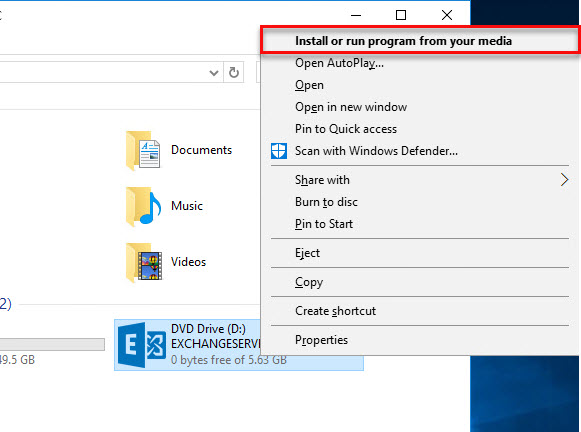
- To do this, we need to mount the installation disk to the DC machine to perform.
- Open PowerShell and do the following step.
- Step 1: Install RSAT AD, with the domain controller, you don’t need to install this feature.

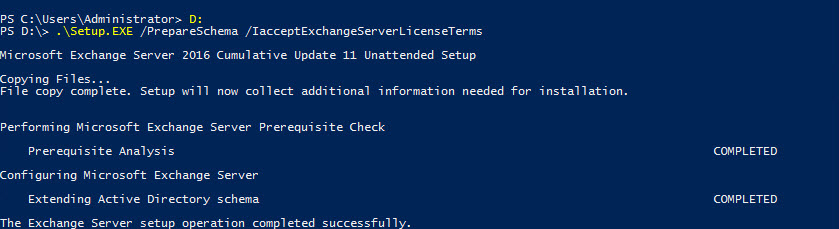
- Step 2: Prepare schema with the following command line:
|
1 |
.\setup.exe /Prepareschema /IacceptExchangeServerLicenseTerms |
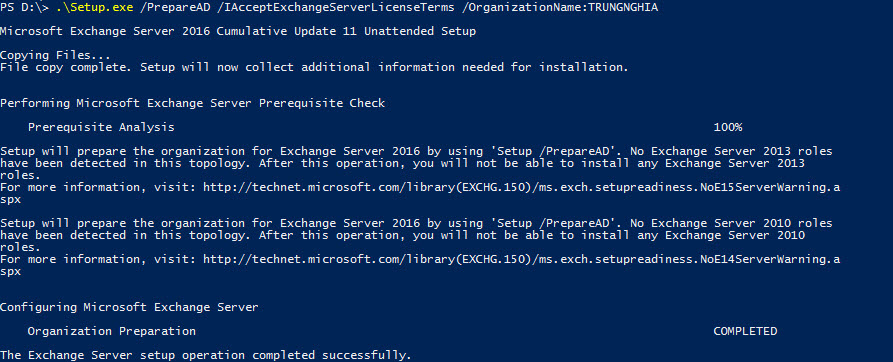
- Step 3: Prepare AD with the following command line
|
1 |
.\setup.exe /PrepareAD /IAcceptExchangeServerLicenseTerms /OrganizationName:TRUNGNGHIA |
Step 4: Prepare Domain with the following command
|
1 |
.\setup.exe /PrepareAllDomains /IAcceptExchangeServerLicenseTerms |
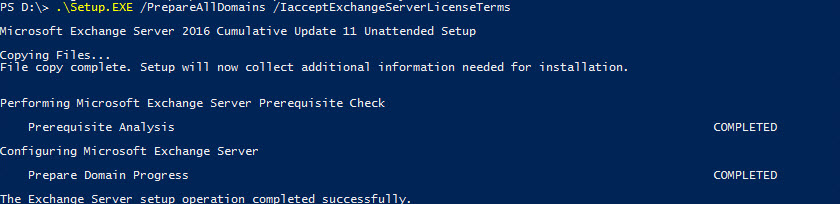
- As the preparation process is completed
Install Mailbox Server Role
- Step 1: Install the necessary Roles and Features using the following command.
|
1 |
Install-WindowsFeature RSAT-ADDS,Web-Metabase,Web-Dyn-Compression,Web-Stat-Compression, WAS-Process-Model,Web-Basic-Auth,Web-Windows-Auth,Web-Digest-Auth, Web-WMI,Web-ISAPI-Filter,Web-Client-Auth,Web-Dir-Browsing, Web-Http-Errors,Web-Http-Logging, Web-Http-Redirect, Web-Http-Tracing,Web-Request-Monitor, Web-Static-Content,NET-WCF-HTTP-Activation45,RSAT-ADDS-Tools, RSAT-Clustering, RSAT-Clustering-Mgmt,RSAT-Clustering-PowerShell,RSAT-Clustering-CmdInterface, Web-Mgmt-Console,Web-Net-Ext45,Web-ISAPI-Ext,Web-ASP-NET45,RPC-over-HTTP-proxy, Web-mgmt-service |

- Step 2: Install Media Foundation with the following command.
|
1 |
Install-WindowsFeature server-media-foundation |

- Step 3: Install Unified Communications Managed API 4.0 Runtime.
- Step 4: Install Visual C++ 2013 redistributable package.
- Step 5: Install Mailbox Role from ISO file as shown below.
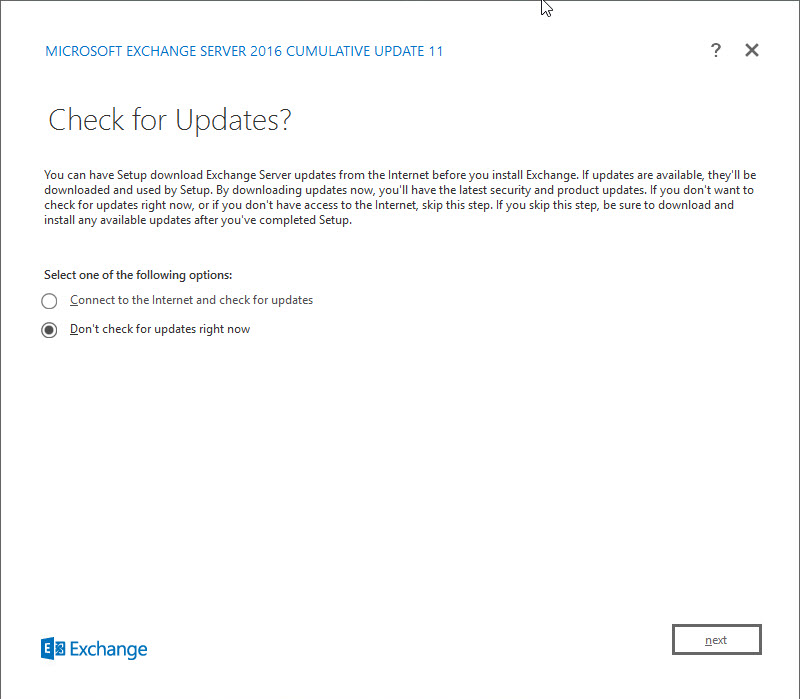

- After Prerequisites Check click Install to install Exchange Server.
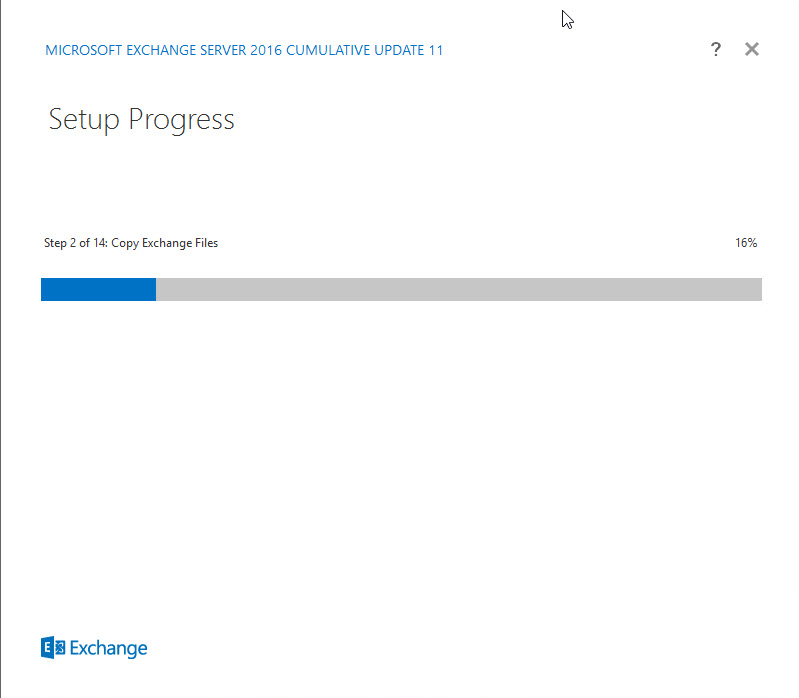
- Wait for a period of time, the installation process will complete.

Thanks for the great information for us.
King regards,
Thomassen Hessellund
Thanks for watching