
What’s Video Office 365 ?
In business and school environments, sometimes you want to build an internal VIDEO streaming system with high security but consider the cost, time, manpower, and considerations. That hinders you from deploying your system. It is this Office 365 Video that building such a system is necessary for the development of the organization, Microsoft has conducted research and development of Office 365 Video to serve this need.
This article is divided into 2 parts:
- Part 1: Overview of Office 365 Video.
- Part 2: Manage Video on Office 365 Video.
Part 1: Overview of Office 365 Video
- Click on “Video” after logging into the Office 365 Portal at http://portal.office.com/
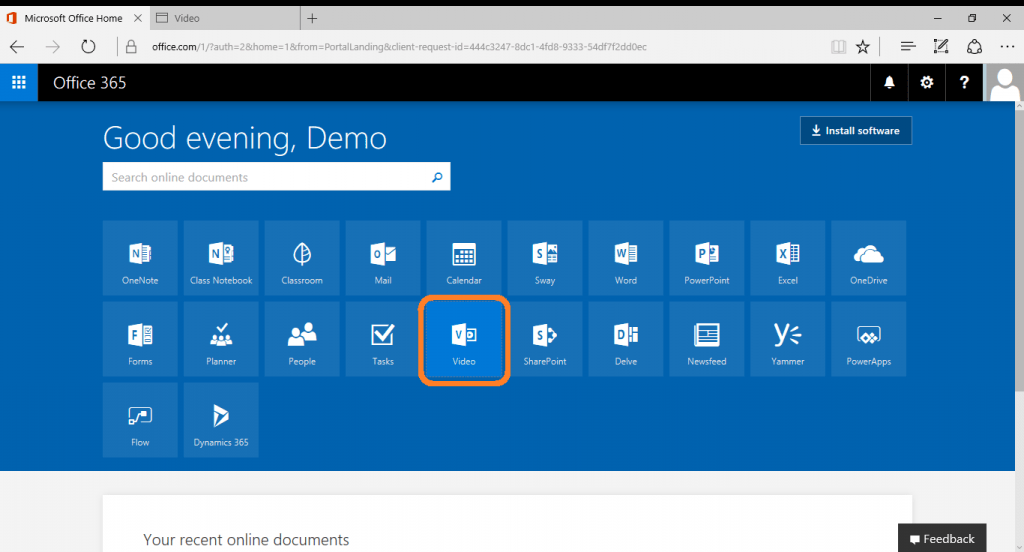
- The main interface of Microsoft Office 365 Video appears on the platform of Microsoft SharePoint Online.
- Here, we find the Search function and the Home Tab, Channels, Uploads in the Video Menu Bar.
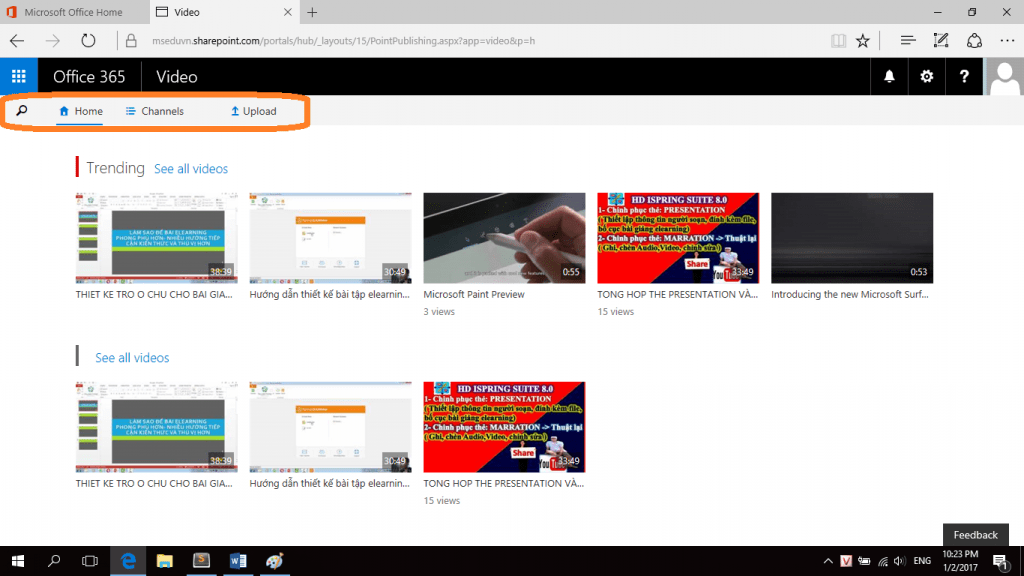
1.Home
- We see some of the videos currently available on Office 365 Video, and are grouped.
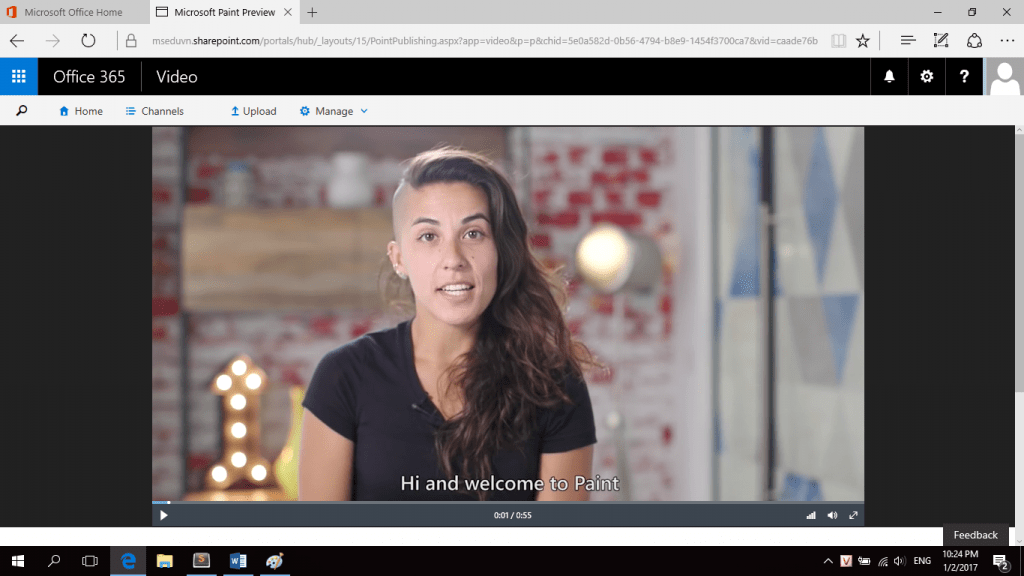
- If you want to watch a Video, simply Click on the video.
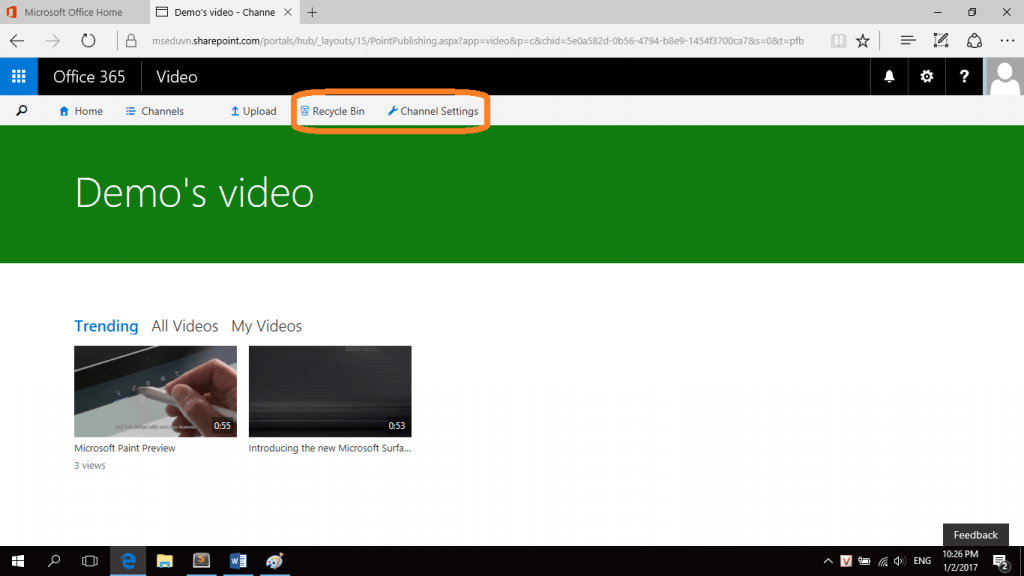
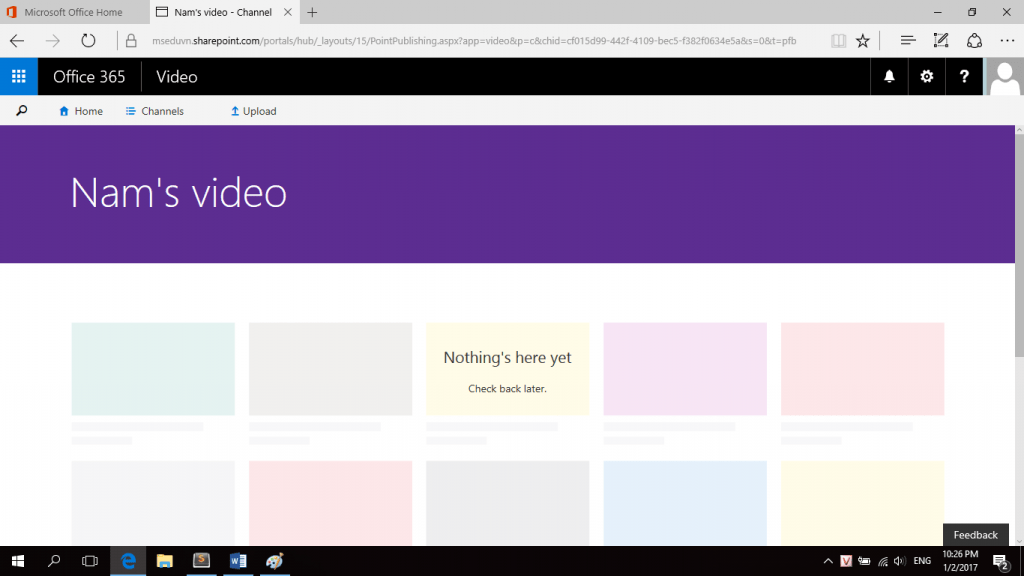
2. Channels
- Each channel will contain videos on a specific topic
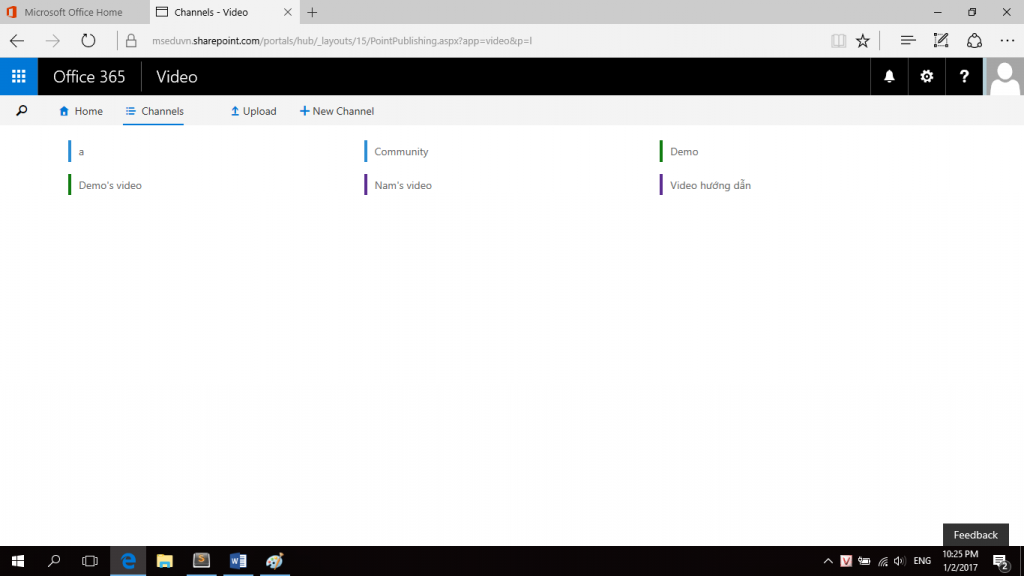
- Click on Channel, we will see the Videos in that Channel.
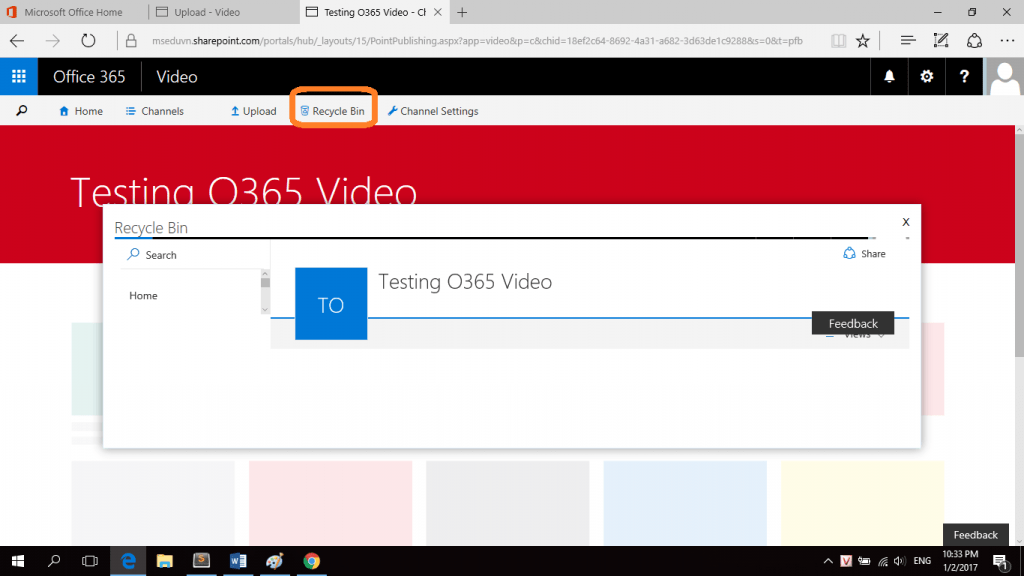
- If that Channel was created by us, there will be some more Tab in the Menu such as Recycle Bin and Channel Settings.
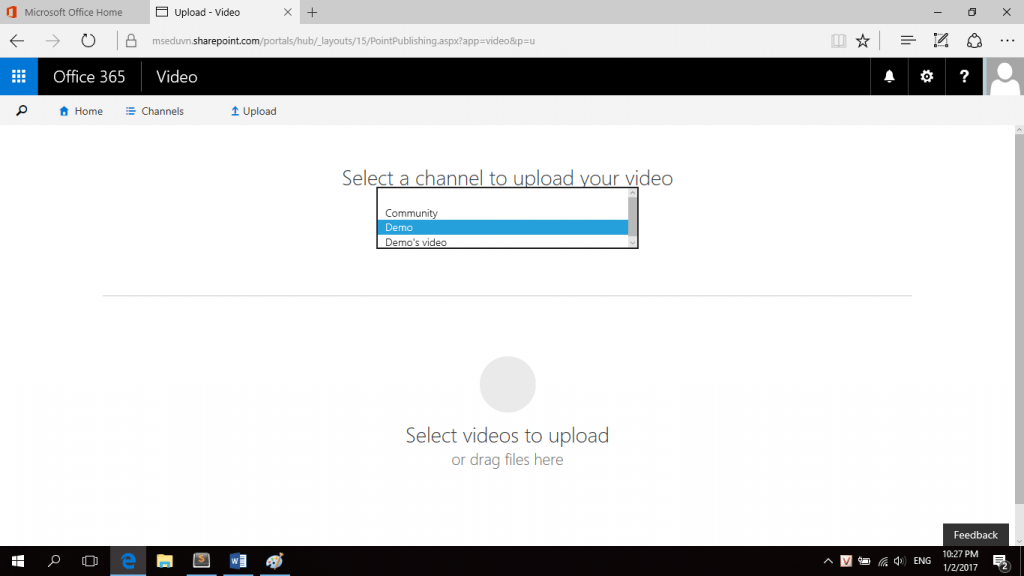
3. Upload
- We upload videos to Microsoft Office 365 Video through this Tab with only 2 steps:
- Select Channels containing Video.
- Drag and drop videos into the “Select videos to upload” box
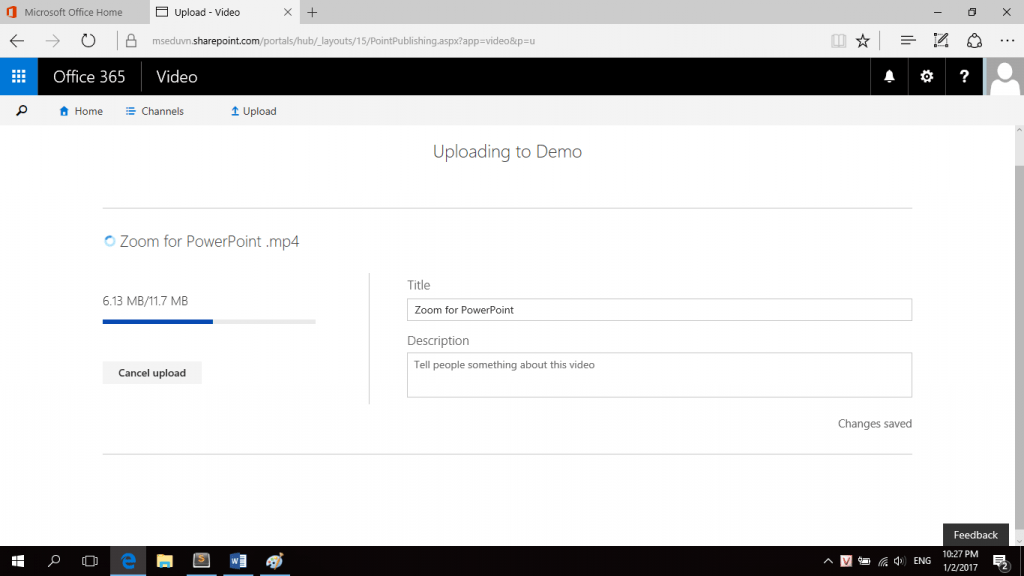
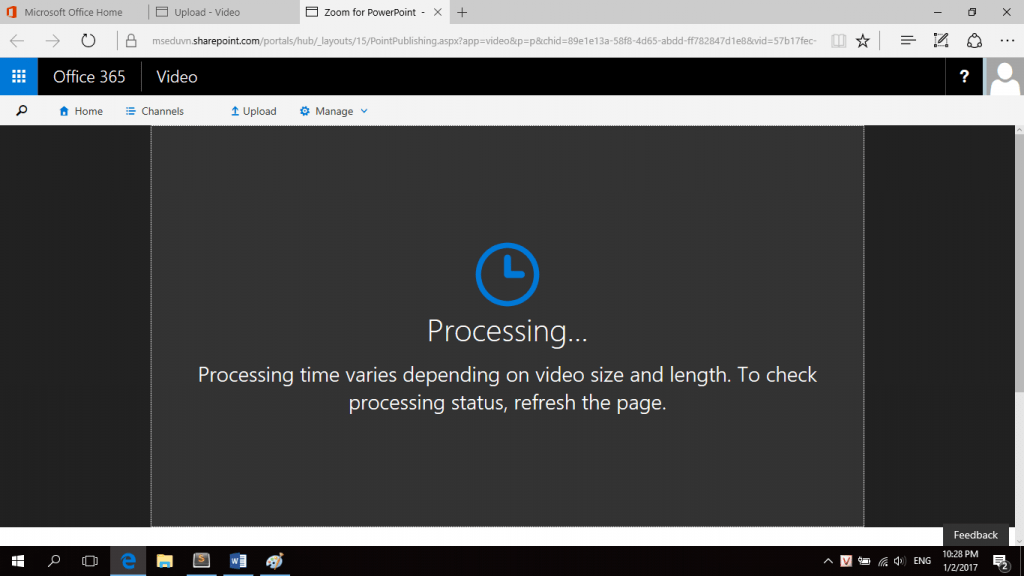
- After the upload is completed, the video will be Processing, and we will receive an Email as soon as the video is ready to stream on Office 365 Video.
- Thus, we have a general overview of Office 365 Video. Part 2 will help you better understand how to manage Channels and Videos.
Part 2: Manage Video on Office 365 Video
1. Channels
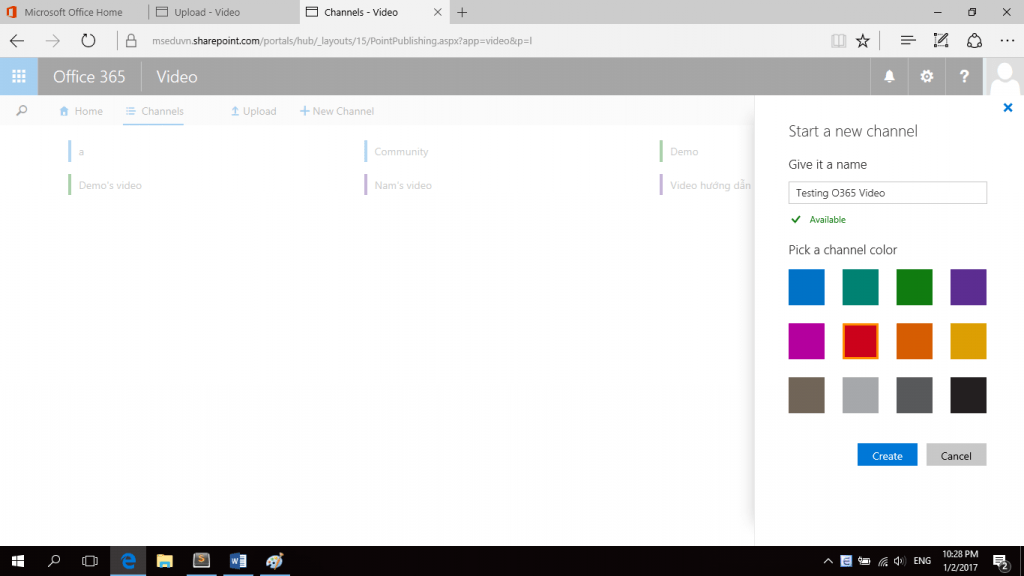
a. Create Channel
- Click on New Channel
- Name the Channel and choose a color for Channel.
b. Recycle Bin
- Deleted videos will be included here.
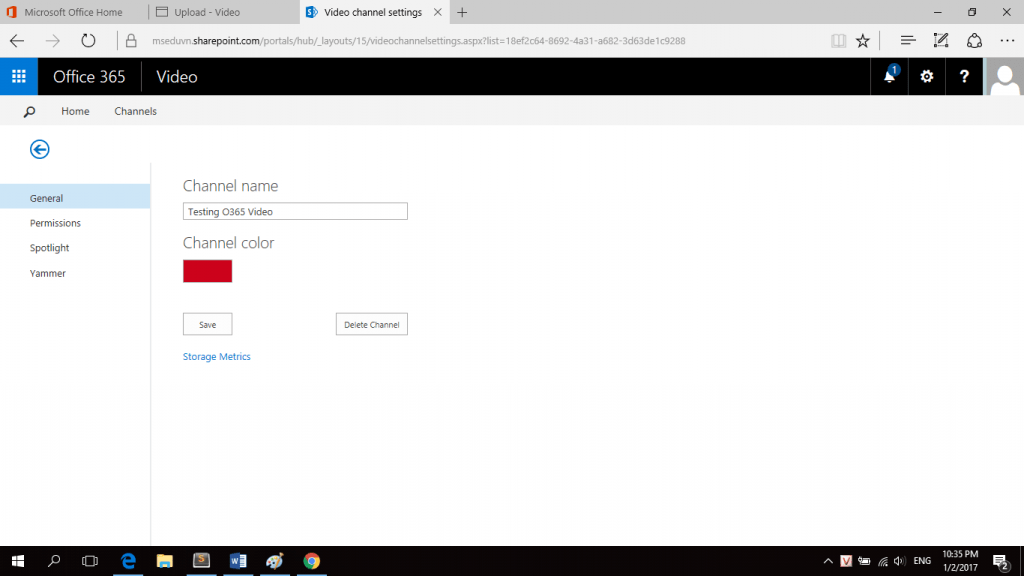
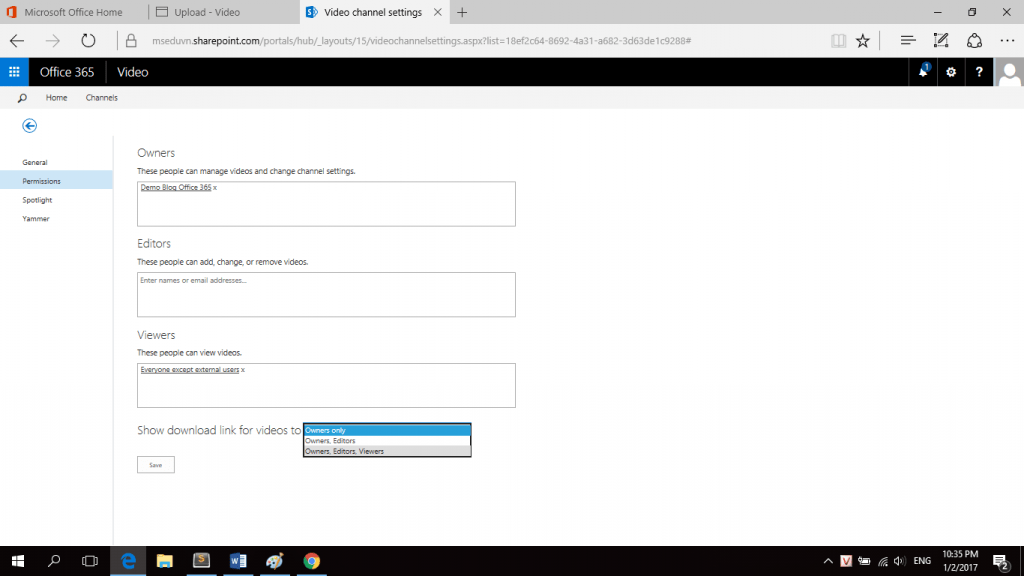
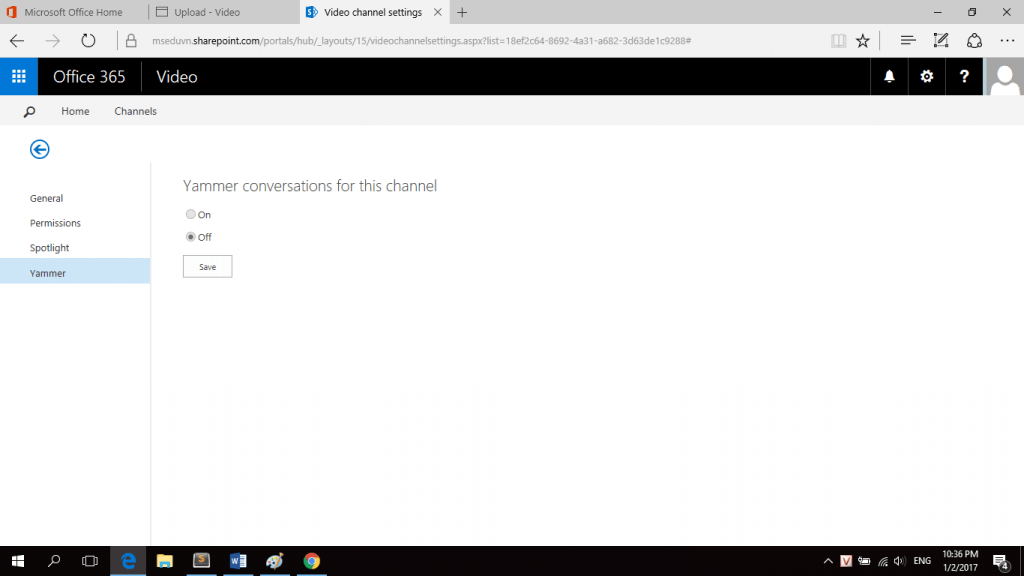
c. Channel settings
- General: Rename, change color, and delete Channel.
- Permission: Set the owner rights, the right to edit (Editor), the right to view (Viewer). Details see here (https://support.office.com/en-us/article/Create-and-manage-a-channel-in-Office-365-Video-1fede4cc-13c0-435a-b585-e7fbf1c83bb2# bkmk_changingchannelpermissions).
- Spotlight: Choose a few videos that are specific to our Channel for the purpose of getting attention to the viewer (applies when the Channel has several videos).
- Yammer: Enable / Disable sharing mode on Yammer.
2. Video
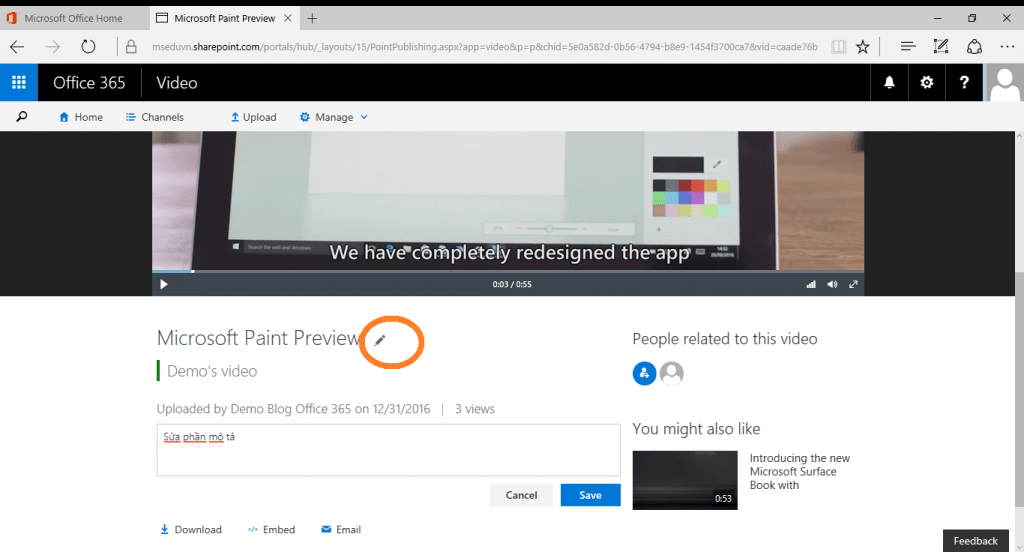
a) Edit name, description Video
- Click on the “pencil” icon >> Save
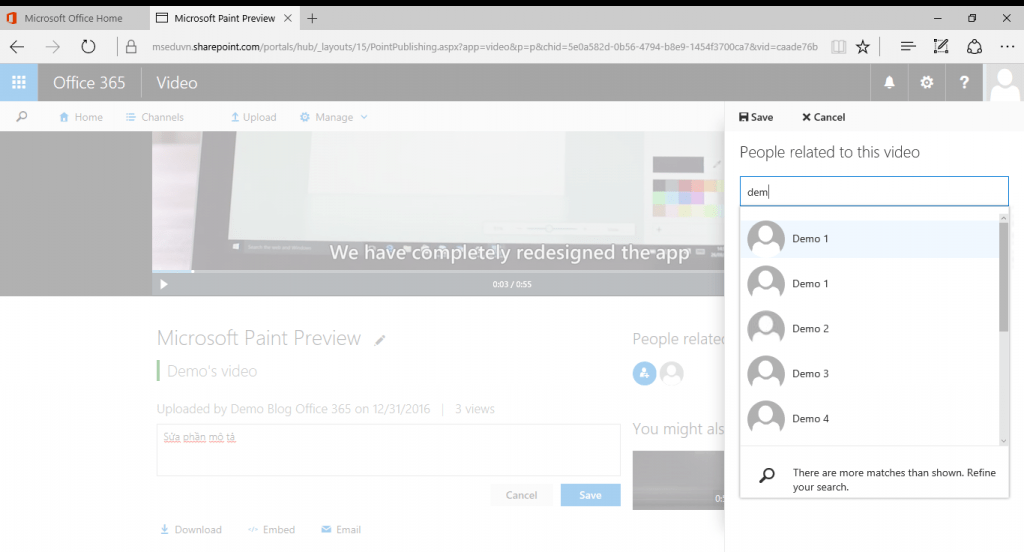
b) Add related people to Video (similar to Tag on Facebook)
- Click on the icon and add people by name / email
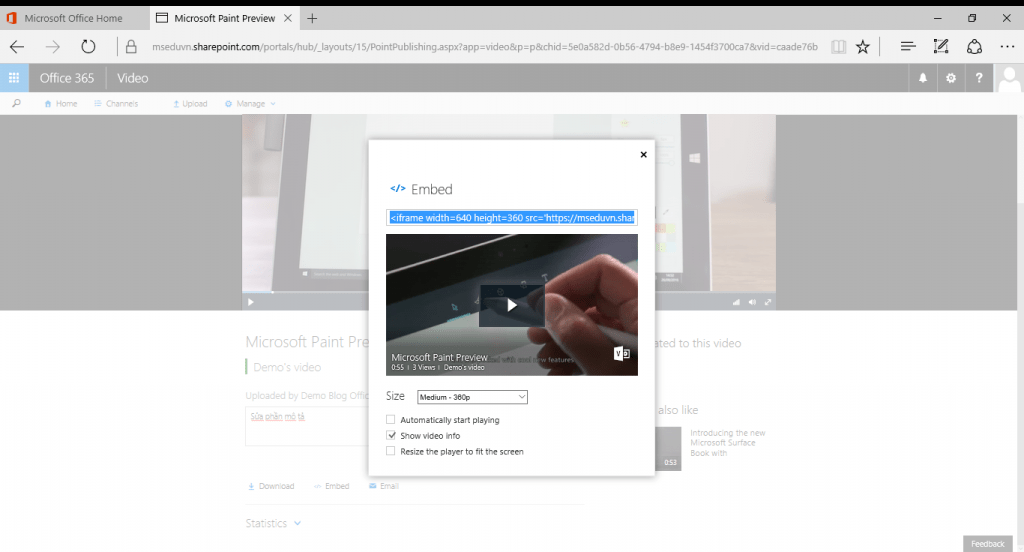
c) Insert videos with HTML iframes
- Click Embed and copy that link.
d) Send videos via Email
- Click on the “Email” icon.
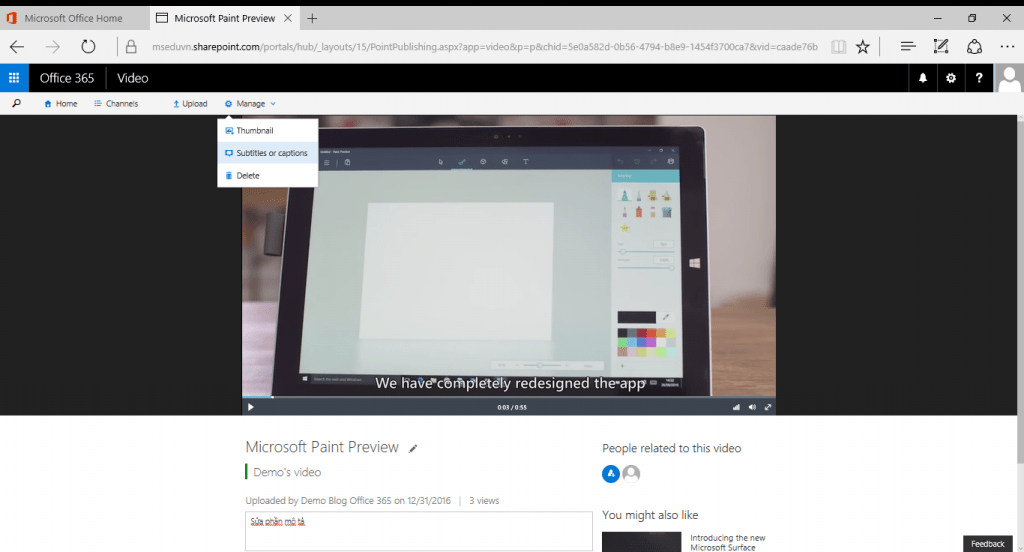
- In addition, we can add subtitles or create thumbnails by clicking on Manage as shown below.
- Như vậy, ta đã nắm các thông tin cần thiết về cách sử dụng Microsoft Office 365 Video rồi.
Leave a Reply