
Overview
- In this article we explain how to create a Data Protection policy and custom CCL groups for Email on the Sophos XG Firewall.
How to configure Data Protection
The Data Protection feature applies only to outbound emails.
- Navigate to Email > Policies & Exceptions.
- Create new or edit old SMTP policy.
- Fill out details as shown below:
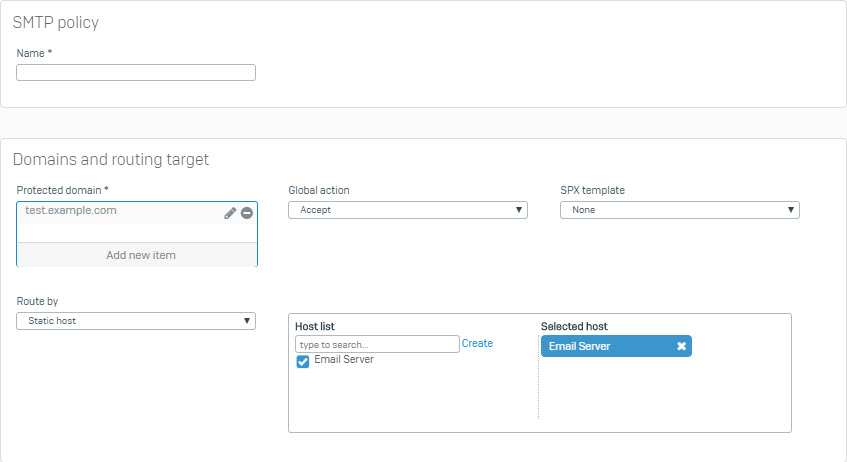
- Name: Friendly Name
- Protected Domain: Create entry for your email domain
- Global Action: Accept
- SPX Template: None
- Route By: MX record or Static Host (Also select the host from the checkbox).
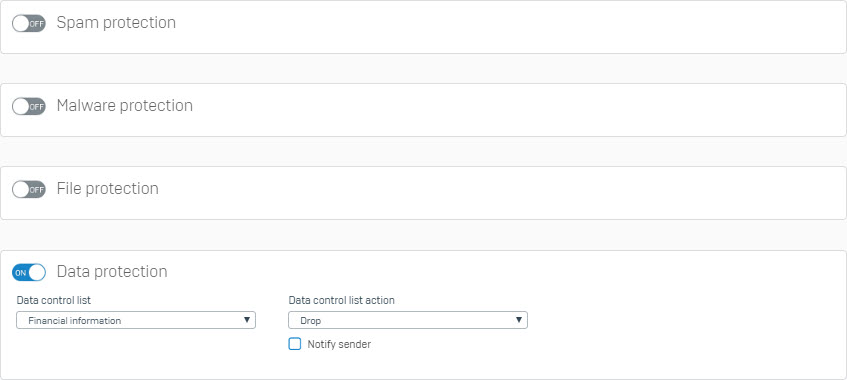
- Enable the Data Protection option by clicking the toggle to the On position.
- Select the Data Control List and Data Control List Action.
- Note: Administrators may choose to allow the traffic through by selecting Accept and only check Notify Sender so that a record of the transaction is recorded.
- Click on Save.
How to create a custom Data Control List
- Navigate to Email > Data Control List.
- Click on Add.
- From this menu select as many different CCL groups or subgroups as needed, filtering by Type or Region.
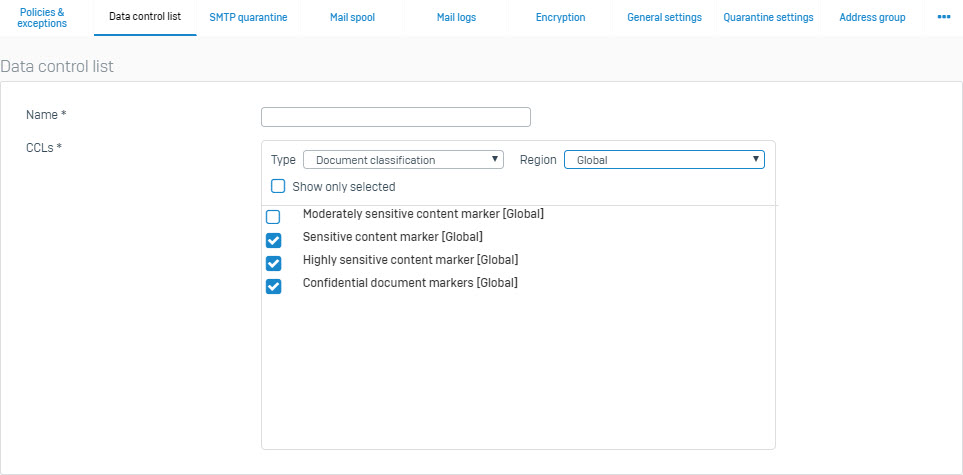
- Click on Save.
- The new custom group can now be used in an Email Policy.
Leave a Reply