
1. The purpose of the article
- This article will guide how to configure allow users access the internet and block youtube web access with AppID
2. Network diagram, configuration situation and steps to be taken.
2.1 Network digram :
2.2 Detailed diagram :
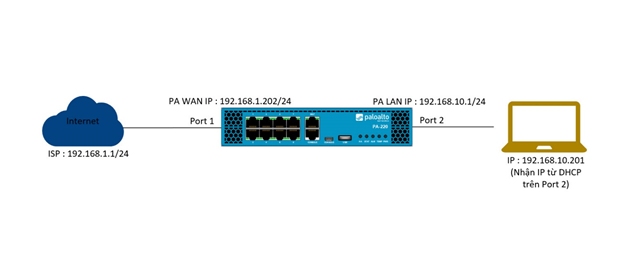
- As the diagram, the Palo Alto firewall device will be connected to the internet in port 1 with a static IP of 192.168.1.202/24 and point to the gateway that is the address of the network 192.168.1.1/24.
- On the inside of Palo Alto is the intranet layer with IP 192.168.10.1/24 set to port 2. On port 2 is configured DHCP server to allocate IP for devices accessing it..
- Finally, a Laptop device is connected to port 2 via a network cable and receives IP 192.168.10.201 from the DHCP server on port 2..
2.3 Configuration situation
- We will configure to allow users to access the internet and all websites except the youtube page.
2.4 Configuration steps
- Connect to the admin site of the firewall device.
- Create zone.
- Create Interface Mgmt Profile.
- Network port configuration.
- Create Virtual Router.
- DHCP Server configuration.
- Create NAT policy.
- Create Security Policy Rule.
- Enable Interzone Logging.
- Enable Application Block Page.
- Configure Decryption.
- Result.
3. Configuration guide.
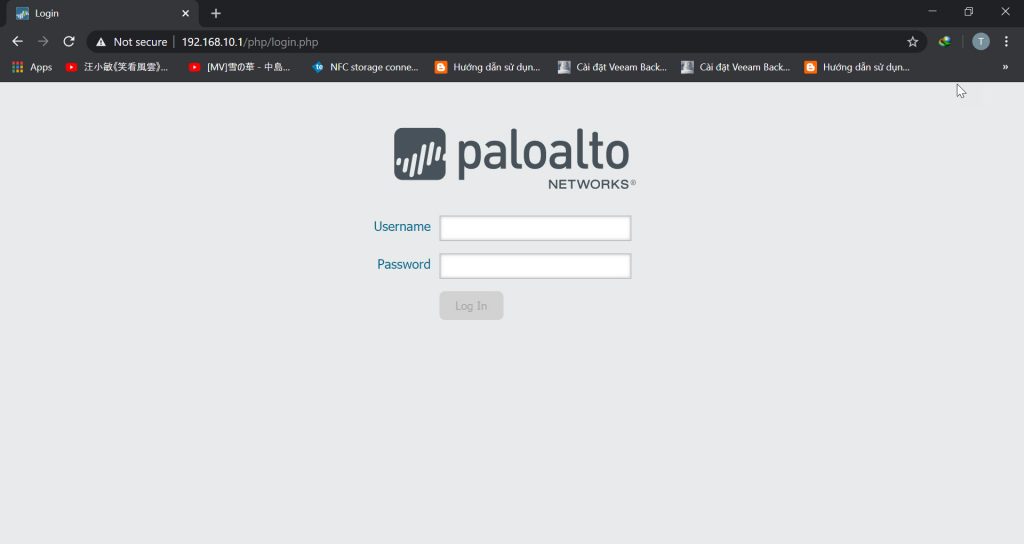
3.1 Connect to the admin page of the firewall.
- We will connect to the firewall administration page using a network cable connecting the computer to the MGMT port of the Palo Alto firewall.
- Open the browser and access by the link https://192.168.1.1. The default account and password for the Palo Alto firewall are admin – admin.
3.2 Create zone
- We will create two zones, WAN and LAN.
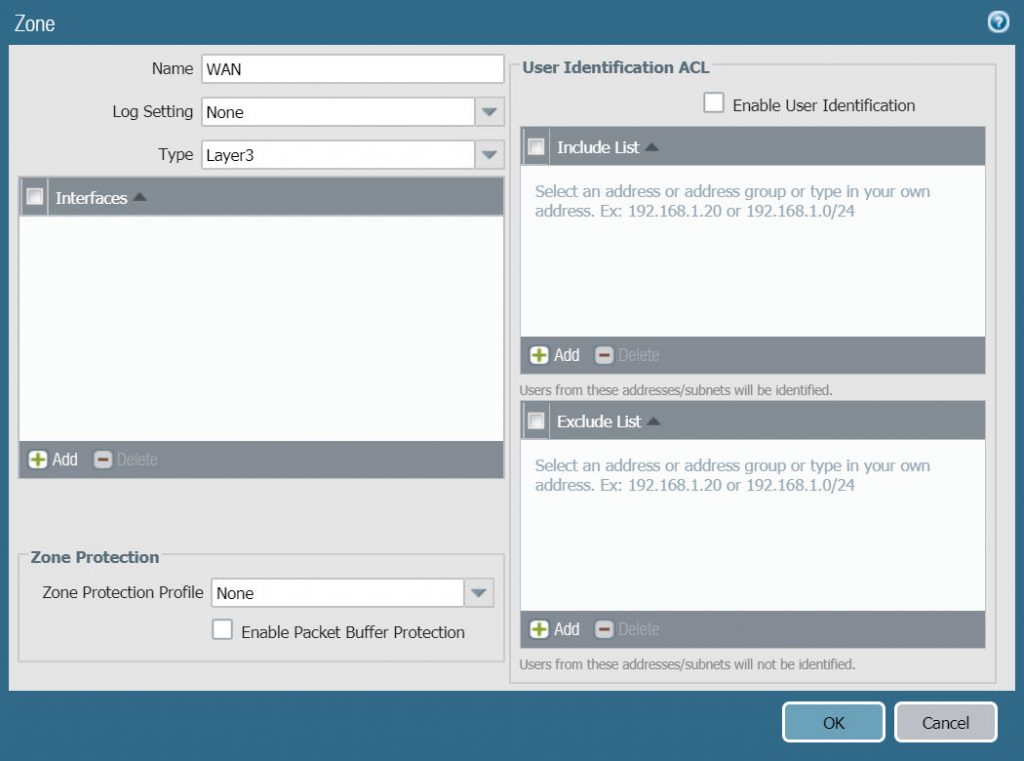
- To create a WAN zone go to Network > Zones > click Add, enter the following information :
- Name : WAN
- Type : Layer 3
- Click OK to save.
- Similarly click Add to create a LAN zone with the following parameters :
- Name : LAN
- Type : Layer 3
- Click OK to save.

3.3 Create Interface Mgmt File
- The purpose of creating Interface Mgmt profile is to open some essential services for any network port such as HTTPS, Ping …
- Here we will create an Interface Mgmt Profile that allows HTTPS, Ping, SSH, Reponse Pages services for ethernet1/2 LAN port so that we can ping, access the admin website on this port without connecting by Mgmt port.
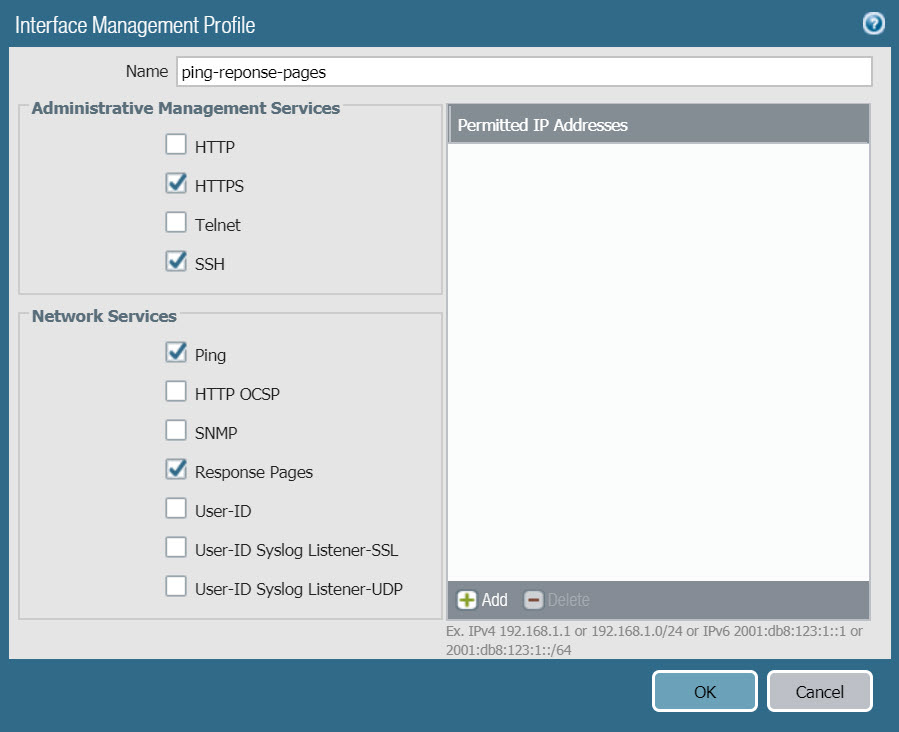
- To create Interface Mgmt Profile go to Network > Interface Mgmt > click Add and enter the following parameters :
- Name : ping-reponse-pages
- Administrative Management Services : select HTTPS, SSH.
- Network Services : select ping và reponse pages.
- Click OK to save.
3.4 Network port configuration
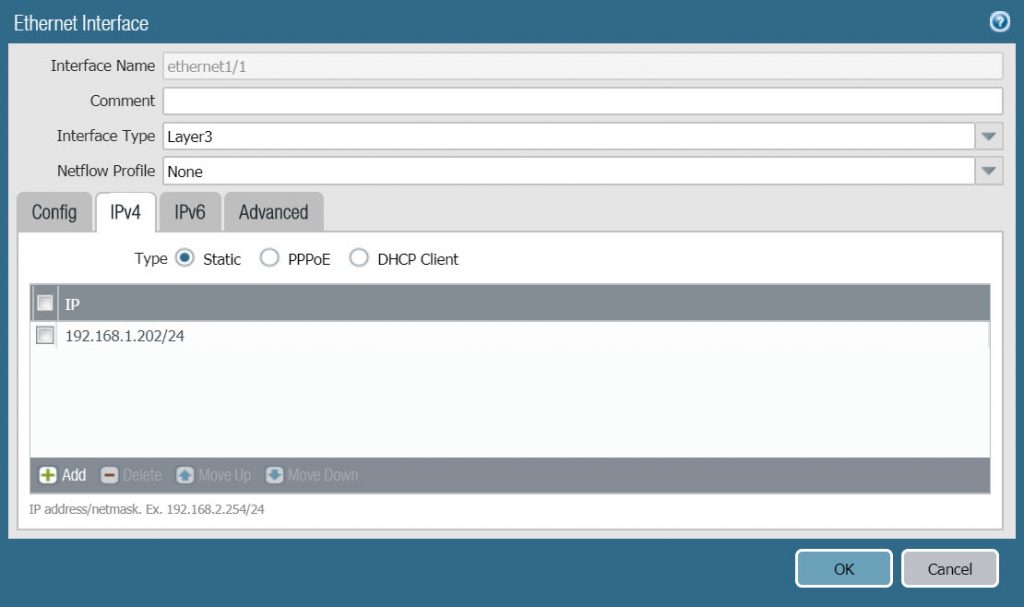
- To configure ethernet1/1 network port go to Network > Interfaces > click on the network port name
- In the Config tab, configure the following parameters :
- Interface type : select Layer 3
- Security Zone : select WAN

- In the IPv4 tab, configure according to the following parameters :
- Type : select Static
- Click Add và type IP 192.168.1.202/24.
- Click OK to save.
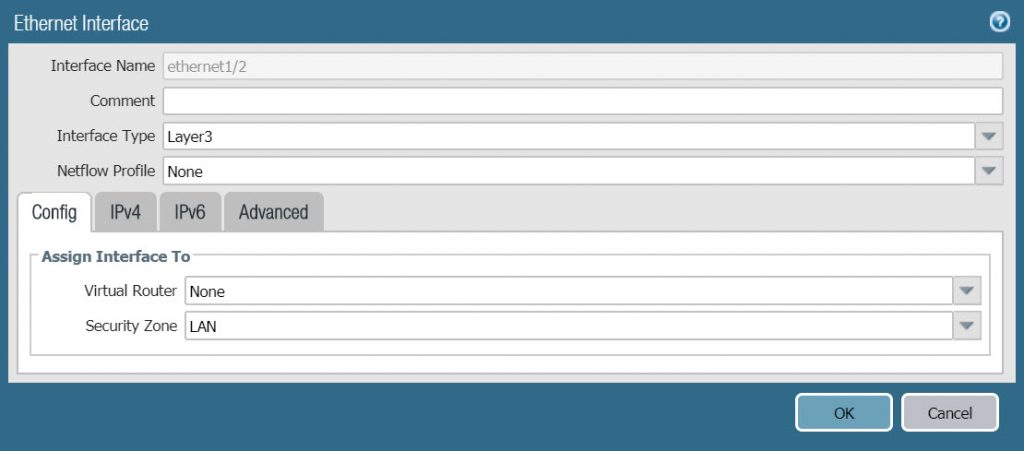
- Similar to ethernet1/1 port, to configure ethernet1/2 port click on the port name.
- In the Config tab, configure according to the following parameters :
- Interface Type : Layer 3
- Security Zone : LAN
- In the IPv4 tab, we configure the following parameters :
- Type : Static
- Click Add và type IP 192.168.10.1/24

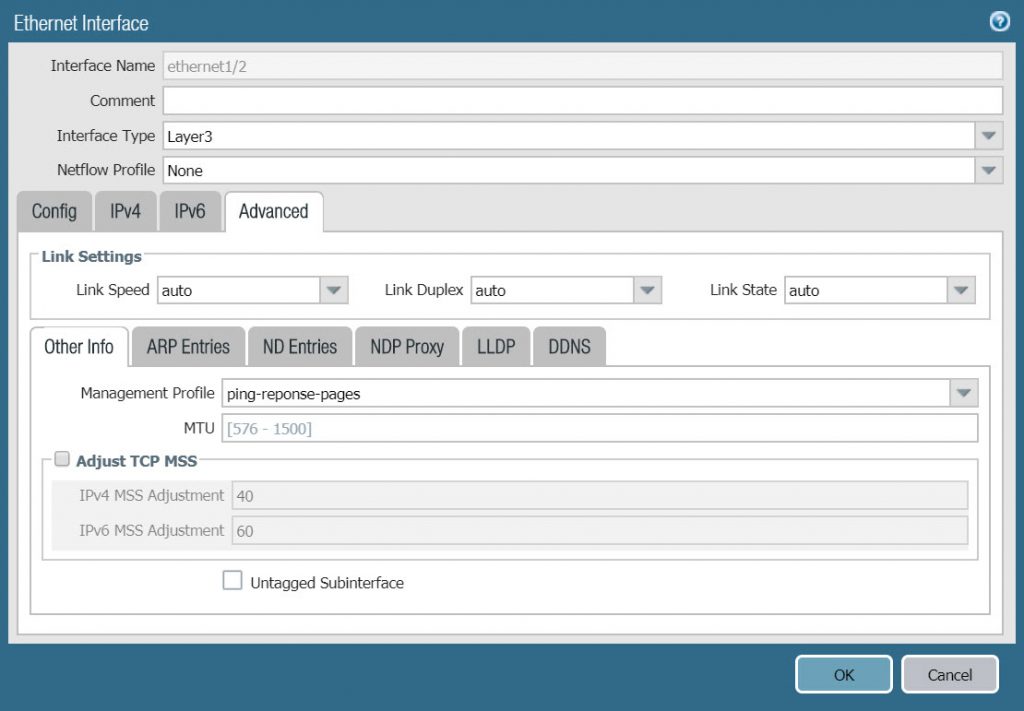
- In the Advanced tab, configure the following :
- In Other Info > Management Profile select the ping-reponse-pages we just created in the previous section.
3.5 Create Virtual Router
- To create a Virtual Router go to Network > Virtual Router > Click Add.
- In the Router Settings tab, configure according to the following parameters :
- Name : VR1
- In the General panel click Add and add 2 port ethernet1/1 and Ethernet1/2.

- On the Static Routes tab, click Add and configure according to the following parameters :
- Name : default-route
- Destination : 0.0.0.0/0
- Interface : ethernet1/1
- Next Hop : IP Address và type 192.168.1.1 in the box below.
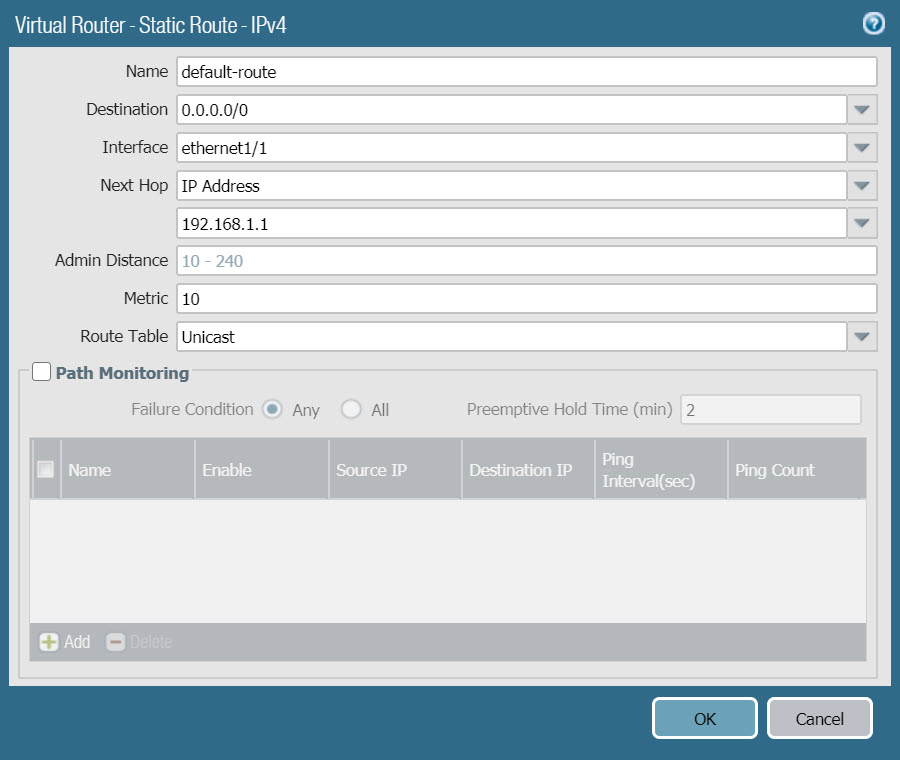
- Click OK two time to save.
3.6 DHCP Server configuration
- To configure DHCP Server go to Network > DHCP > click Add.
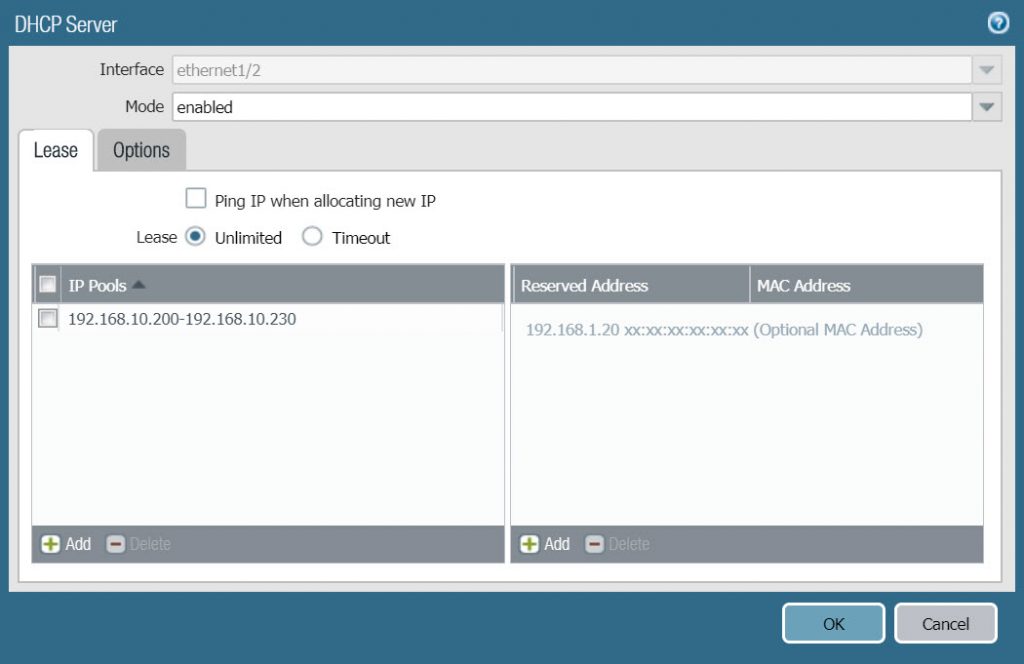
- In the Lease tab, configure with the following parameters :
- Interface : select ethernet1/2
- Mode : enable
- In the IP Pools table click Add and fill in the IP range that will be allocated as 192.168.10.200-192.168.10.230.
- In the Options tab, configure with the following parameters :
- Gateway : 192.168.10.1
- Subnet Mask : 255.255.255.0
- Primary DNS : 8.8.8.8
- Secondary DNS : 8.8.4.4
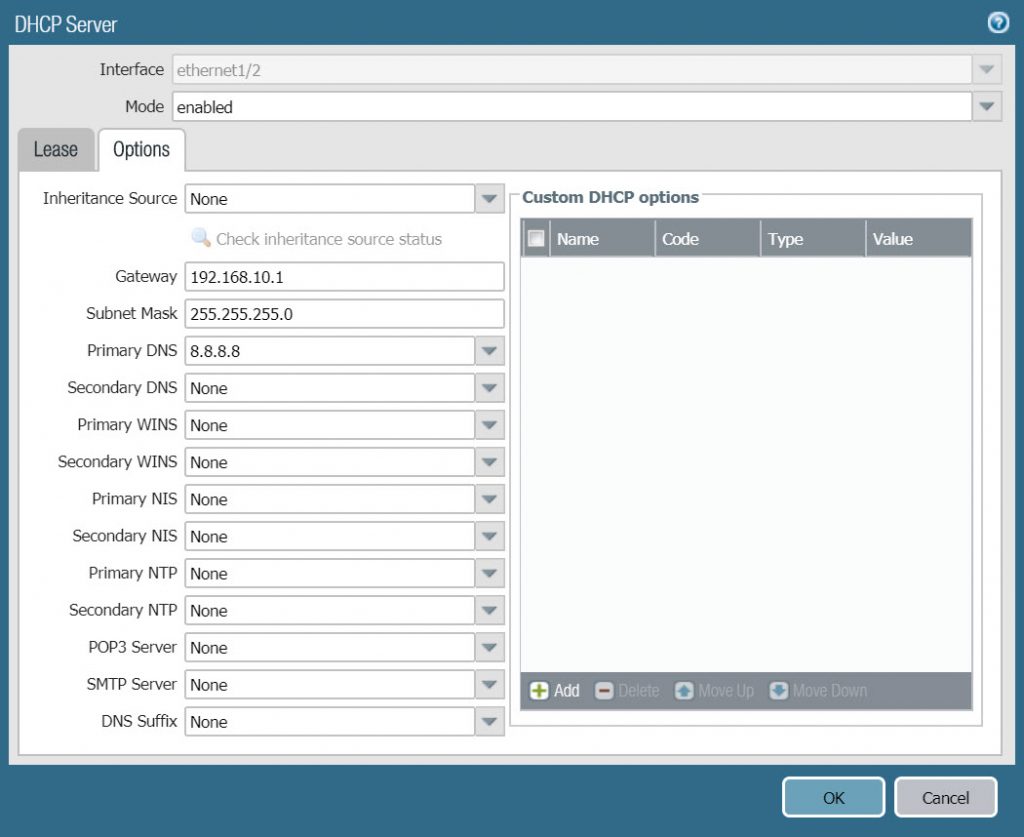
- Click OK to save.
3.7 Create NAT Policy
- To create NAT Policy go to Policies > NAT > Click Add.
- In the General tab, configure according to the following parameters :
- Name : LAN_TO_WAN
- NAT Type : ipv4

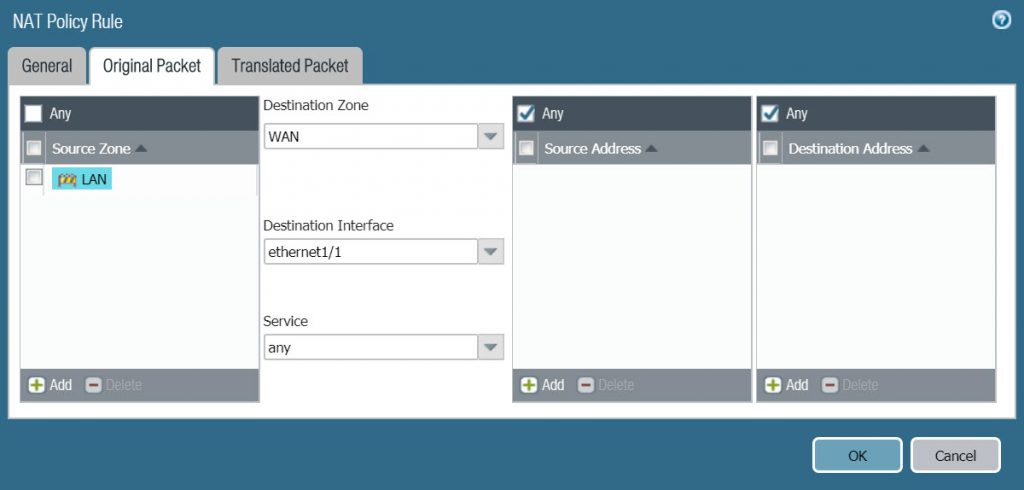
- In the Original Packet tab, configure according to the following parameters :
- Source Zone : LAN
- Destination Zone : WAN
- Destination Interface : ethernet 1/1
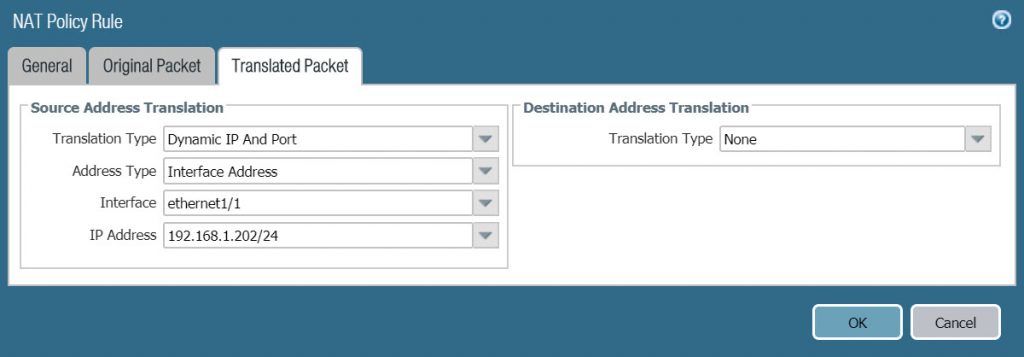
- In the Translated Packet tab > Source Address Translation, configure the following parameters :
- Translation Type : Dynamic IP and Port
- Address Type : Interface Address
- Interface : ethernet1/1
- IP Address : 192.168.1.202/24 (Note that this location must be selected from the drop down list, not entered manually)
3.8 Create Security Policy Rule
- To create Policies > Security > Click Add.
- In the General tab, configure according to the following parameters :
- Name : Access_Internet
- Rule Type : universal (default)

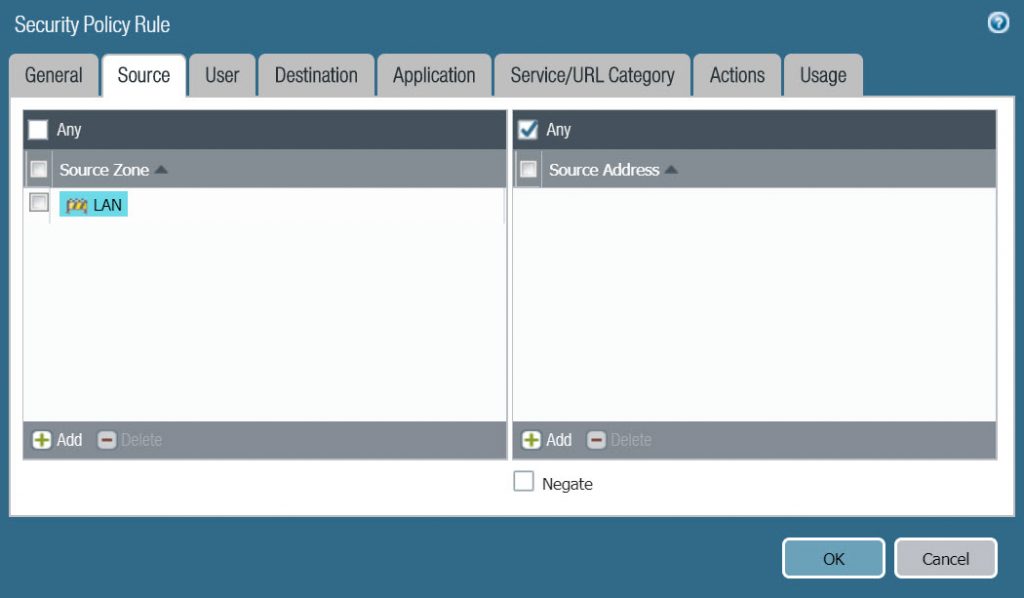
- On the Source tab, select LAN in Source Zone.
- On the Destination tab, choose WAN in Destinatoin Zone.
- On the Application tab, select Any.

- On the Service/URL Category tab, select any.

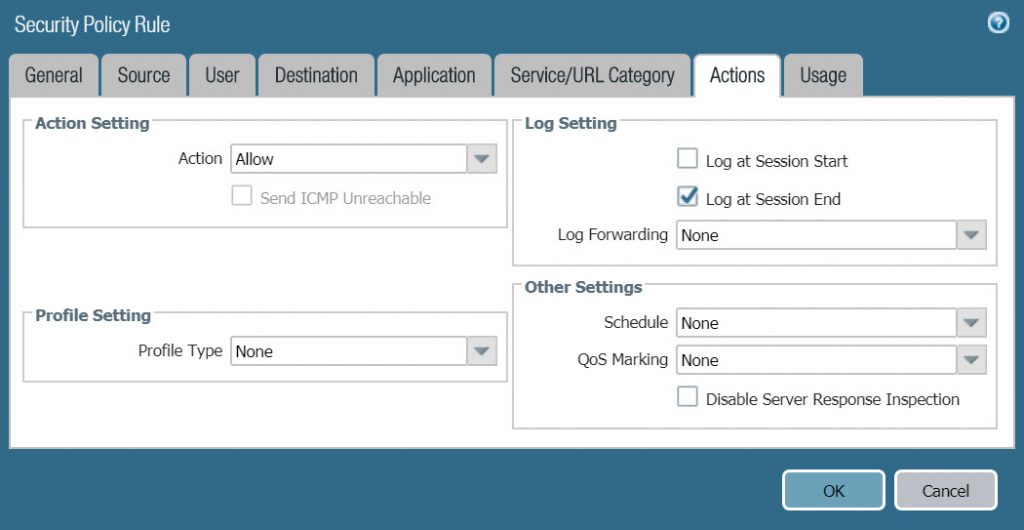
- In the Action tab, configure the following :
- Action Setting : Allow
- Log Setting : Log at Session End.
- Click OK to save.
- Go to Policies > Security > Click Add to create a policy that prohibits access to the facebook web.
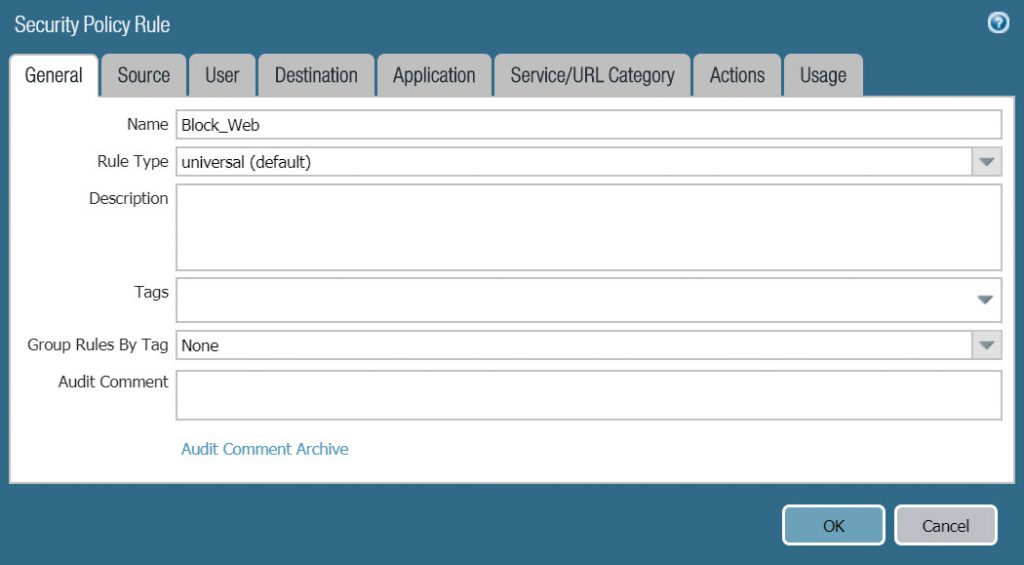
- In General tab :
- Name : Block_Web
- Rule type : universal (default)
- In Source tab :
- Source zone : LAN

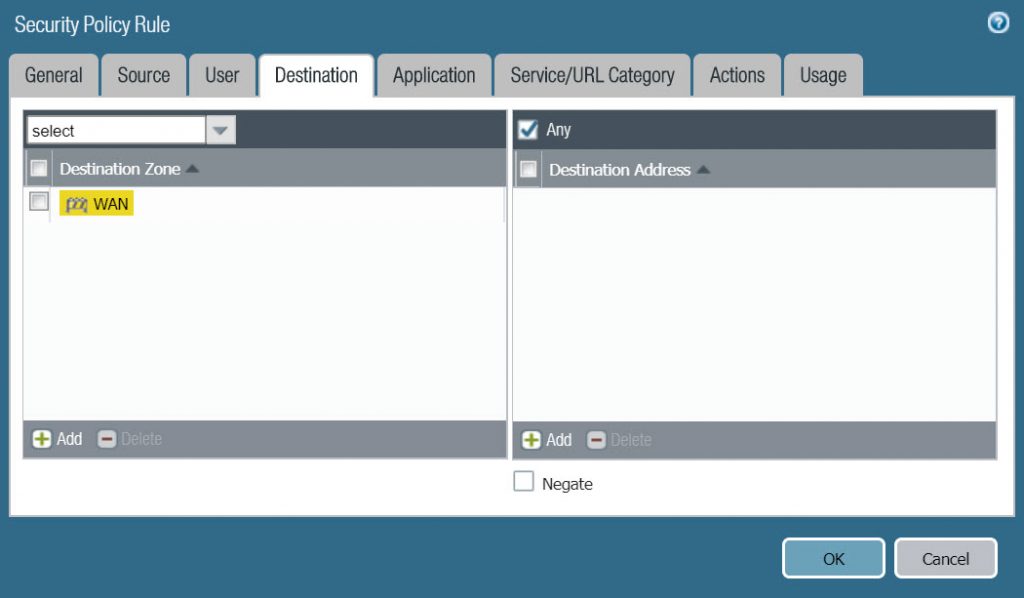
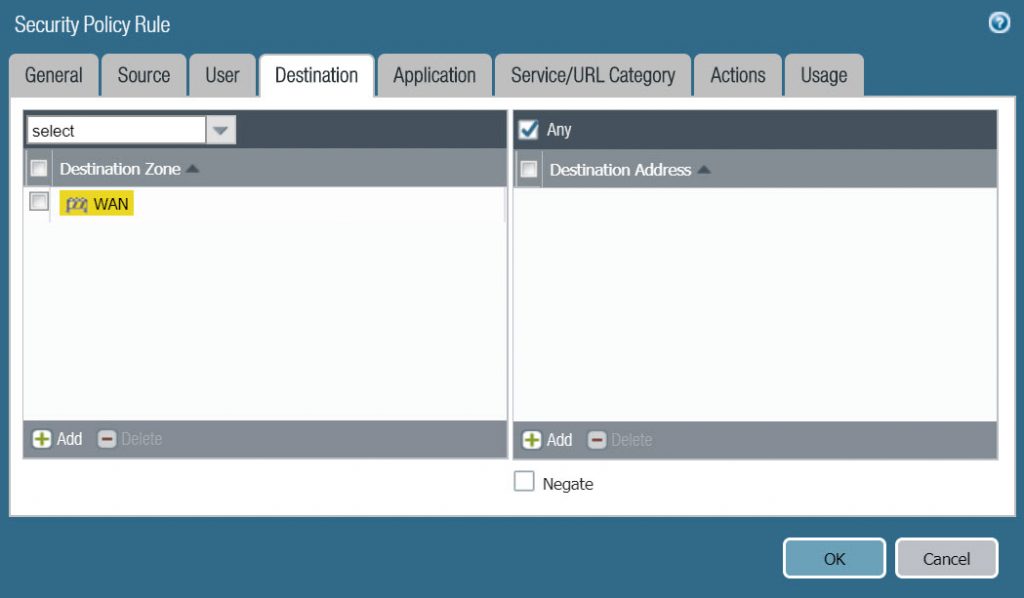
- In Destination tab :
- Destination zone : WAN
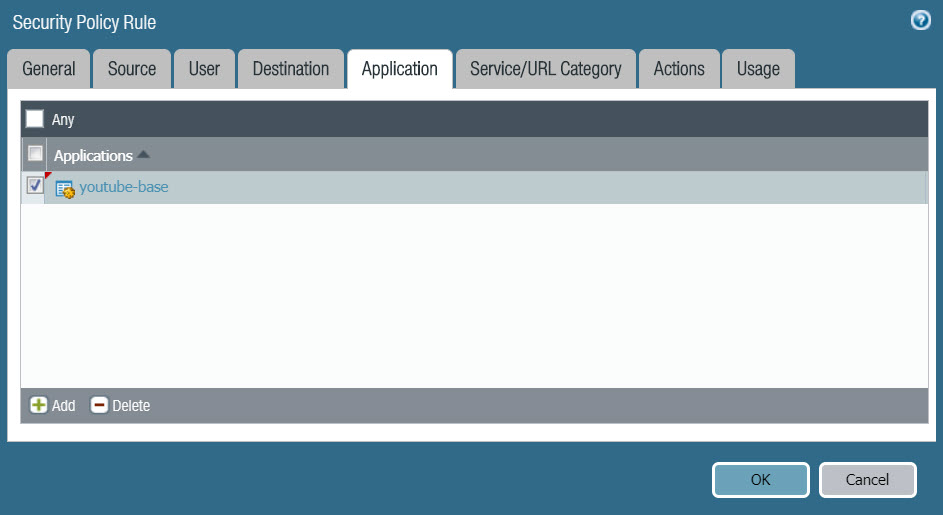
- In Application tab :
- Click Add và select youtube-base
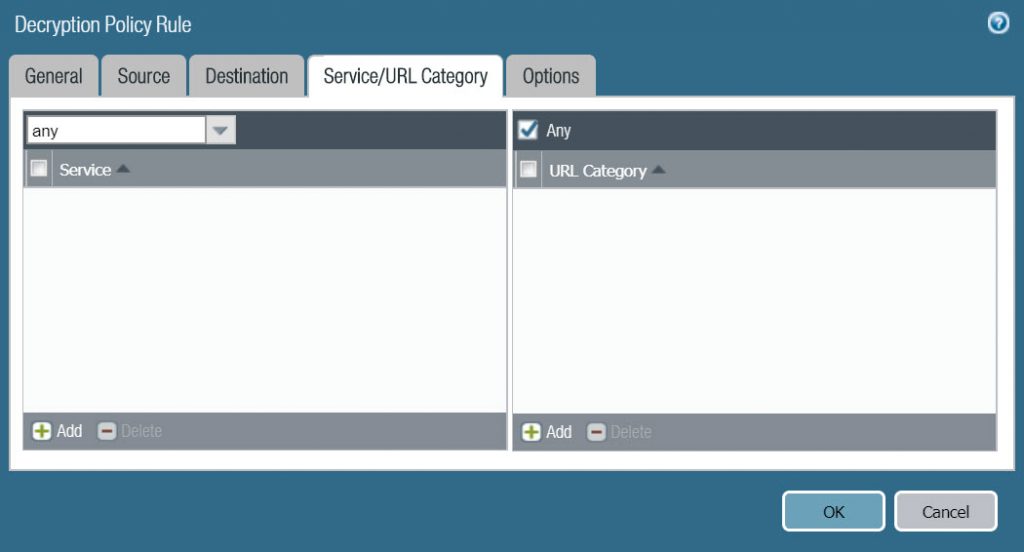
- In Service/URL Category tab :
- Select Any at both Service and URL Category.

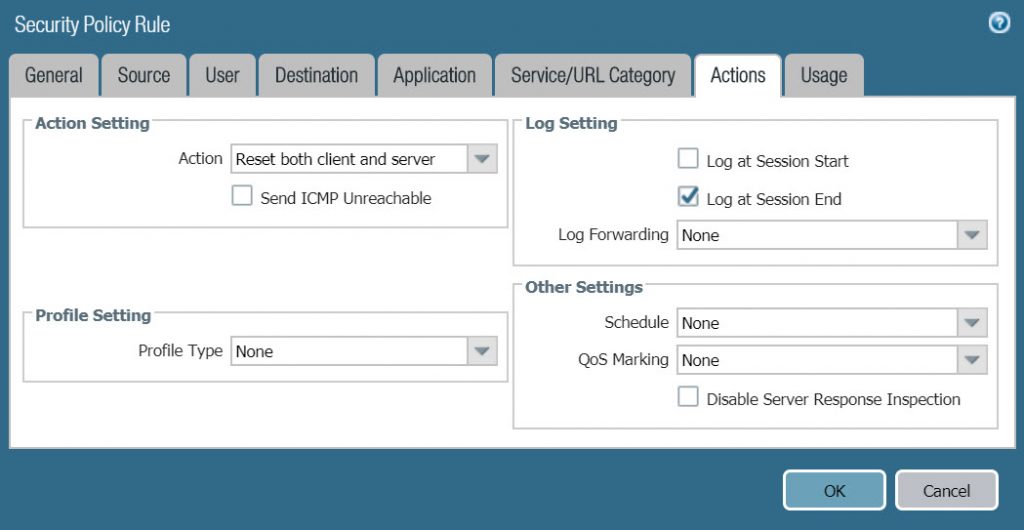
- In Action tab :
- Action Setting : select Reset both client and server
- Log Setting : Log at Session End
3.9 Enable Interzone Logging
- The default interzone-default and intrazone-default Security policy are set to Read-Only.
- Policies > Security > click on interzone-default name to open its configuration page.
- Switch to the Action tab, we see that Log at Session Start and Log at Session End are neither selected nor editable.
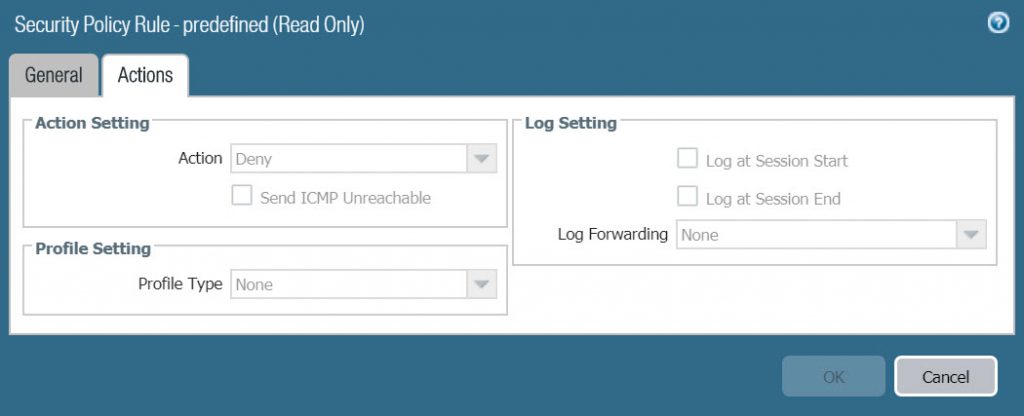
- Click Cancel to exit.
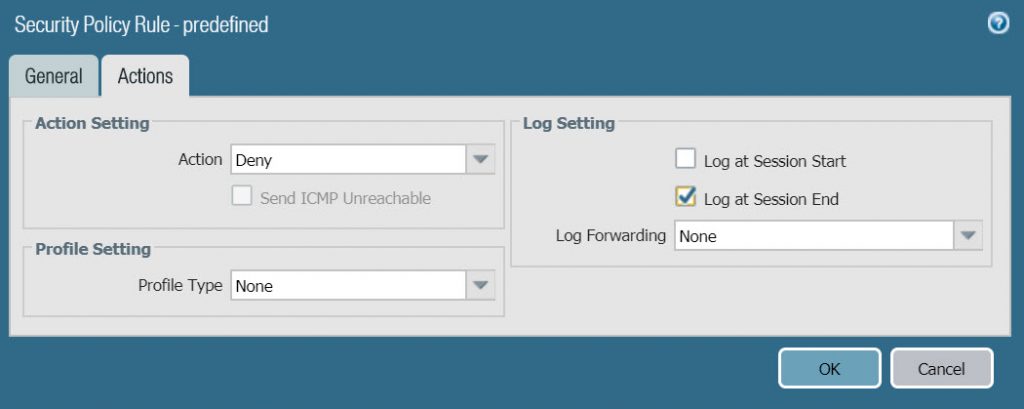
- With the interzone-default policy rule currently selected (highlighted in gray), click Override. Security Policy Rule – predefine window is displayed.
- On the Action tab, select Log at Session End and click OK to save.
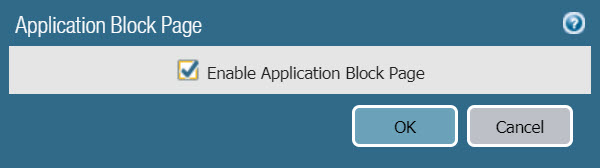
3.10 Enable Application Block Page.
- The purpose of turning on Application Block Page is that when you access a banned website, the browser will display a notification page.
- To turn on Application Block Page go to Device> Reponse Pages.
- Click the word Disable on the right of Application Block Page.
- Check the box of Enable Application Block Page and click OK.
3.11 Configure Decryption
- The purpose of configuring Decryption is so that the Palo Alto firewall device can decrypt the traffic using secure HTTPS protocols.
- To configure Decryption go to Device > Certificates Management > Certificates.
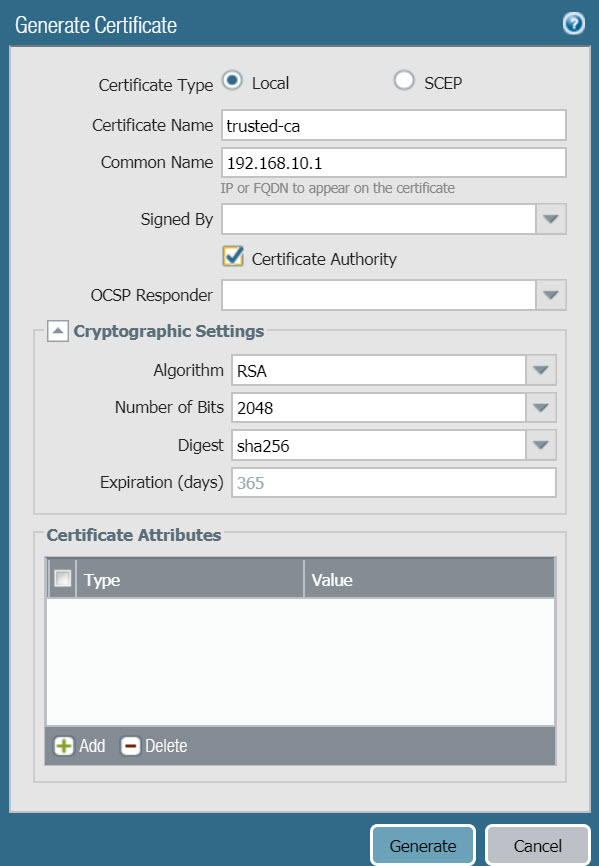
- Click Generate to create a new certificate with the following parameters :
- Certificate Name : trusted-ca
- Common Name : 192.168.1.1 (IP Address of LAN port)
- Certificate Authority : select Certificate Authority.
- Click Generate to create.
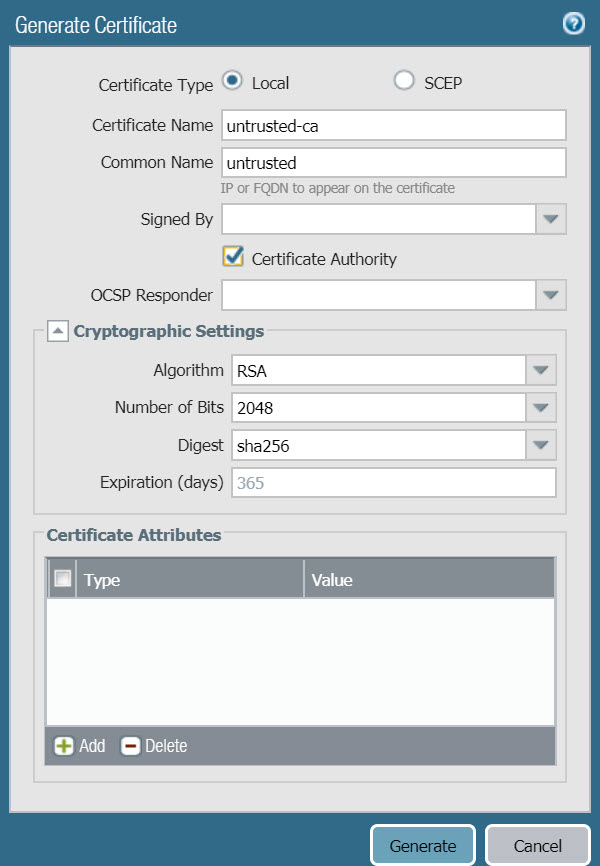
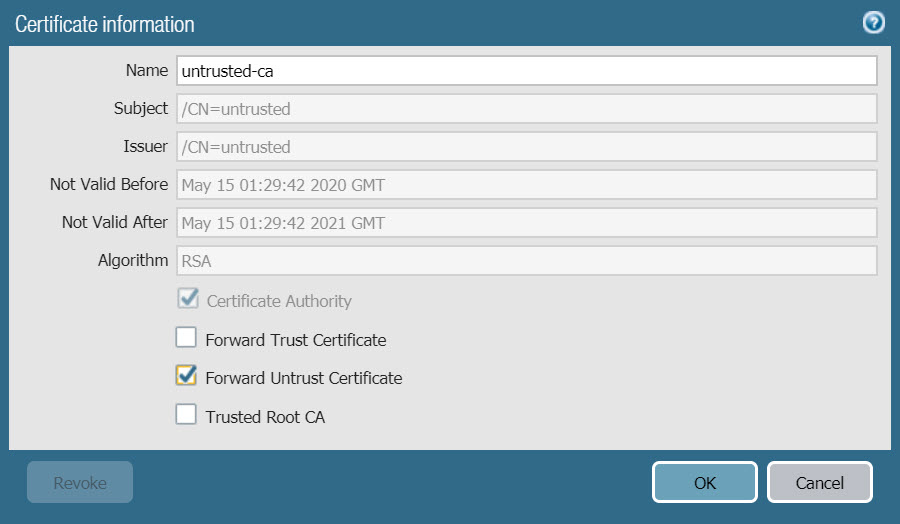
- Click Generate to create another new certificate with the following parameters :
- Common Name : untrusted-ca
- Common Name : untrusted
- Certificate Authority : select Certificate Authority.
- Click Generate to create.
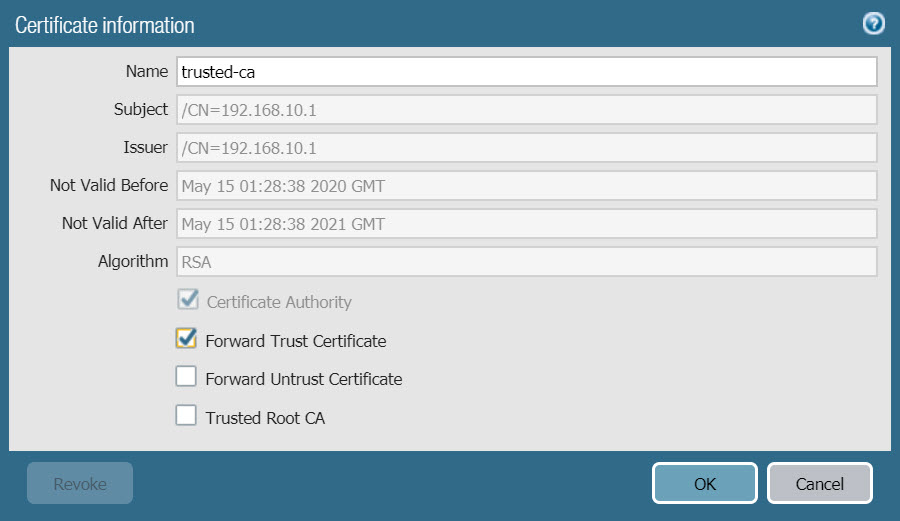
- Click the name trusted-ca to edit as follows :
- Check the Forward Trust Certificate box.
- Click OK to save.
- Similarly, click on the name untrusted-ca to edit as follows :
- Check the Forward Untrust Certificate box.
- Click OK to save.
- Next select trusted-ca certificate and click Export Certificate to download this certificate to your computer.
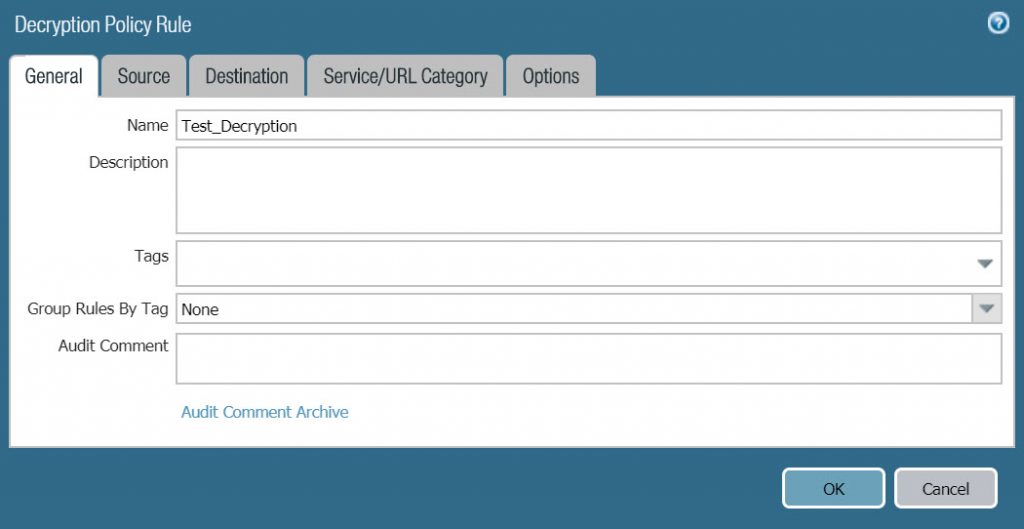
- Next we will create Decryption Policy, to create Policies > Decryption > Click Add and configure with the following parameters :
- Name : Test_Decryption
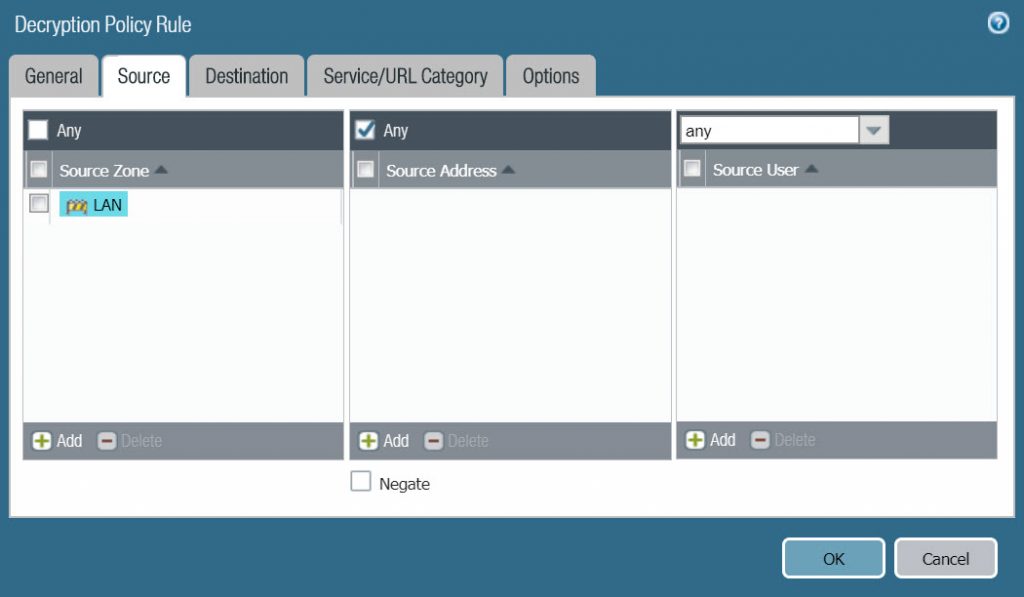
- Source : LAN
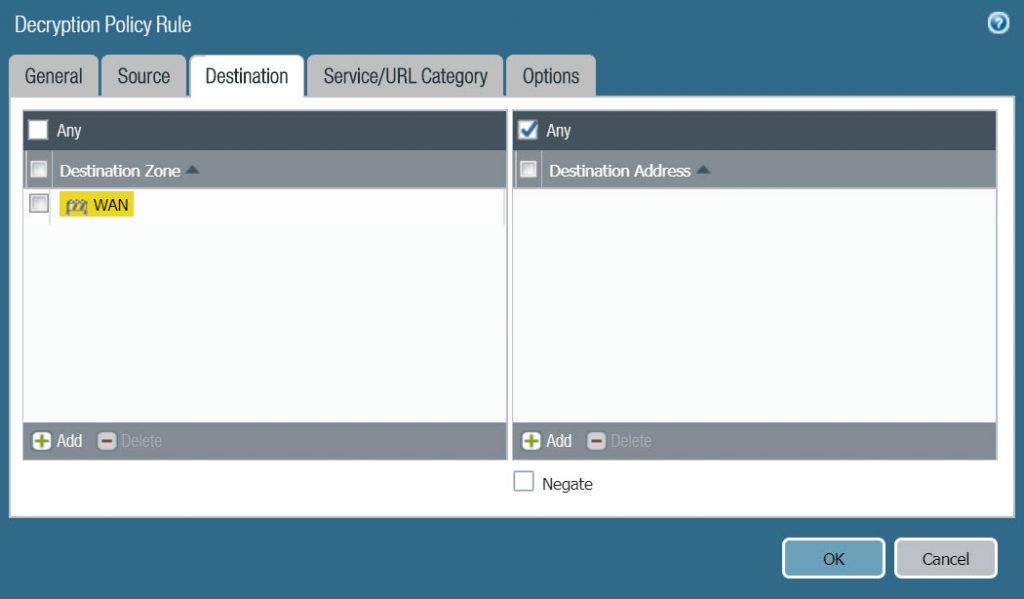
- Destination : WAN
- Service/URL Category : Any
- Options : Select Decrypt in Action và select SSL Forward Proxy in Type
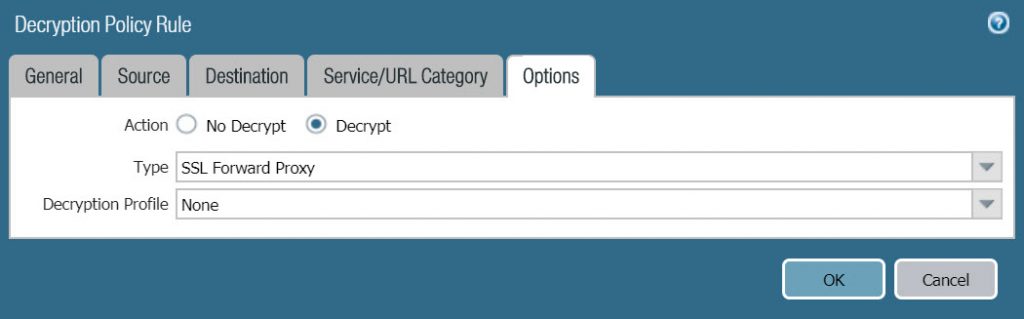
- Click OK to save.
- In the Windows search box, type mmc and press the Enter key to open the Microsoft Management Console.
- Choose Console Root > Click File > Click Add/Remove Snap-in …
- The Add or Remove Snap-ins panel appears, check Certificate and click Add.
- The Certificates snap-in table appears, select Computer account> Next > select Local computer > click Finish > Click OK.
- Go to Certificates (Local Computer) > right-click Trusted Root Certification Authorities > select All Task > Import.
- The Certificate Import Wizard window appears, click Next > in the File name section, click Browse and navigate to the location where you saved the certificate at the time of export.
- Click Next > Finish to complete the import.
3.9 Result
- After completing the configuration, use a network cable that connects the computer to the ethernet1/2 port on the Palo Alto firewall.
- Turn on the Command Line application and type the command ipconfig to check if the machine receives IP from the DHCP Server configured on ethernet1/2 port or not..
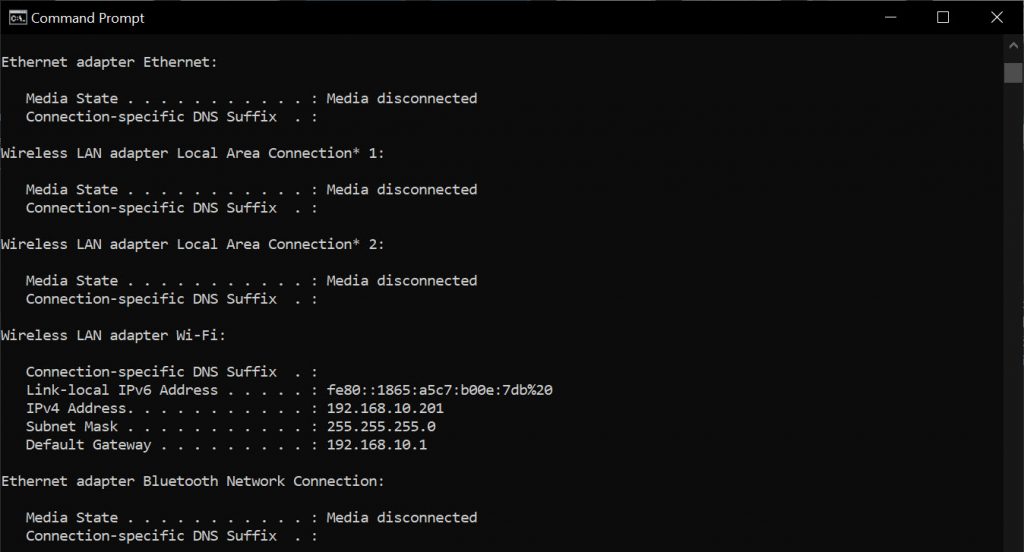
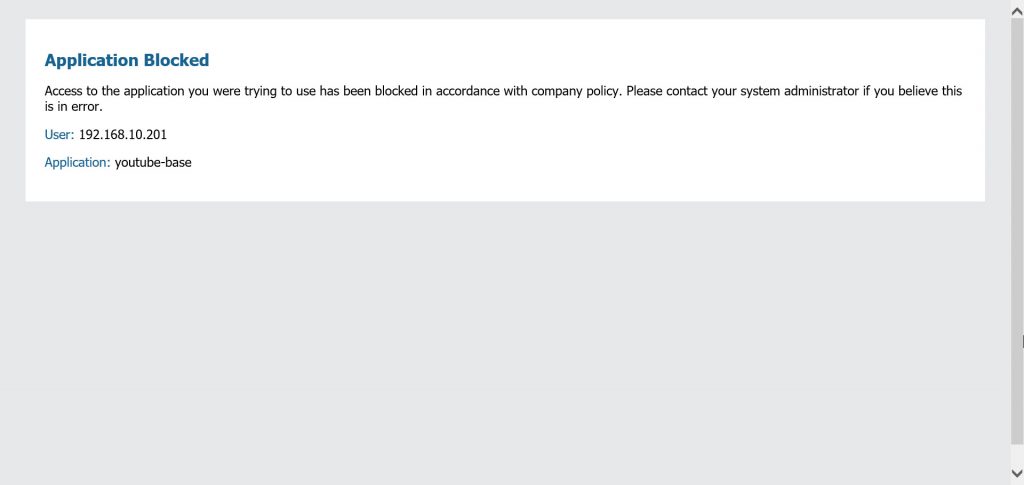
- Open any web browser and visit the zalo page to check, as a result we can not access.
- Go to other websites like google.
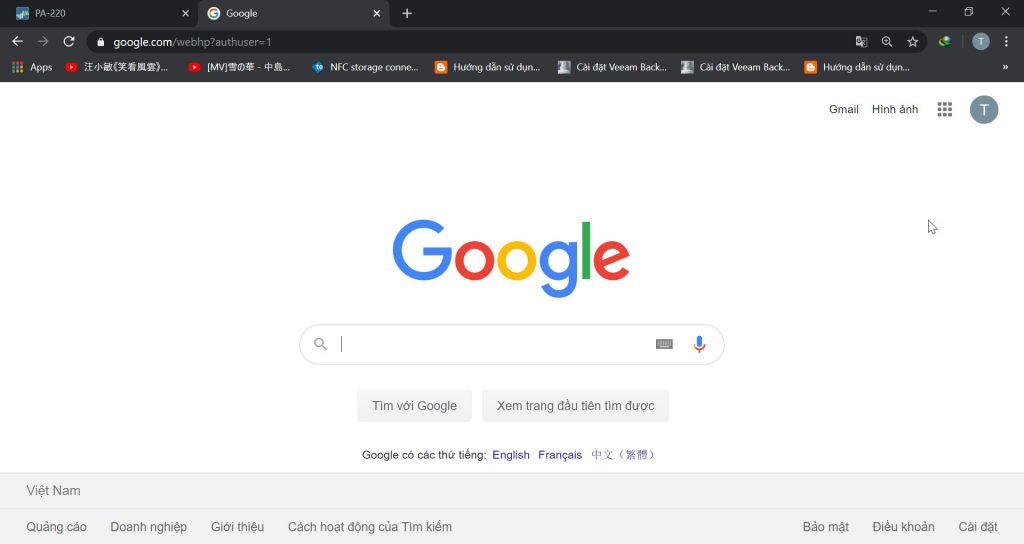
- Open a new tab in your browser and enter the link https://192.168.10.1 to access the admin page of the Palo Alto firewall.
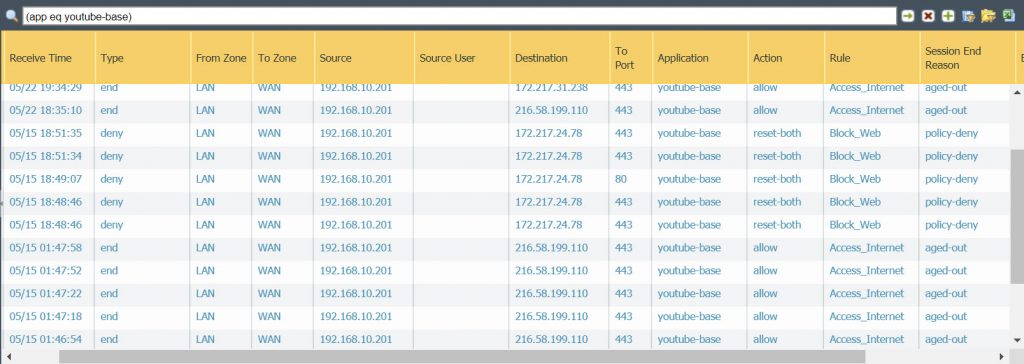
- We will check the log of the Palo Alto firewall, to see the log in Monitor > Traffic, in the search box we enter the following command (app eq zalo-base) and press enter to see the results.
- As the screenshot below we have been banned from accessing youtube by the Block-Web rule.
Leave a Reply