
Overview
The article guides you to build SQL Server to connect to Zecurion Server DLP. Its function is to store Zecurion DLP logs and reports
Diagram
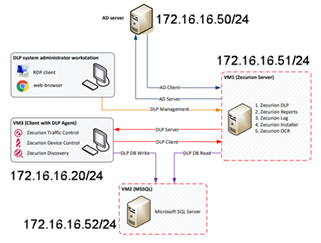
Table of contents
- Prepare before installation
- Instructions for installing MSSQL
- Instructions for connecting Zecurion Log and Report to SQL Server
How to configure
1. Prepare before installation
Configuration required
- CPU: 2 CPU 2 Core
- Memory: 8 GB
- Disk: 200 GB
- Operating system: Windows Server 2008R2 – 2016
- Installed software: MSSQL Server 2008R2 – 2016 with Full-text search
2. How to install MSSQL
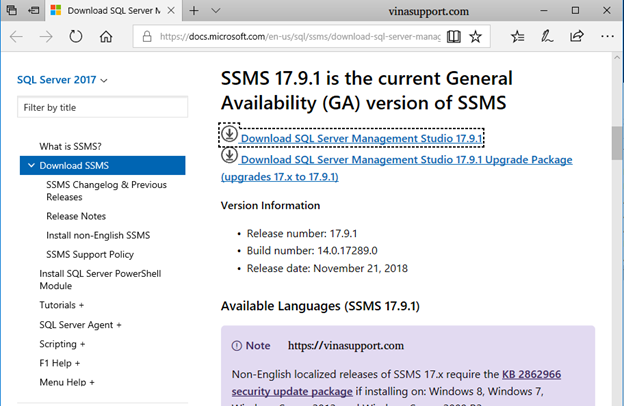
- Download installation file MSSQL Express 2016 from Microsoft page
- Unzip .iso file of SQL Server, run setup.exe
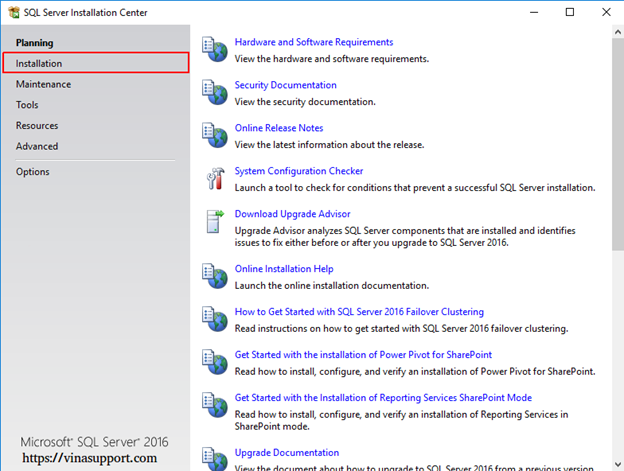
- Choose Installation
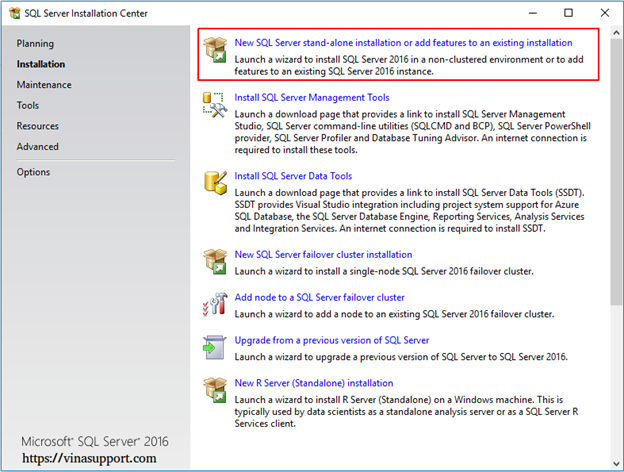
- Choose New SQL Server stand-alone installation or add features to exist installation
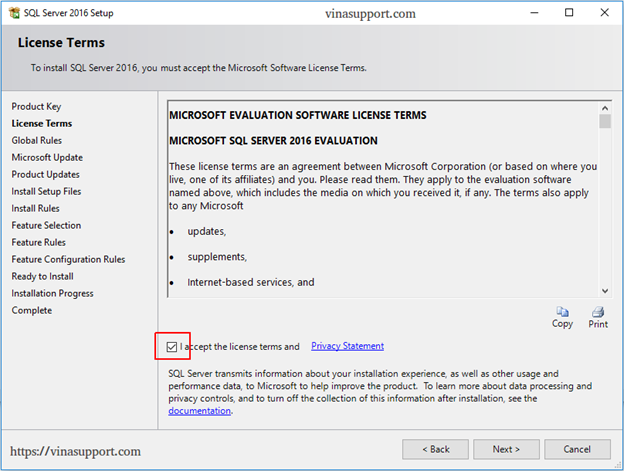
- Click I accept license terms and Privacy Statement -> Click Next
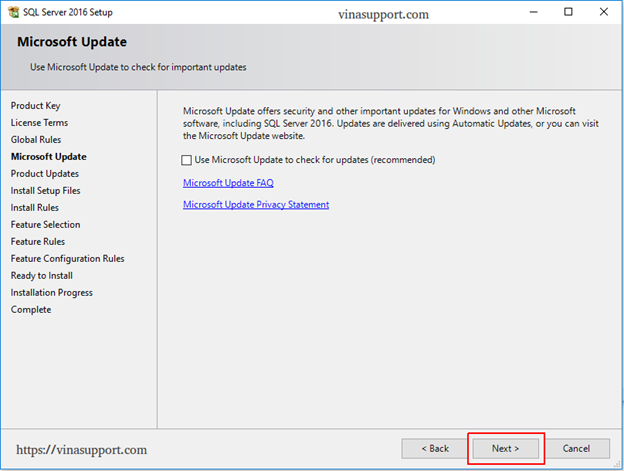
- Not tick User Microsoft Update to check for updates -> Click Next
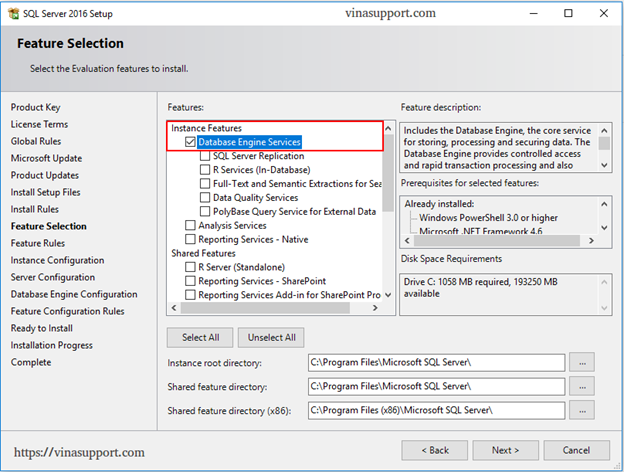
- Choose the features of SQL Server that you want to install (I select all the features) -> Click Next
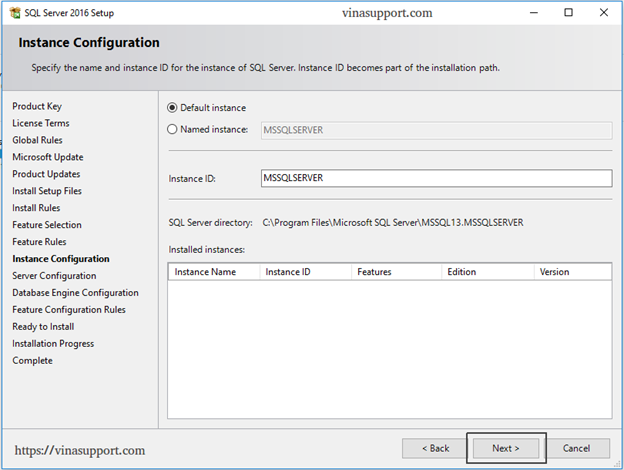
- Choose Default instance -> Click Next
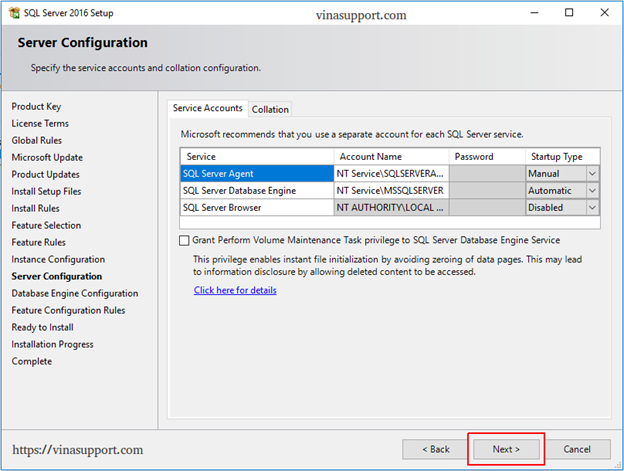
- Leave the default and click Next
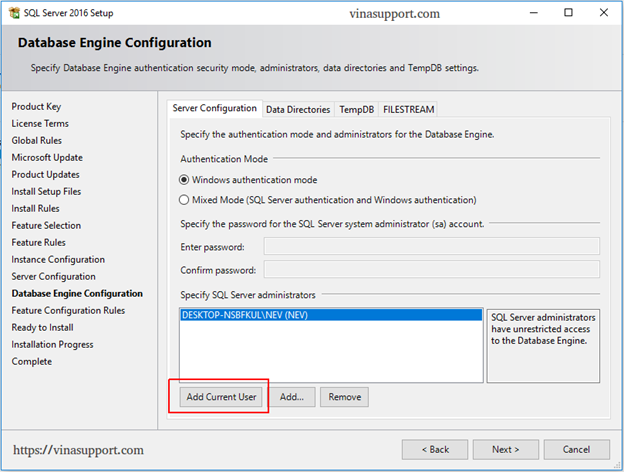
- Here we choose Mixed mode as required by Zecurion DLP (do not choose the same picture, just follow my instructions) -> Set password for sa account -> Click Next
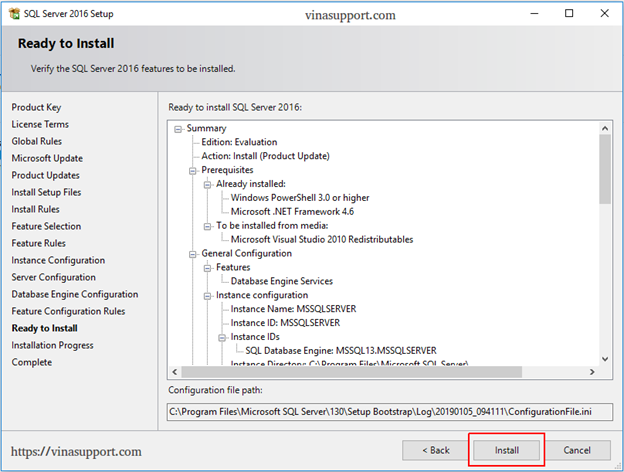
- Click Install
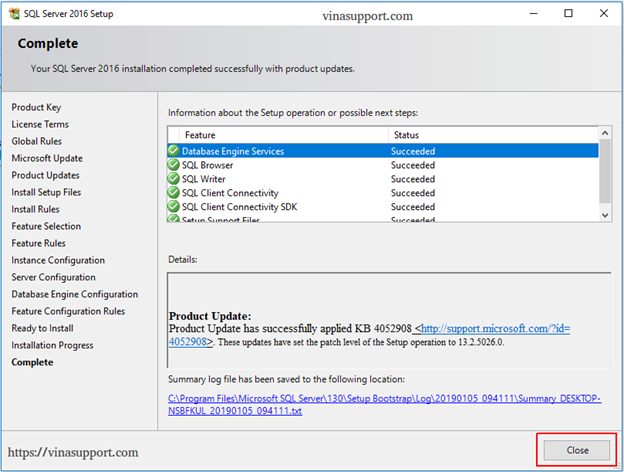
- Wait for installing

- Click Close to complete the installation and close the installtion window
- Install SQL Server Management Studio -> Back to SQL Server Installation page -> Choose Install SQL Server Management Tools
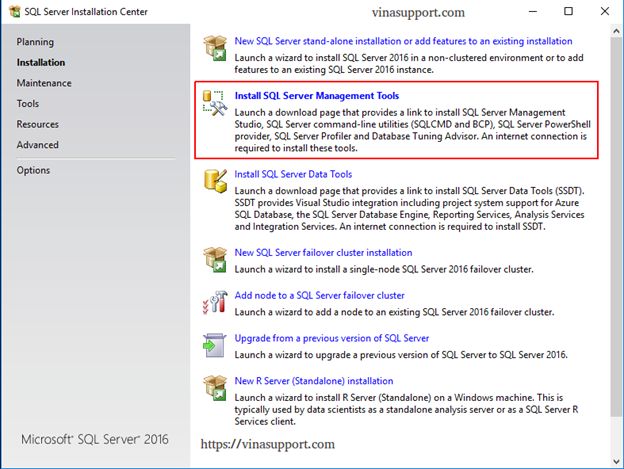
- Download SQL Management Studio
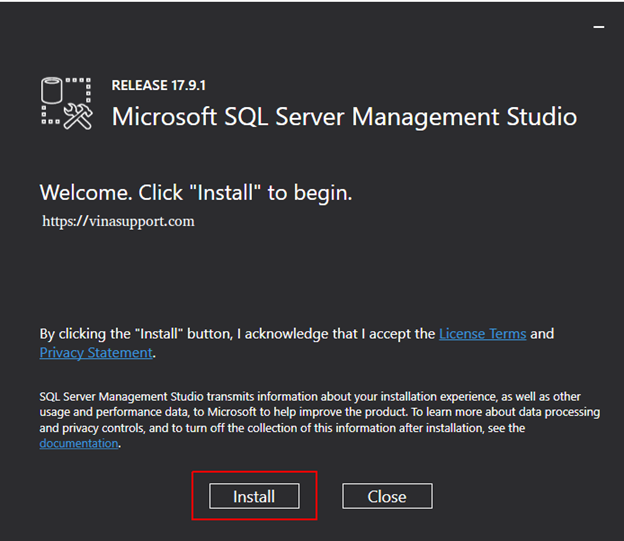
- After downloading -> Click file to install -> Click Install
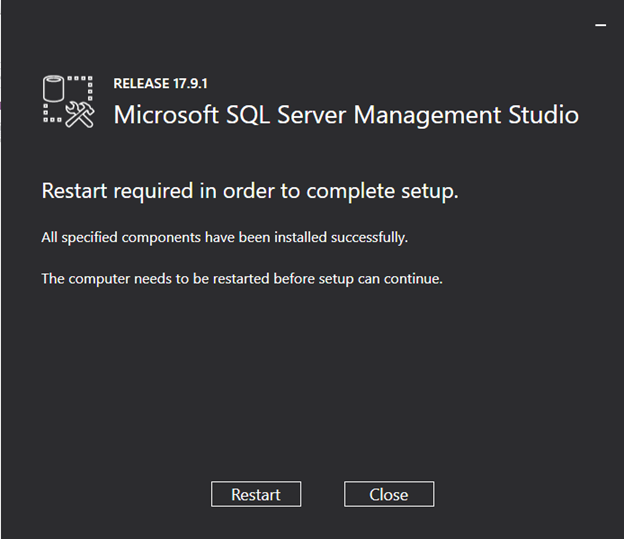
- Click Restart
3. Make Zecurion Log and Report connection to SQL Server
Connect Log to SQL Server
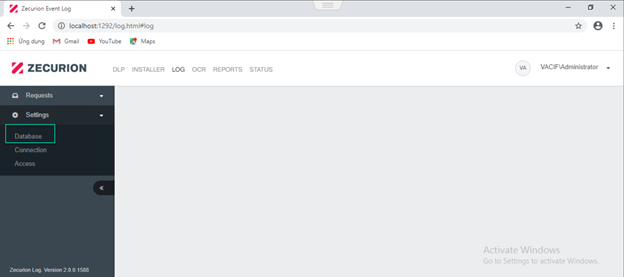
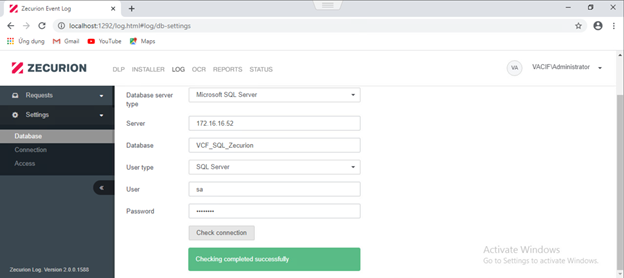
- Login Zecurion Server by Admin account
- Go to LOG -> Choose Settings -> Choose Database
- Config connect to database
- In Database server type: Choose Microsoft SQL Server
- In Server: Enter IP address of SQL Server
- In Database: Enter Database name
- In User type: Choose SQL Server
- In User: Enter sa
- In Password: Enter password of user sa
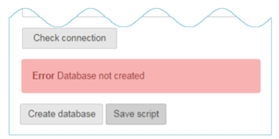
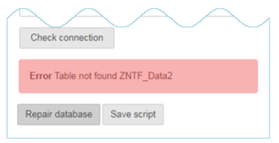
-> Click Check connection
** If have error Error Database not created -> Click Create database
** If have error Error Table not found -> Click Repair database
Connect Report to SQL Server
- Choose REPORTS -> Choose Settings -> Click Database -> Enter information of Log -> Click Check connection
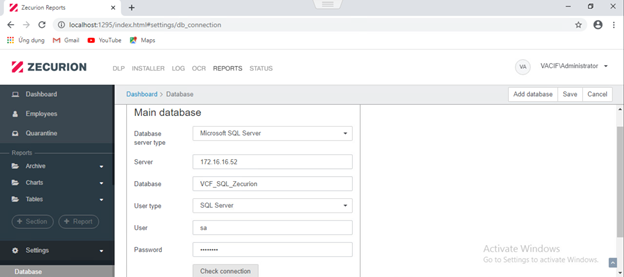
** If have error Error Database not created -> Click Create database
** If have error Error Table not found -> Click Repair database
Leave a Reply