
Overview
Zabbix is an open source enterprise software that monitors networks and applications
It is designed to help network administrators monitor and monitor the status of other network services, servers and network hardware intelligently to ensure the system is always stable
How to configure
Step 1: Install Apache2/httpd
- Install httpd

- After installing the httpd service, run the start command to “open” the service and enable the service to “run smoothly”

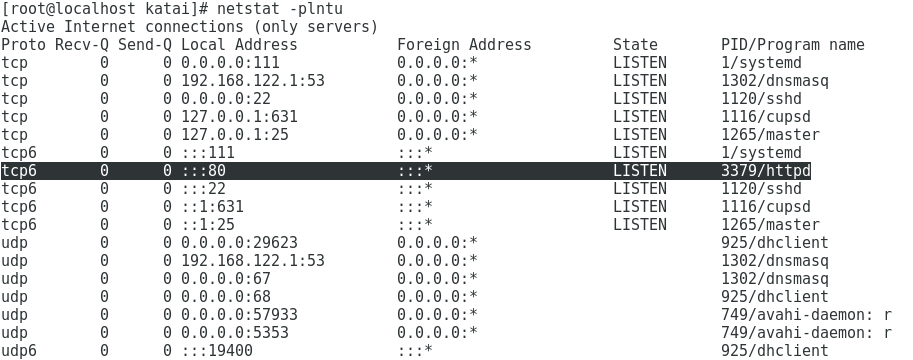
- To make sure httpd is running on CentOS, we use the following command: # netstat -plntu
Step 2: Install and configure PHP on CentOS 7
- Add the webtatic and EPEL repository to the system


- Install PHP packages from the webtatic repository using yum: # yum -y install mod_php72w php72w-cli php72w-common php72w-devel php72w-pear php72w-gd php72w-mbstring php72w-mysql php72w-xml php72w-bcmath

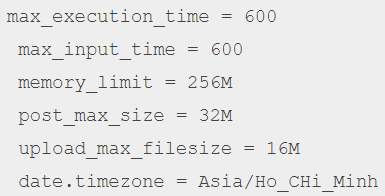
- Edit file vi /etc/php.ini
- Enter i to insert or edit the values
- You have to make sure that the value fields change do not have the # or the (;) in front
- After finished running, we will restart the httpd service

Step 3: Install and configure MariaDB
- Install mariadb-server with the command below

- After successful installation, you run the command like the above httpd service is “start” and “enable”

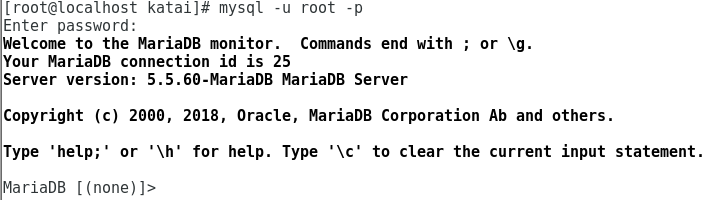
- Configure password for root MariaDB
- Here we have created MariaDB database and finished configuring the root password for Database

- Create a database to install Zabbix
- In this example will create a database called ‘zabbix’

Step 4: Install and configure Zabbix
- This step is the step of installing and configuring Zabbix (Zabbix-server and Zabbix-agent)
- Install Zabbix Packages:
- # yum -y install http://repo.zabbix.com/zabbix/3.4/rhel/7/x86_64/zabbix-release-3.4-1.el7.centos.noarch.rpm

- # yum -y install zabbix-get zabbix-server-mysql zabbix-web-mysql zabbix-agent

- Enter the path: cd /usr/share/doc/zabbix-server-mysql-…………../
- The above folder may change depending on your mysql version, it is best to click the zabbix-server tab to point the correct path


- Import the sample database into the “zabbix” database with the command: # mysql -u root -p zabbix < create.sql

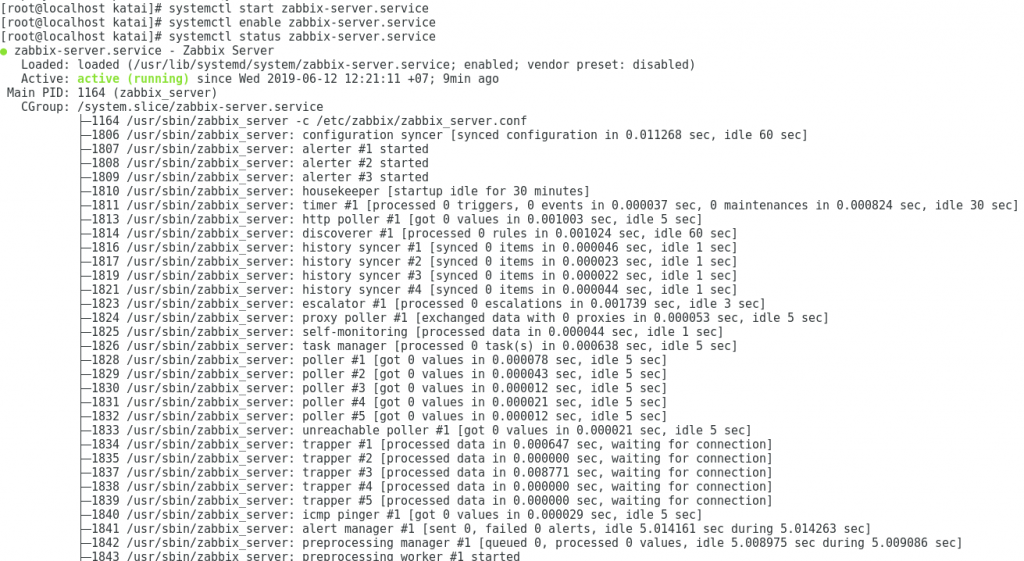
- Configure Zabbix Server
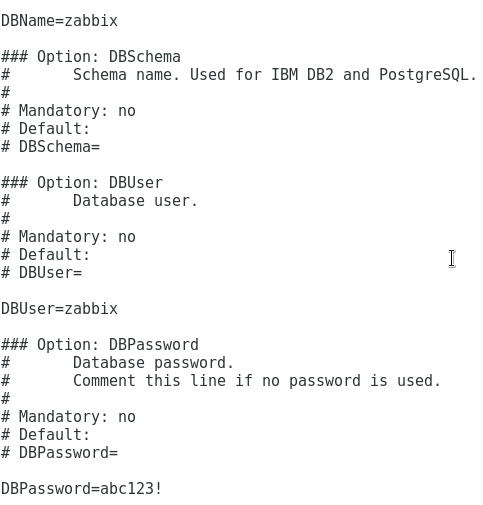
- # vi /etc/zabbix/zabbix_server.conf
- DBHost=localhost
- DBPassword=password declared for database
- After start and enable
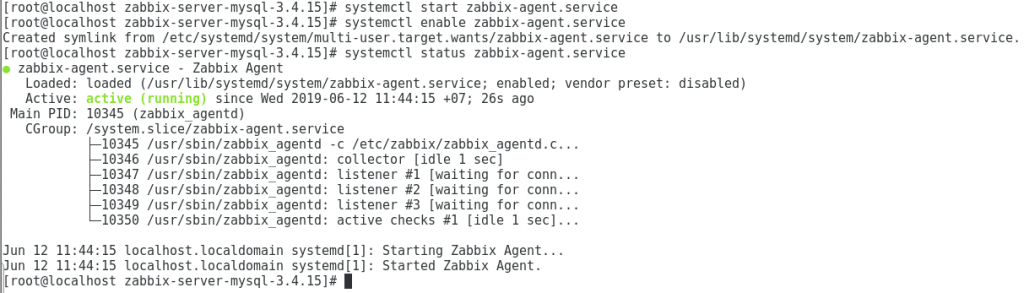
- Configure Zabbix Agent
- # vi /etc/zabbix/zabbix_agentd.conf
- Declare the values below
- After start and enable
- Install firewall service

- After start and enable

- Open http and https ports for Zabbix-server and Zabbix-agent (port 10051 and 10050)

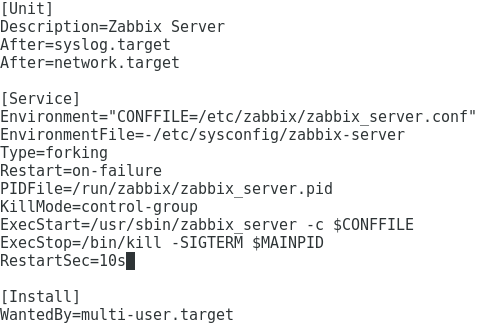
Step 5: Zabbix Initial Setup
- vi /use/lib/systemd/system/zabbix-server.service
- Delete the line TimeoutSec=xxxxx
- Next, run 2 commands

- Then run 3 commands below

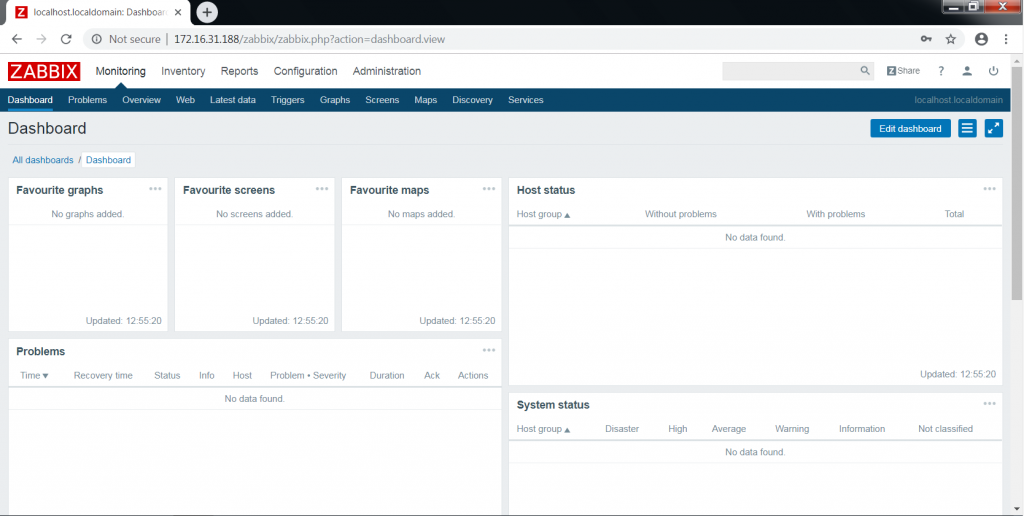
- Access to web interface’s zabbix server
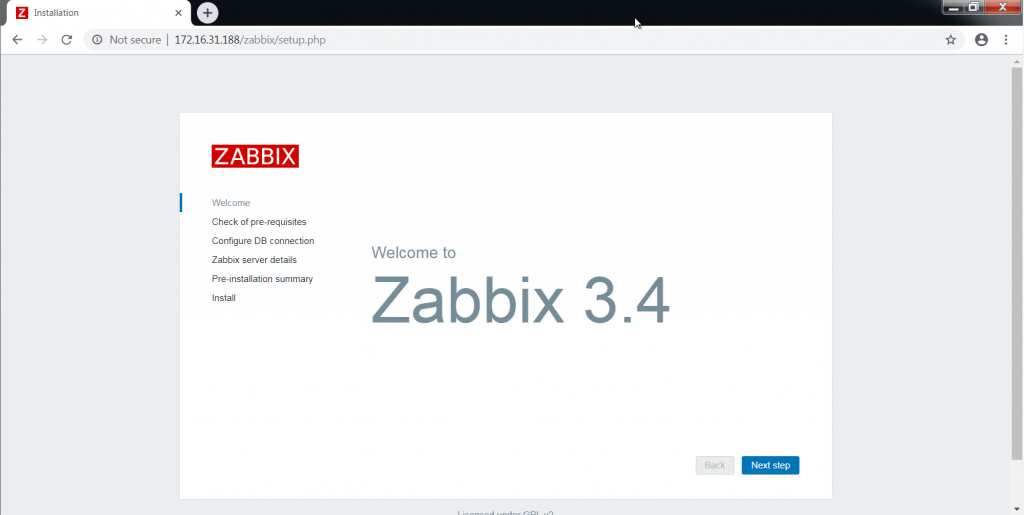
- Finish
- Login with default user ‘admin‘ and password ‘zabbix‘
** If you have difficulty in configuring Sophos products in Viet Nam, please contact us:
Hotline: 02862711677
Email: info@thegioifirewall.com
Leave a Reply