
How to config
- Prepare a USB Boot with 8 GB capacity
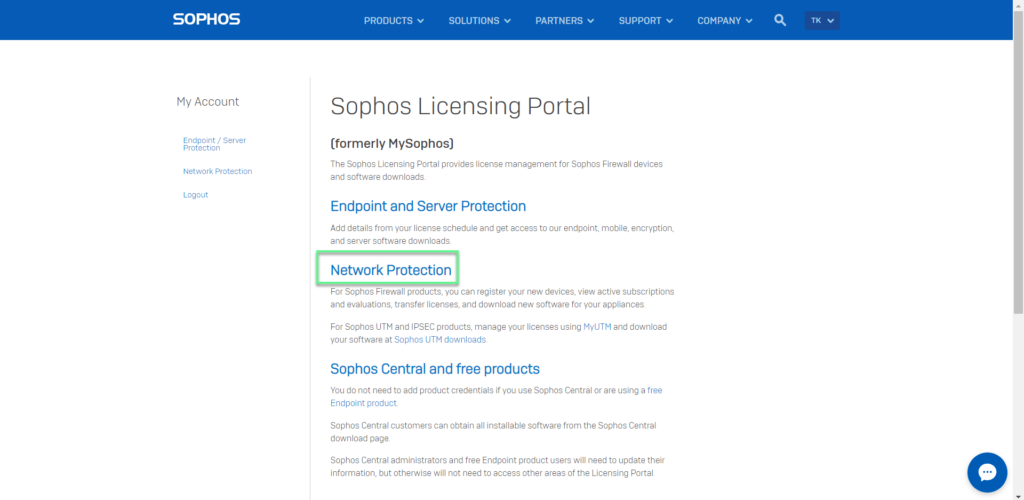
- Access website sophos.com/mysophos
- Log on with Sophos account
- Choose Network Protection
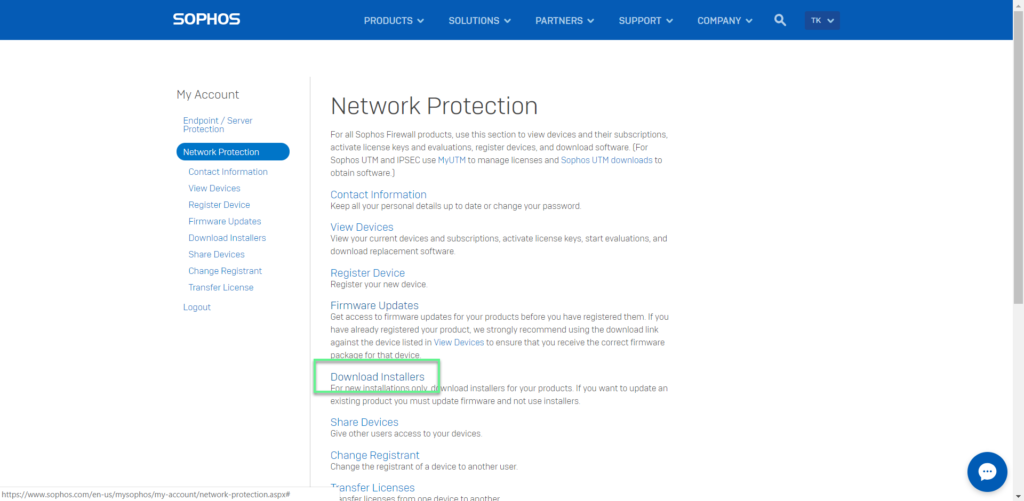
- Choose Download Installers
- In Hardware Installers -> Firewall OS for XG Series -> Choose Download

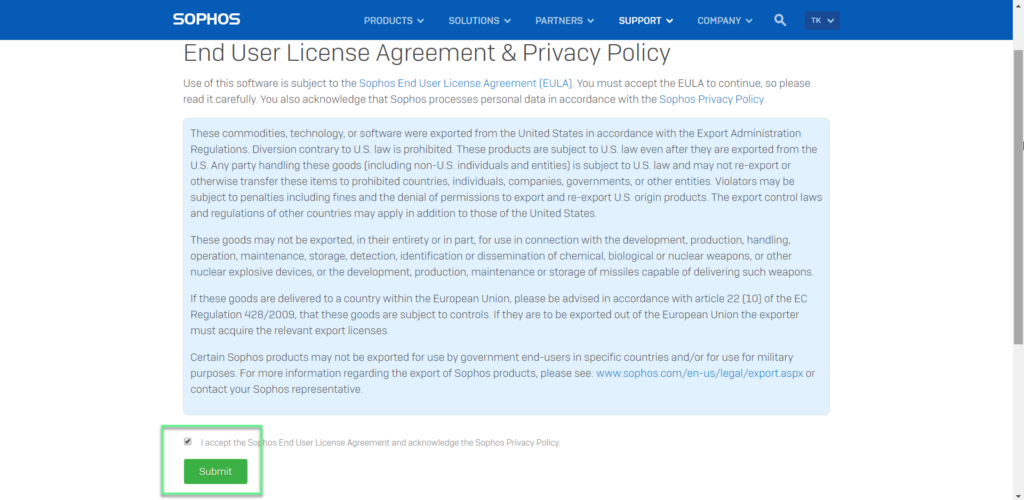
- Tick in I accept the Sophos End User License Agreement and acknowledge the Sophos Privacy Policy -> Click Submit
- Download and install rufus to create USB Boot
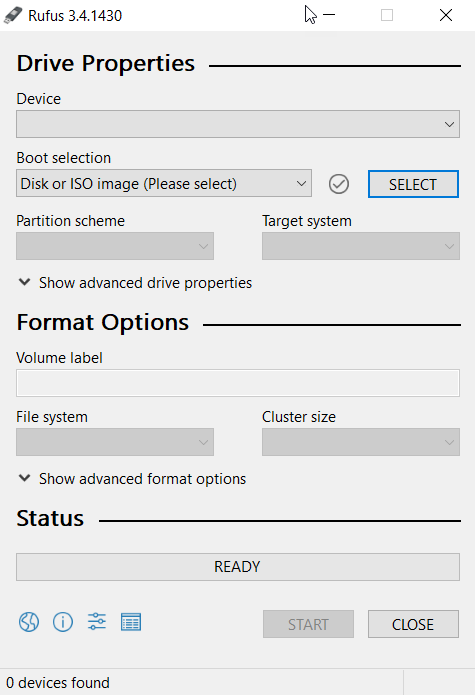
- Plug in USB and select Device -> Click Select to get the downloaded OS file from the previous -> Click Start
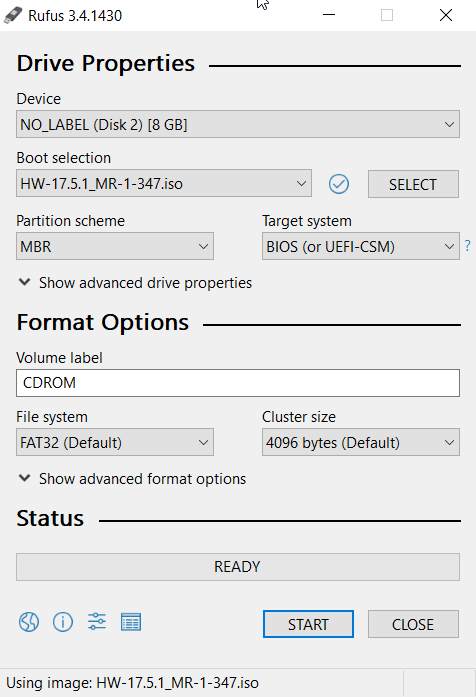
- Choose Write in DD Image mode -> Click OK -> Click OK

- After you have completed creating USB Boot, plug in the USB port on the Sophos XG device and reboot the XG -> Wait about 10 – 15 minutes, the OS installation process is completely automatic
- After you have finished installing the OS, unplug the USB and reboot again -> Complete the installation of a new OS for the Sophos XG device
** If you have difficulty configuring Sophos products in Vietnam, please contact us
EMAIL: info@thegioifirewall.com
HOTLINE: 02862711677
Leave a Reply