
Prepare
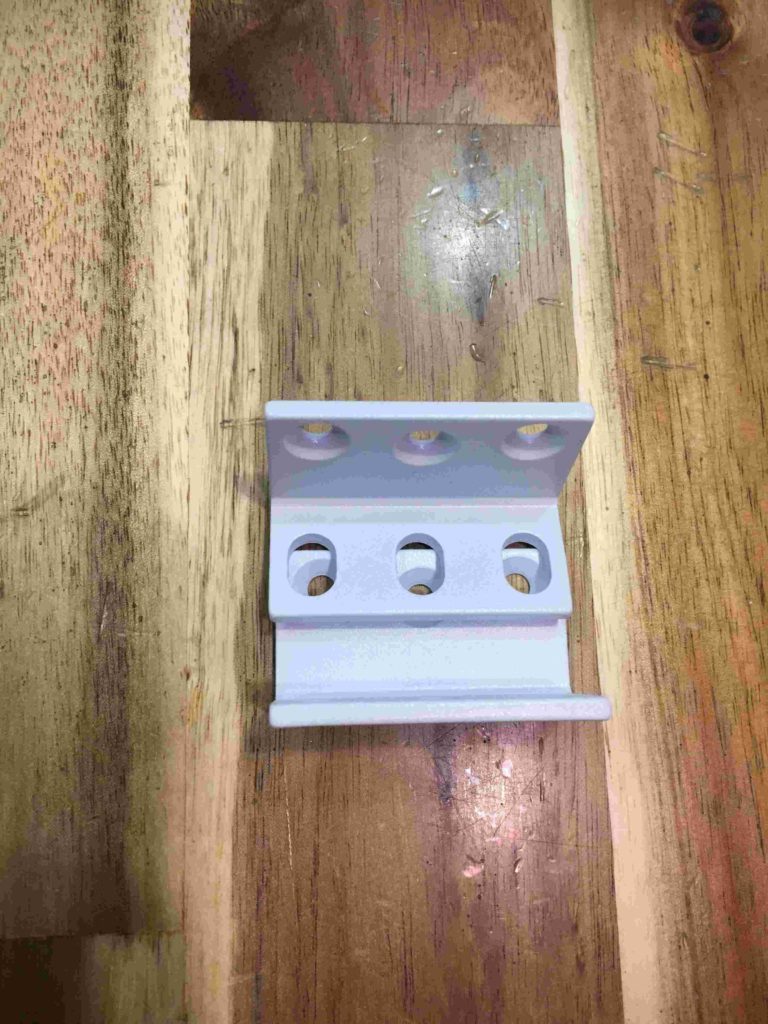
- 2 rack mount brackets
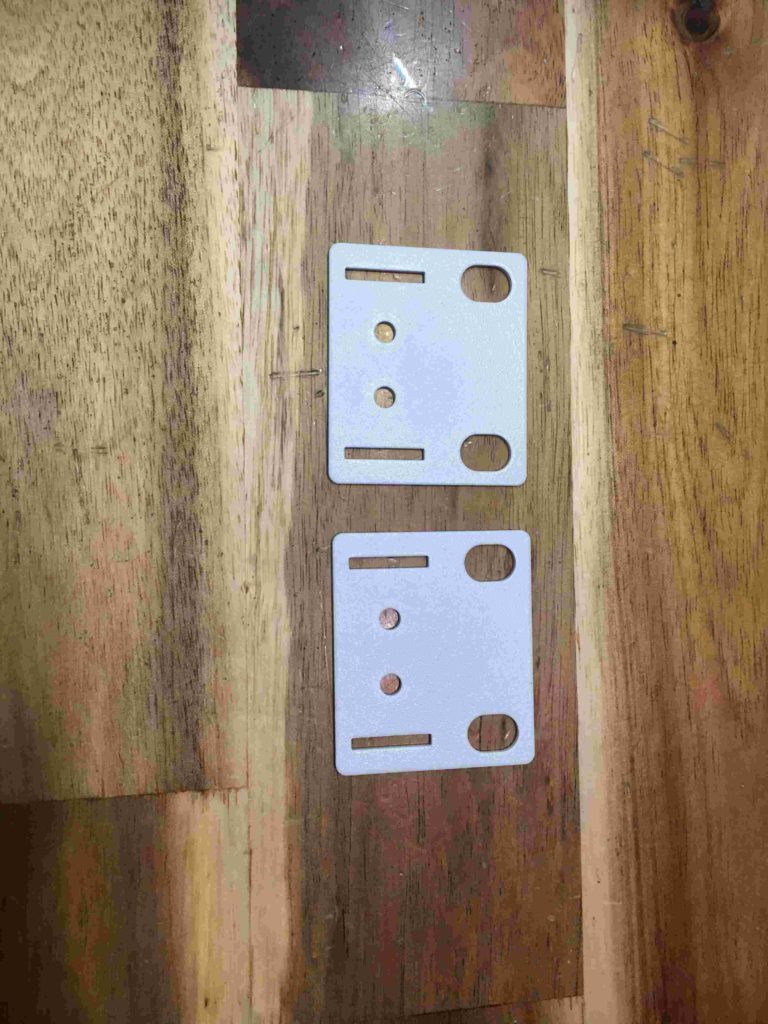
- 2 rear mounting plates
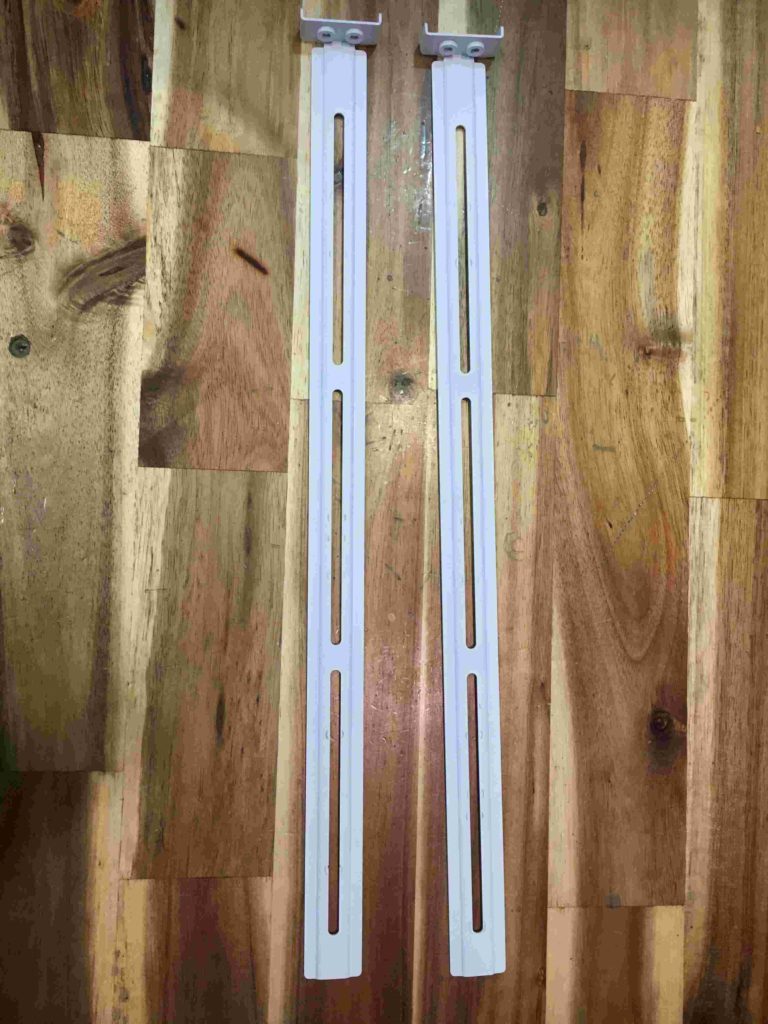
- 2 support bars
- 16 M4 x 8 screws
Installation instructions
Step 1: Secure a rear mounting plate to each support bar by using two M4 screws
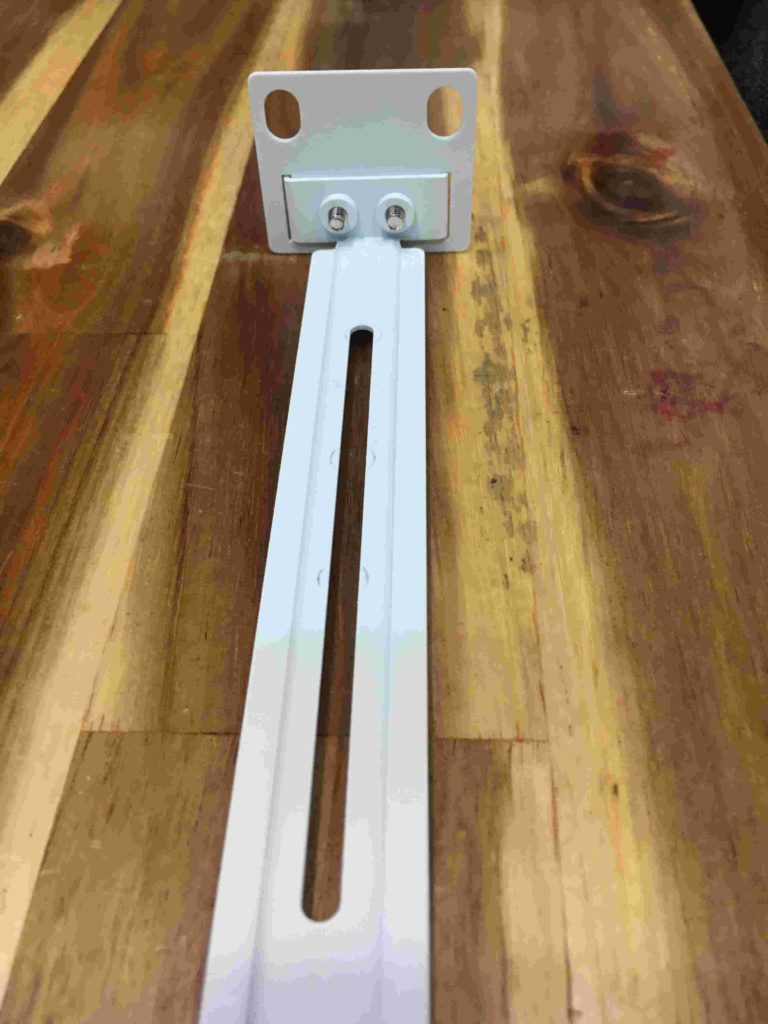
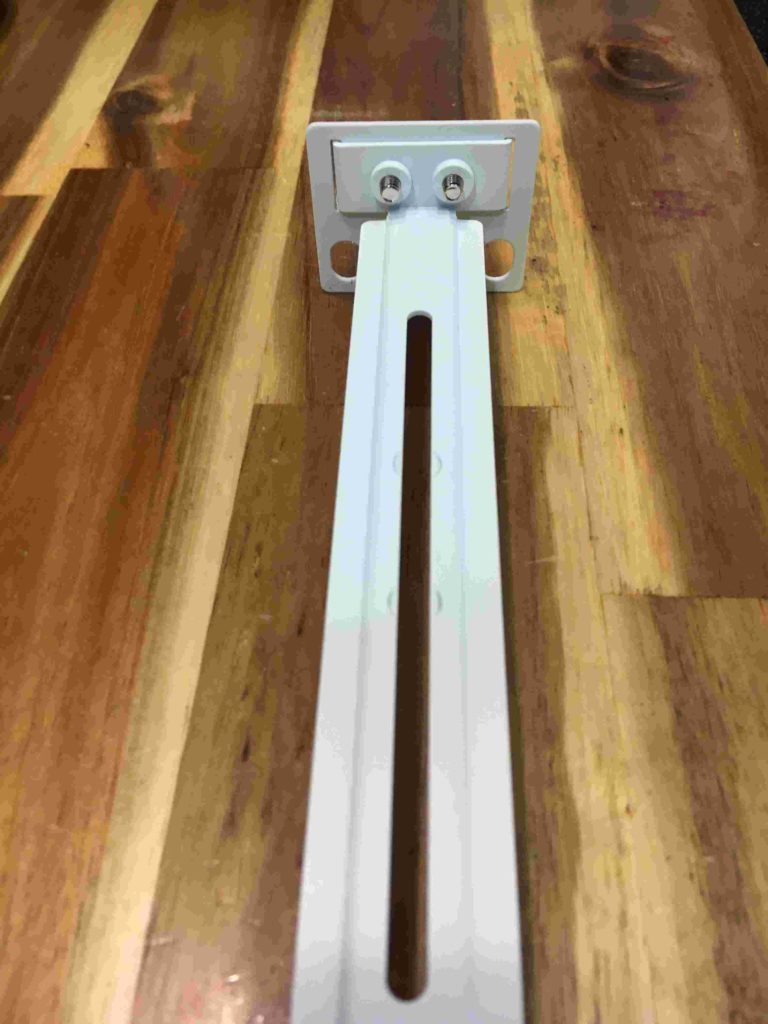
** You can choose 1 of 2 styles to match the rack
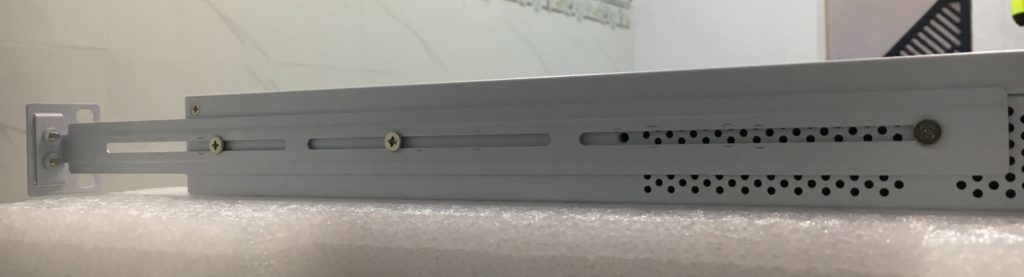
Step 2: Mount the support bars on each side of the appliance by using three M4 screws. Adjust their position to fit the depth of your rack
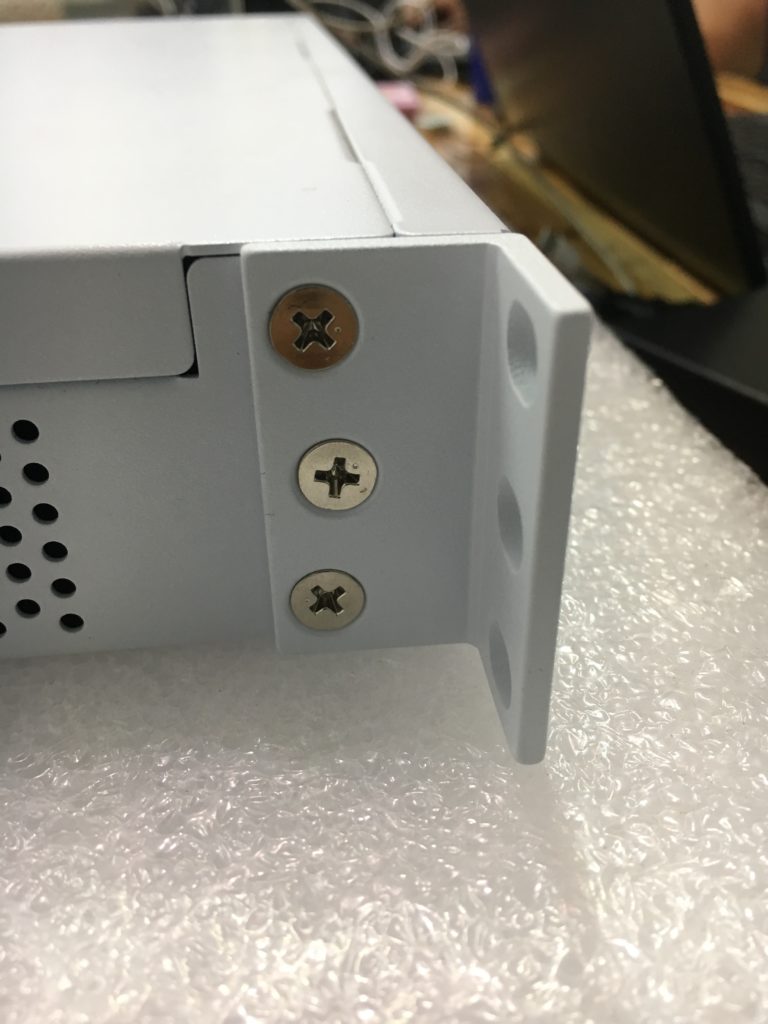
Step 3: Mount the brackets to each side at the front of the appliance by using three M4 screws
** If you have difficulty configuration Sophos products in VietNam, please contact us:
Hotline: 02862711677
Email: info@thegioifirewall.com
Leave a Reply