Overview
How to configure
Step 1: Before installing ownCloud in Windows, you need to install IIS on Windows
- Open Control Panel
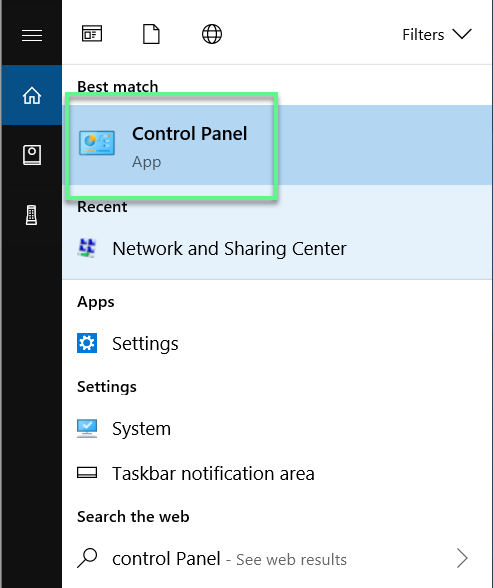
- In Control Panel -> Choose Uninstall a program

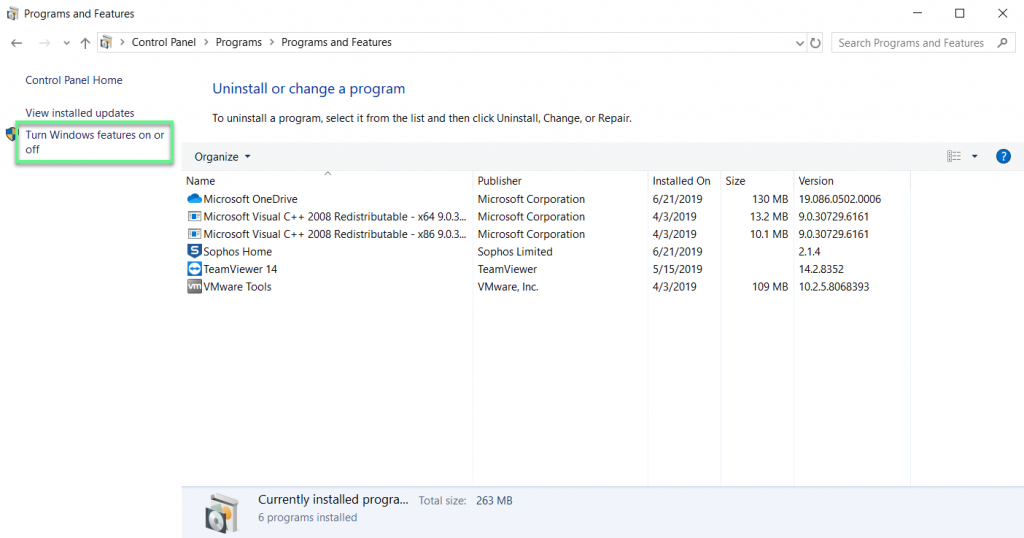
- Choose Turn Windows Feature on or off, this is where we can enable IIS on Windows
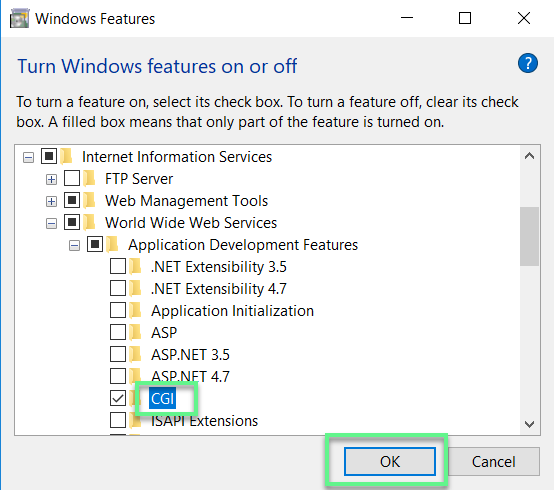
- In Windows Features -> Tick in Internet Information Services -> Click OK

- In Internet Information Services -> Tick icon + -> Open and check in CGI -> Click OK
Step 2: Download ownCloud to your computer and install like normal
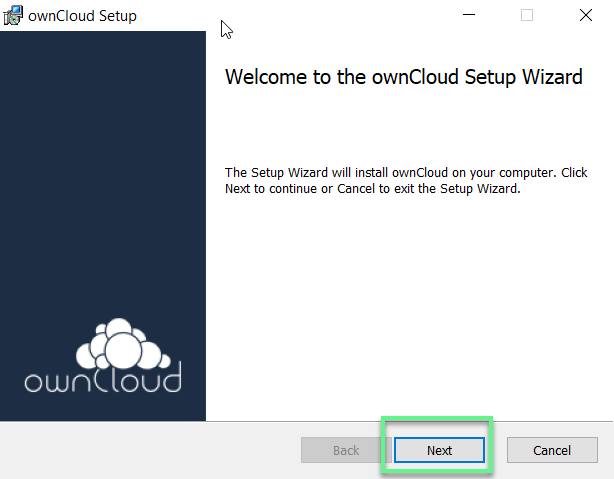
- Click Next to continue
- You can change the folder where install -> Click Next to continue
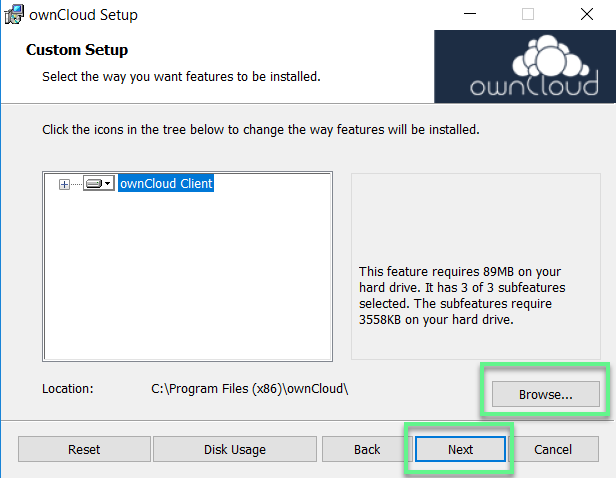
- Click Install

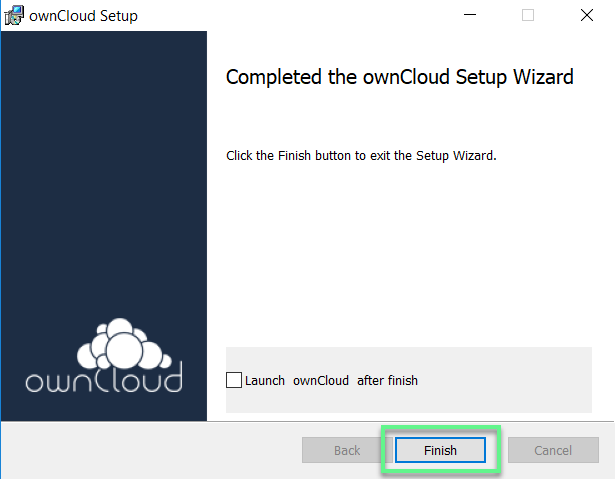
- Click Finish
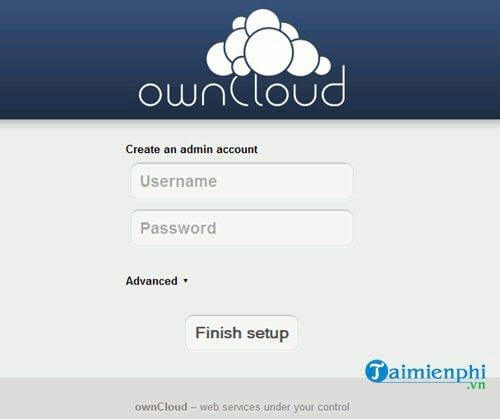
- OwnCloud interface, you enter the address of the previous Server and click Next
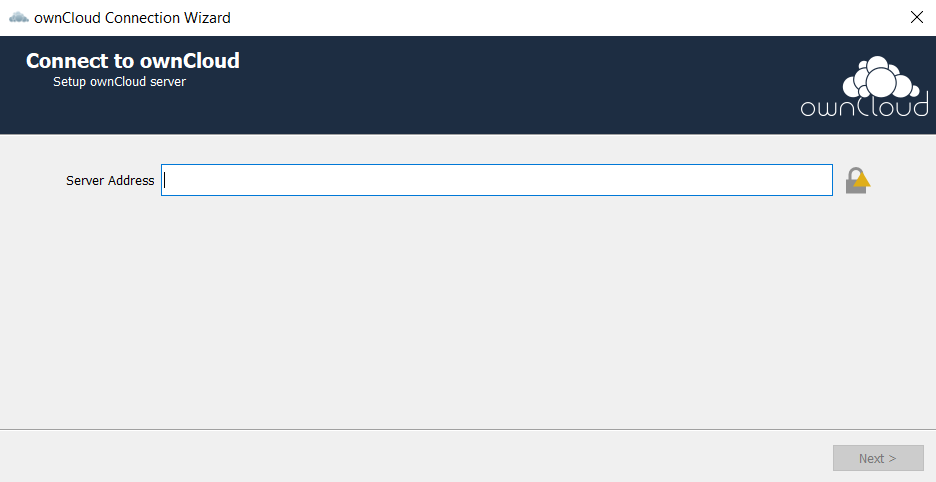
- Then proceed to create an account on ownCloud after a successful link. So the first step we have finished installing ownCloud on windows already
** If you have difficulty in configuring Sophos product in Viet Nam, please contact us:
Hotline: 02862711677
Email: info@thegioifirewall.com
Leave a Reply