
Overview
The article instructs the installation of CentOS operating system on VMWare Workstation, CentOS is a free Linux operating system, which can be used to configure as servers for businesses
How to configure
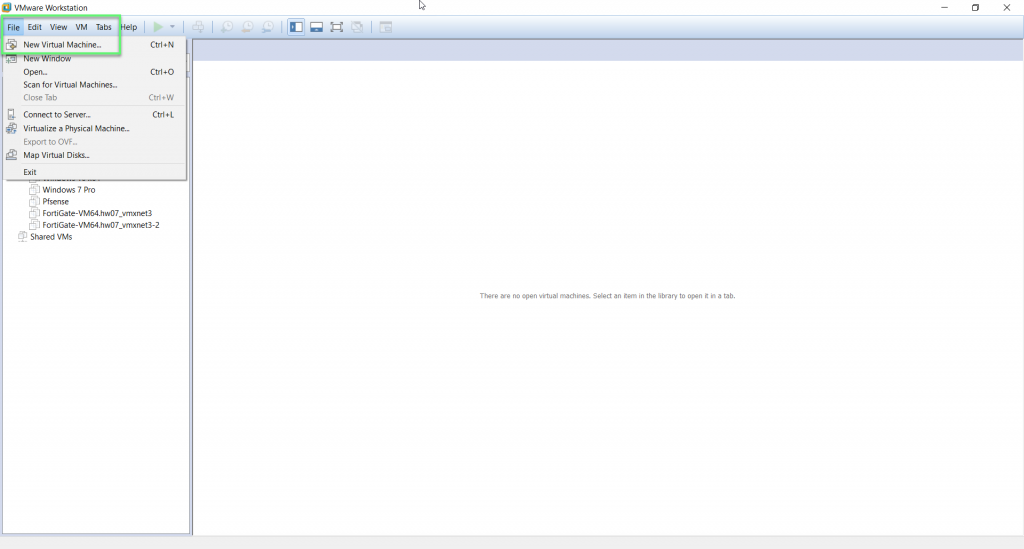
- Open VMWare Workstation by Admin (run as administrator)
- Download installation CentOS file on the homepage
- File -> New Virtual Machine
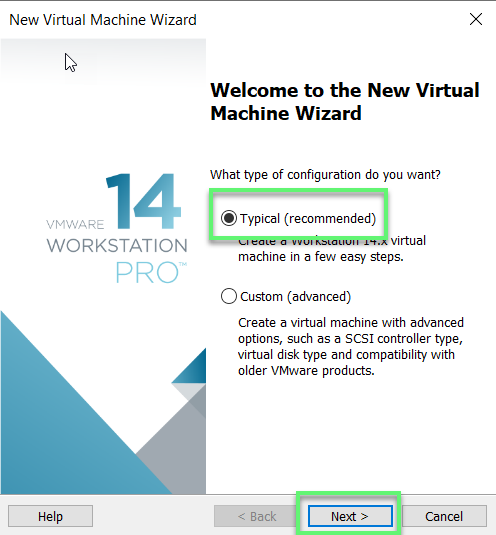
- Choose Typical (recommended) -> Click Next to continue
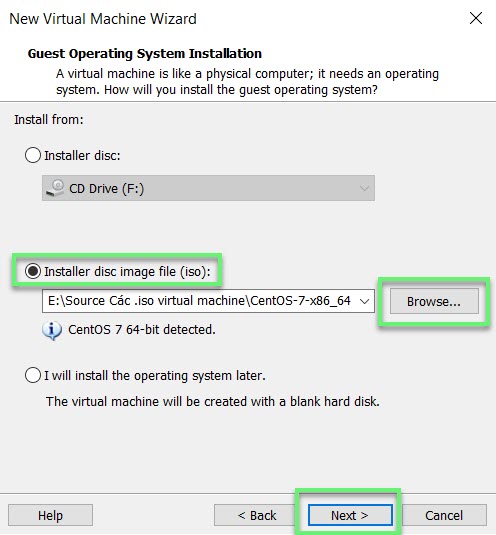
- Choose Installer disc image file (iso) -> Choose Browse to get installation file which was downloaded before -> Click Next to continue
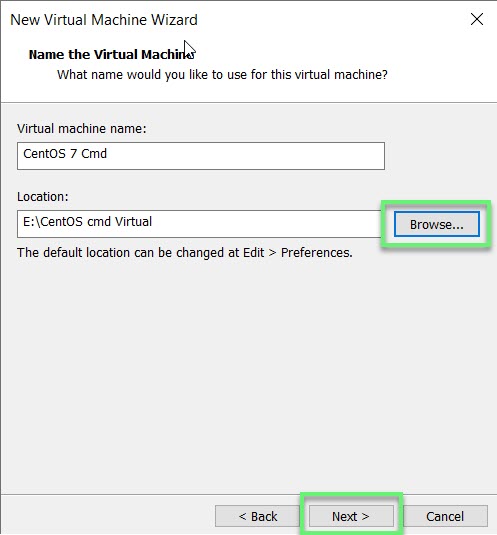
- Enter name for virtual machine -> Click Browse to choose the place save virtual machine -> Click Next to continue
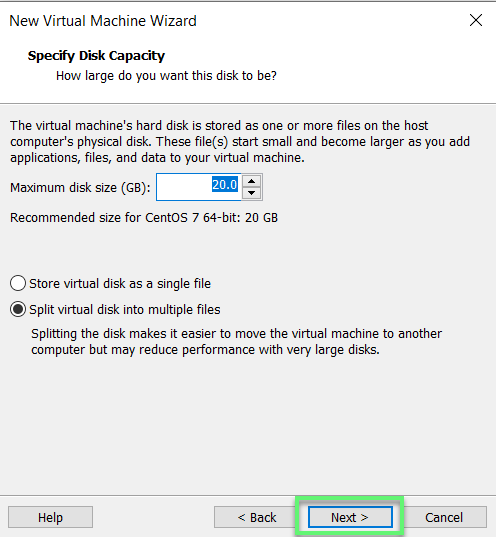
- Select hard drive capacity for virtual machine -> Here you can select Store virtual disk as a file or Split virtual disk into multiple files -> Click Next to continue
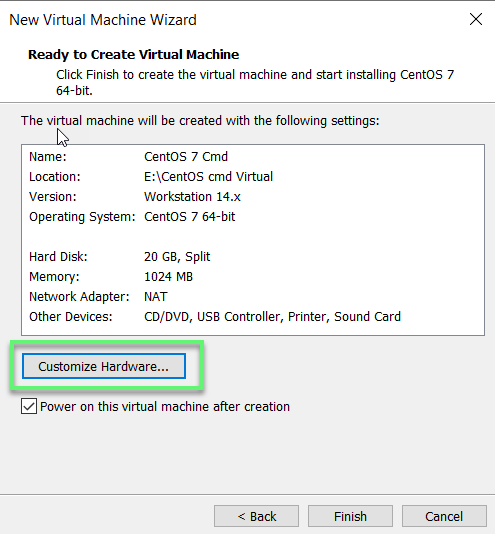
- Click Customize Hardware to reconfigure the information according you needs
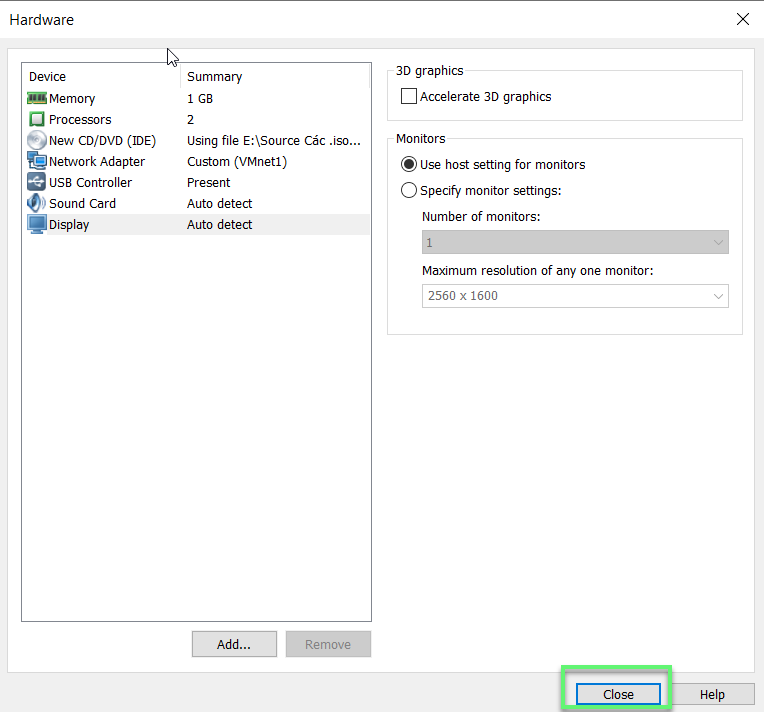
- After you have adjusted your desired parameters -> Click Clock
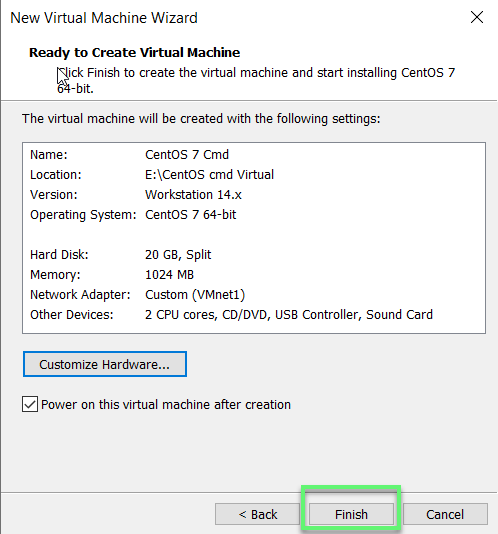
- Click Finish
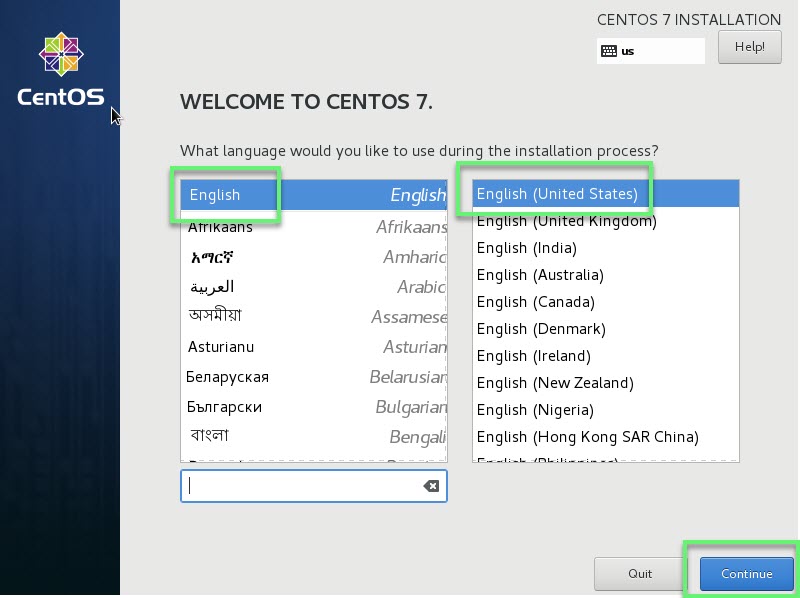
- Choose English and English (United States) -> Click Continue
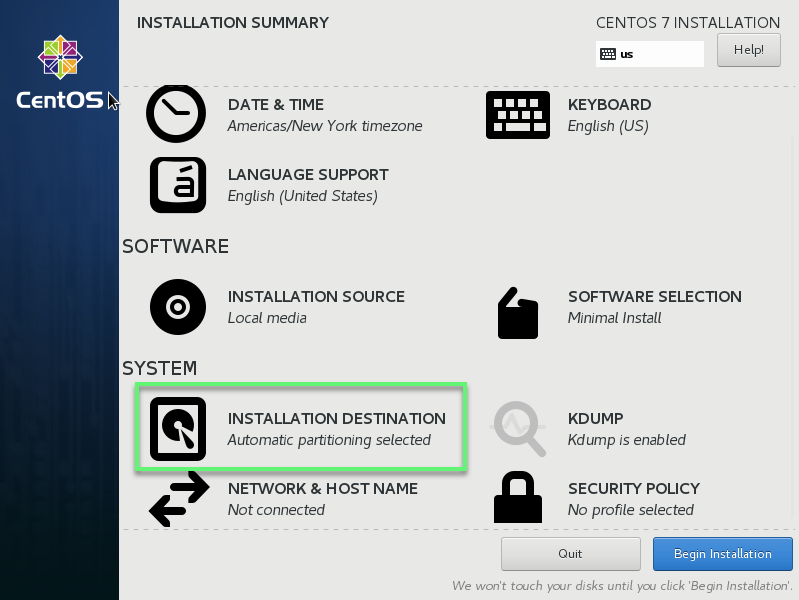
- You choose INSTALLATION DESTINATION
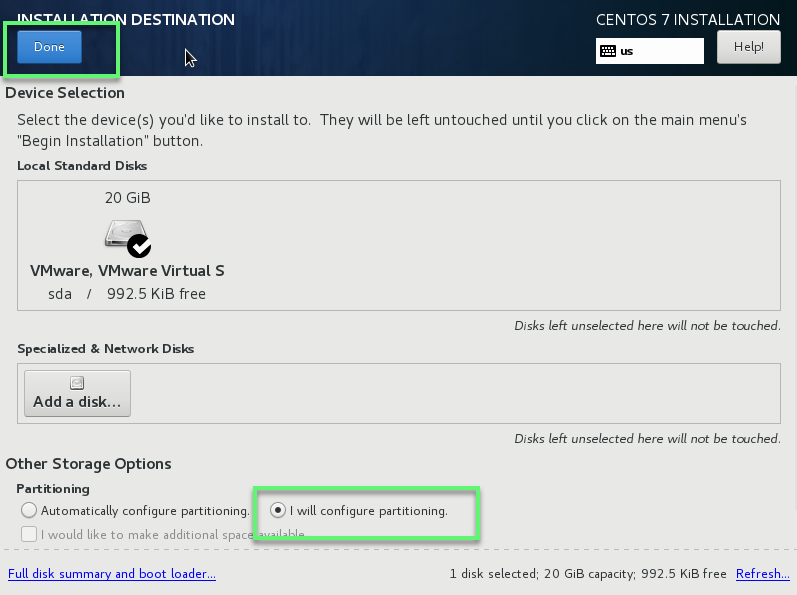
- You choose I will configure partitioning -> Click Done
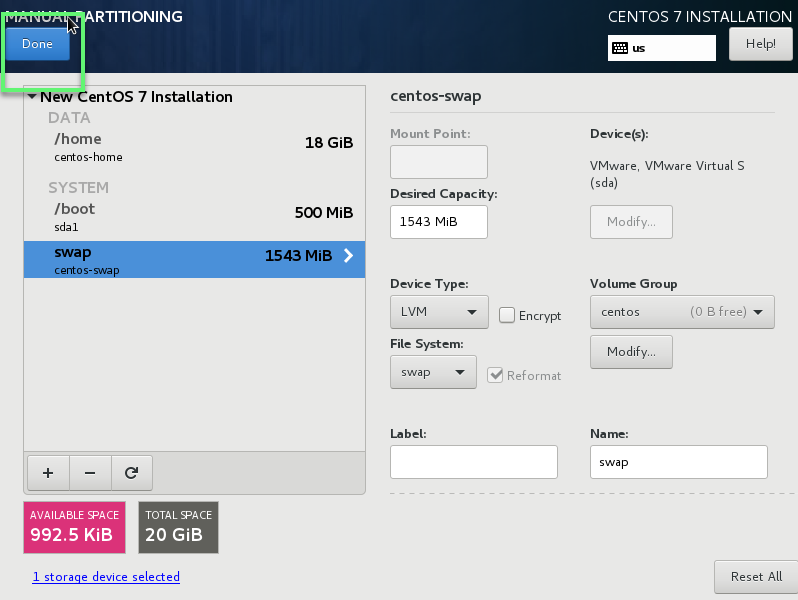
- Custom disk you needs -> Click Done
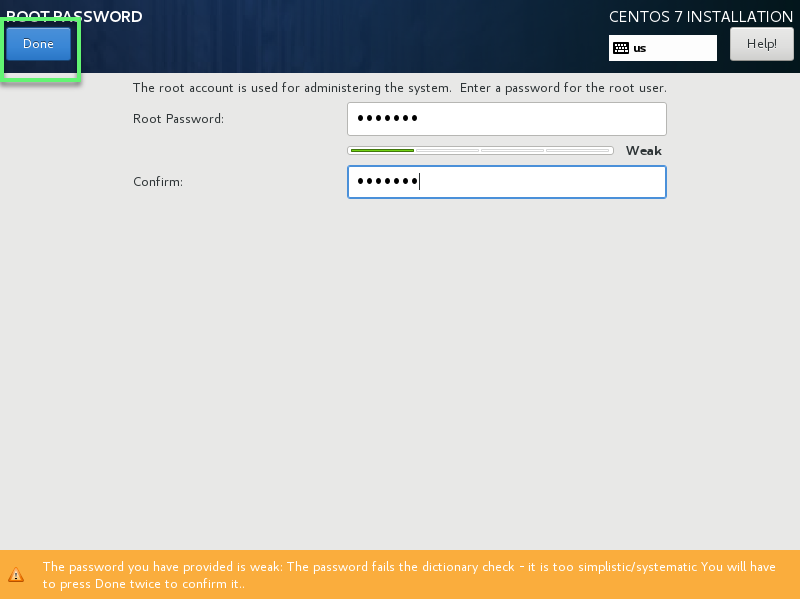
- Set password for root account -> Click Done
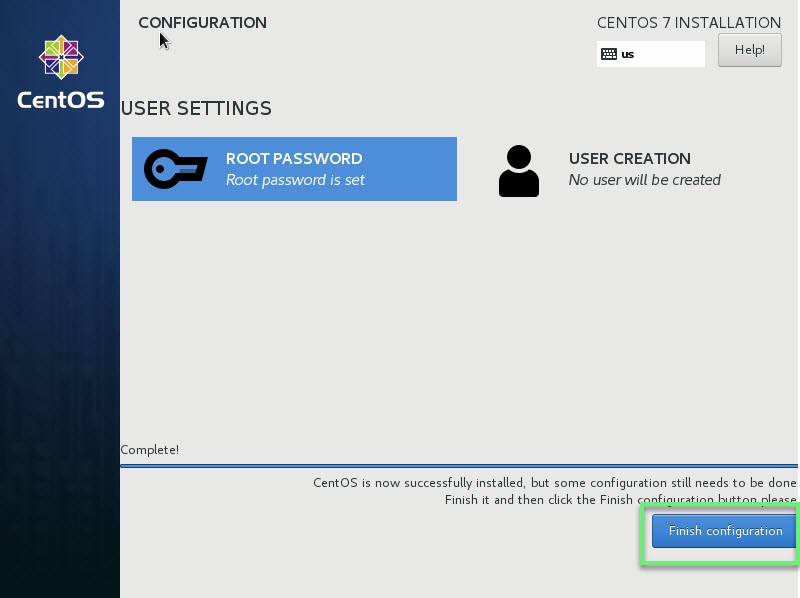
- Click Finish configuration
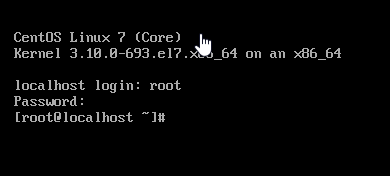
- Finish installation process
** If you have difficulty in configuring Sophos products in Viet Nam, please contact us:
Hotline: 02862711677
Email: info@thegioifirewall.com
Leave a Reply