
Overview
How to configure
- Login to Windows Server 2012 by Admin account
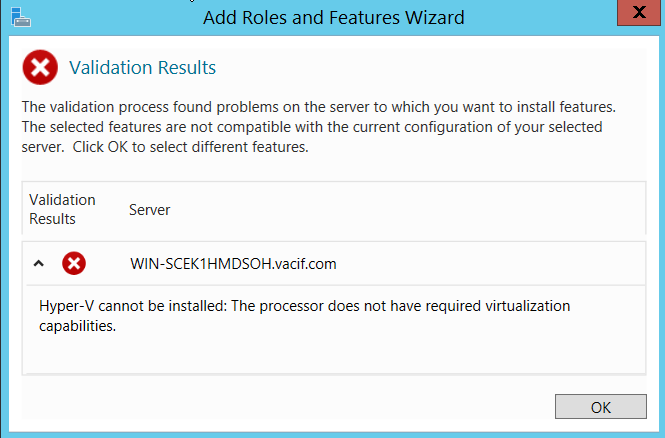
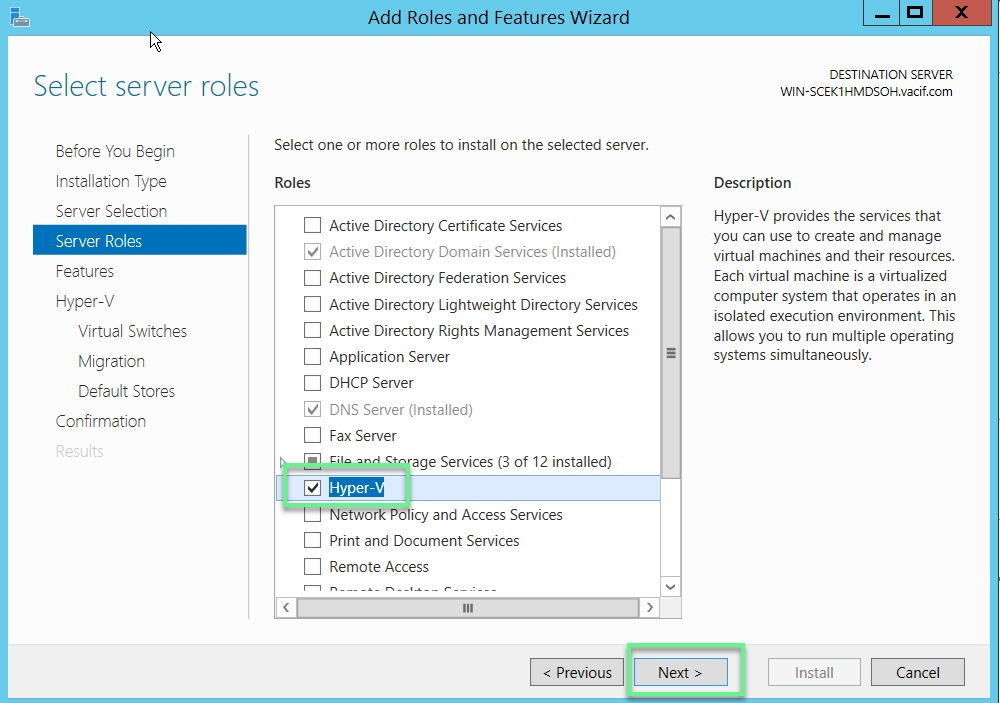
- Choose Add roles and features -> Tick in Hyper-V -> Click Add Features
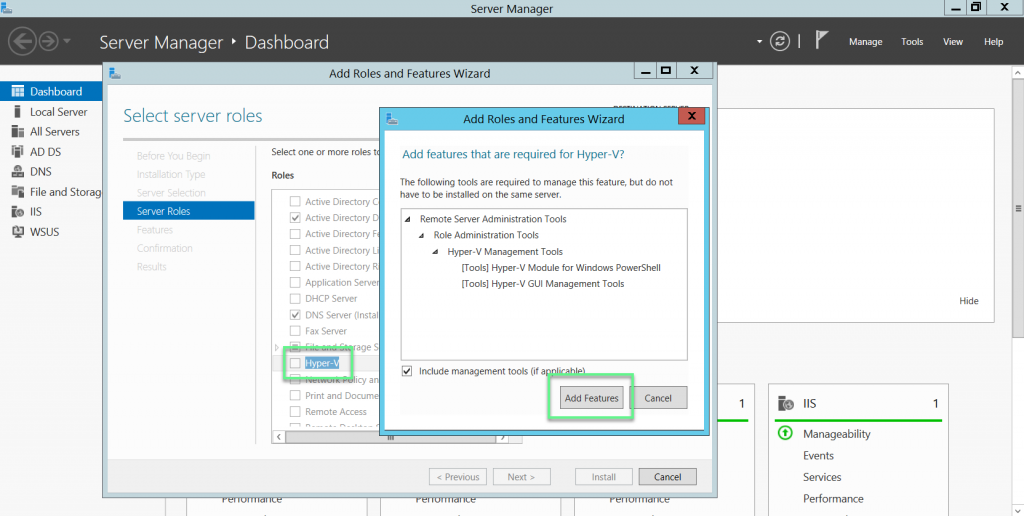
- When you see this error message -> Let’s shutdown your Windows Server 2012

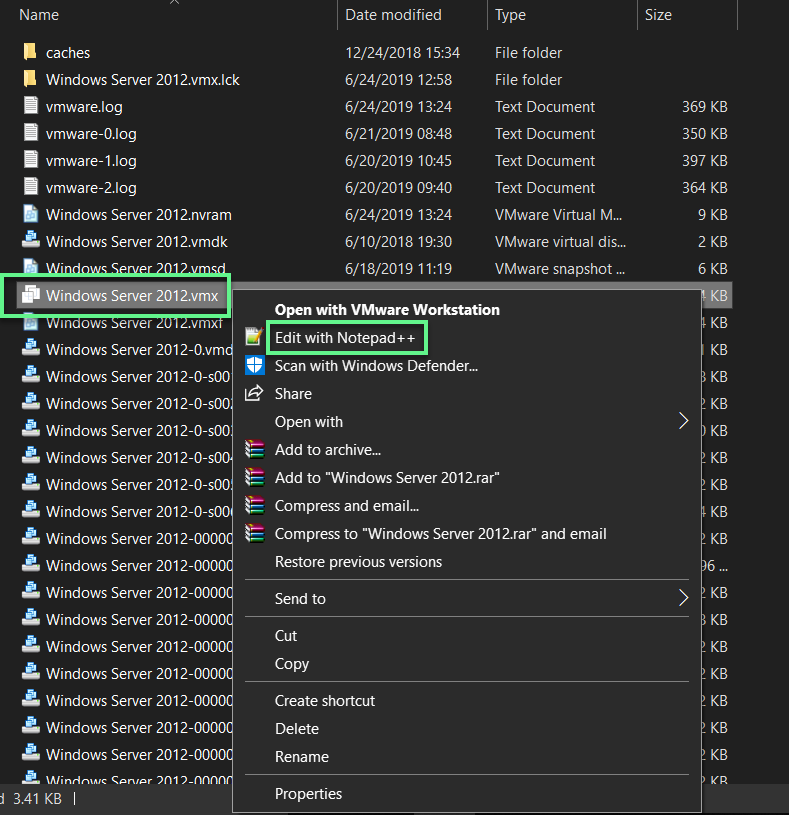
- Open the place containing the installation file of Windows Server 2012 -> Right mouse in .vmx file -> Choose Edit with Notepad++
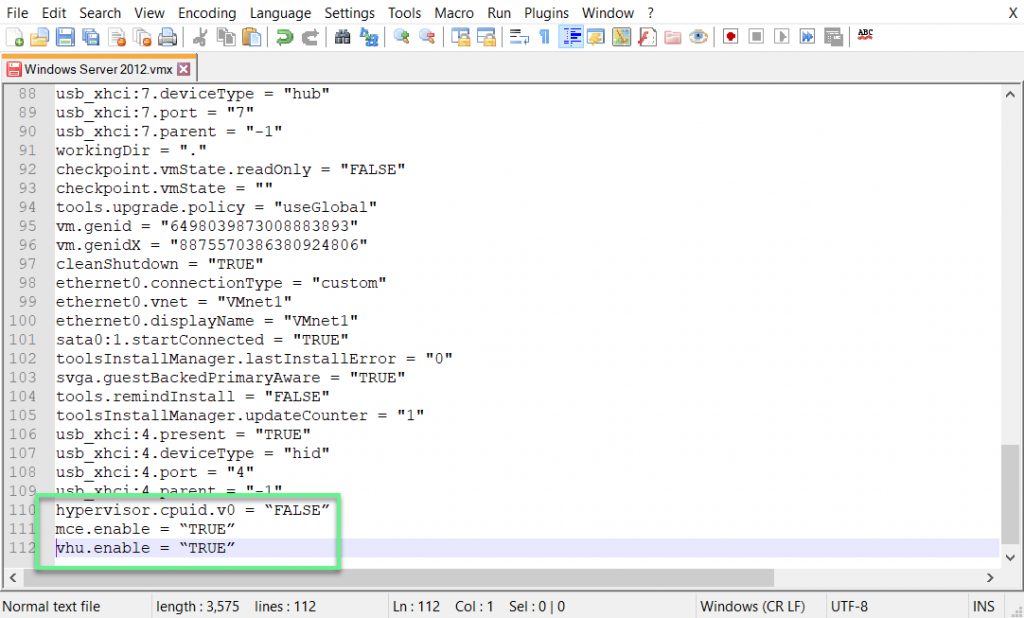
- Add 3 command lines at the end of the file’s contents
- hypervisor.cpuid.v0 = “FALSE”
- mce.enable = “TRUE”
- vhu.enable = “TRUE”
-> Save the file
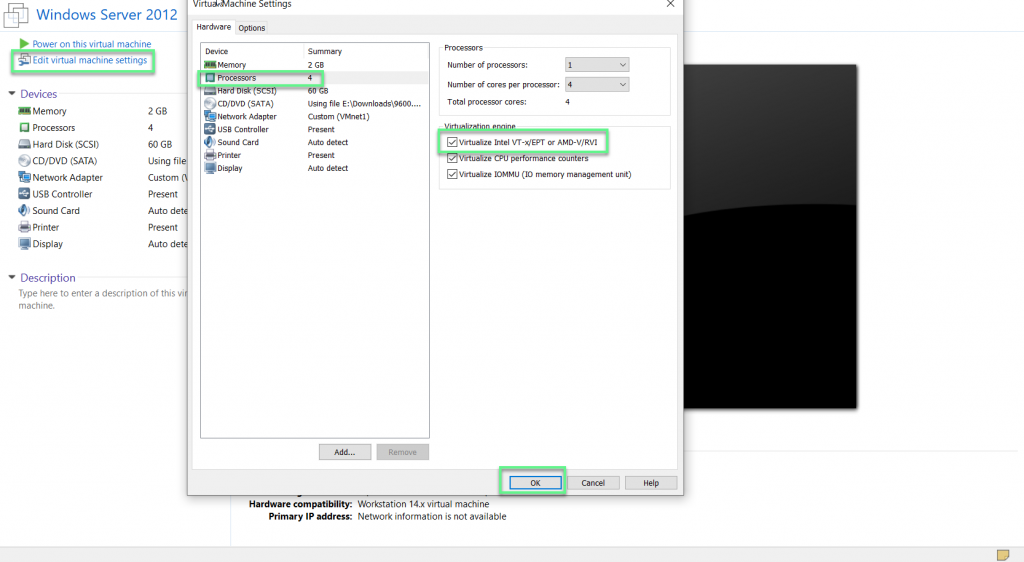
- Choose Edit virtual machine settings
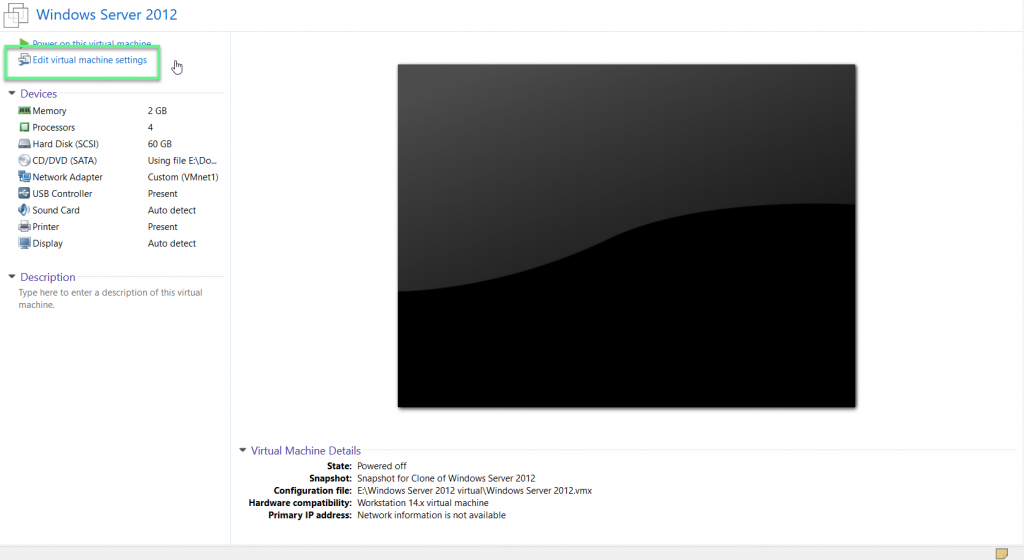
- In Processors -> Enable Virtualize CPU performance counters and Virtualize IOMMU (IO memory management unit) -> Click OK to save

- Open Windows Server in the normal way
- If you see this error message -> Shutdown the Windows Server 2012
- Click Edit virtual machine settings -> Processors -> Enable Virtual Intel VT… -> Start Windows Server in the normal way
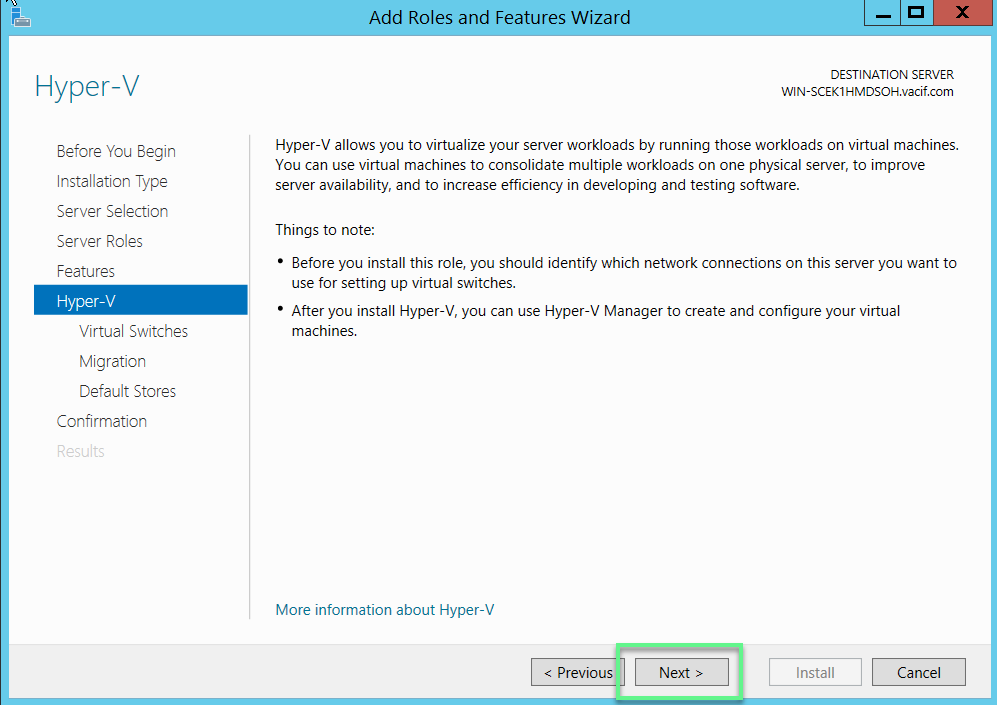
- Click Next to continue
- Click Next to continue
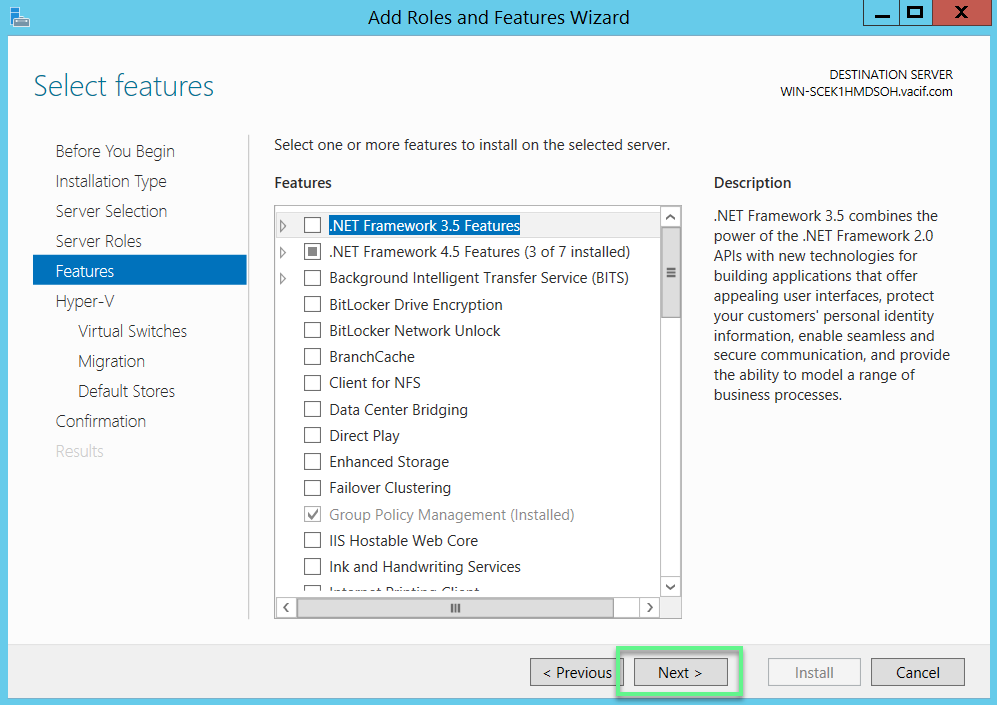
- Click Next to continue
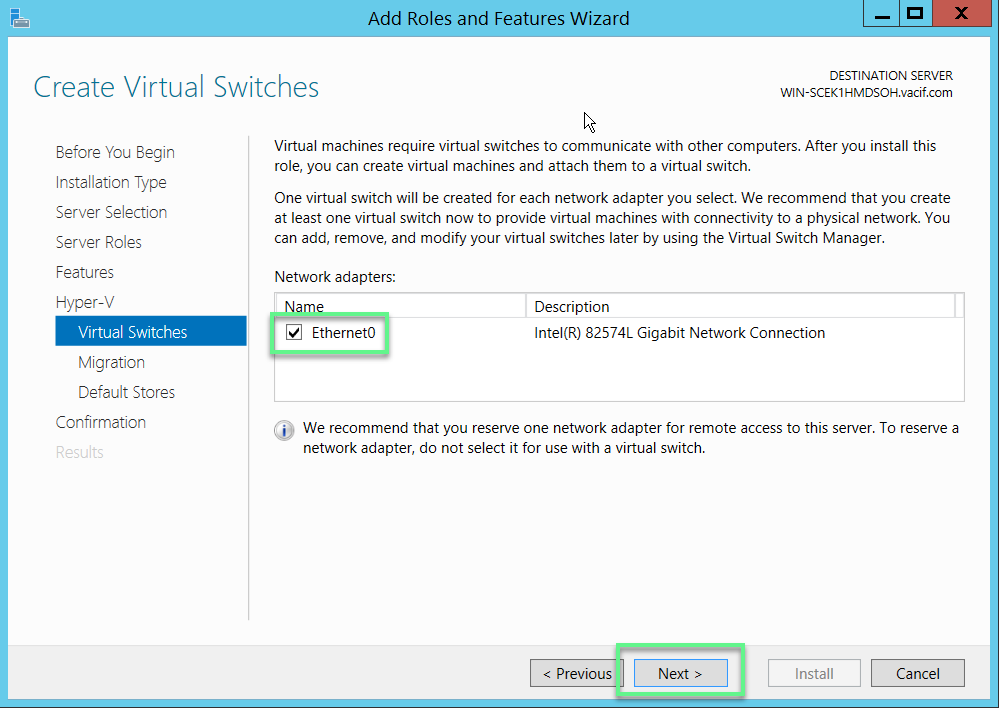
- Tick in Ethernet to select the network card of the main system
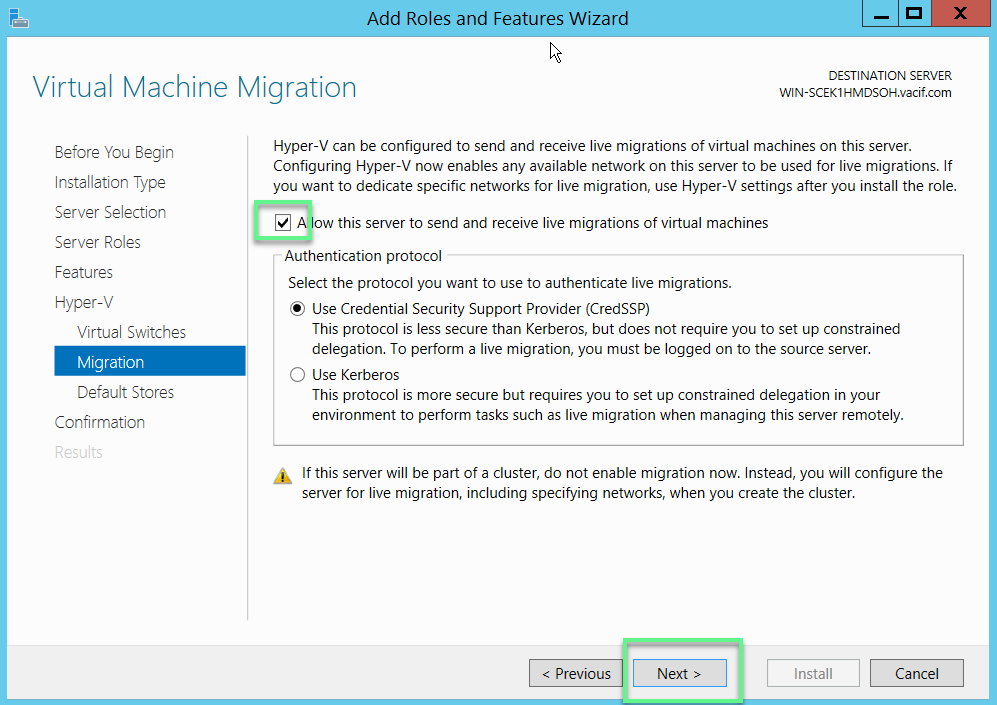
- Tick in Allow this server to send and receive live migrations of virtual machines -> Click Next to continue
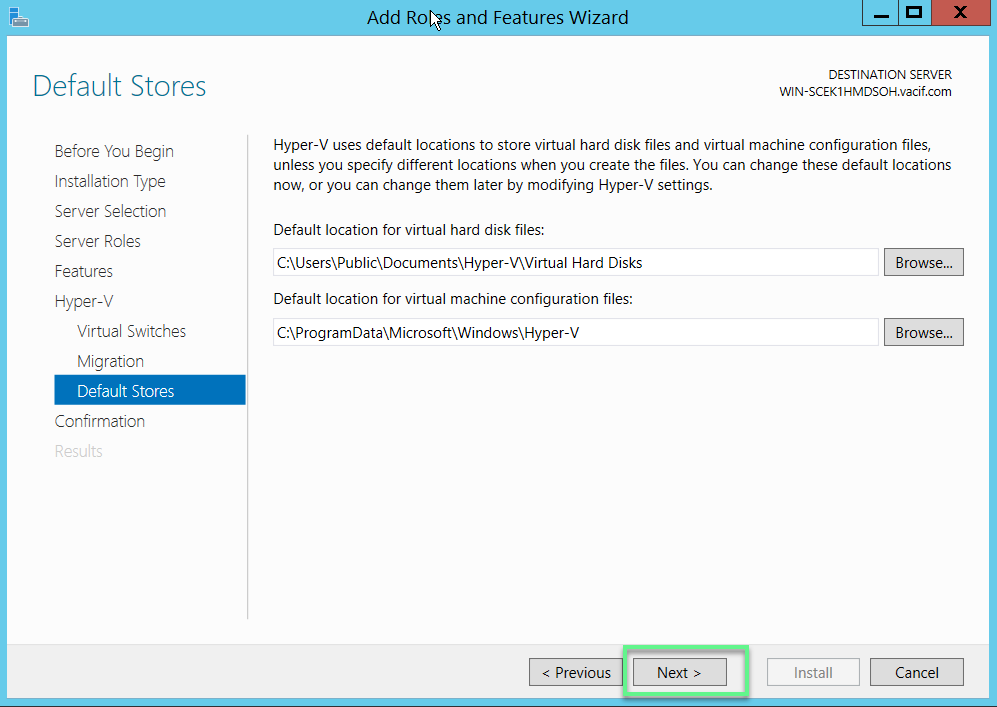
- Click Next to continue
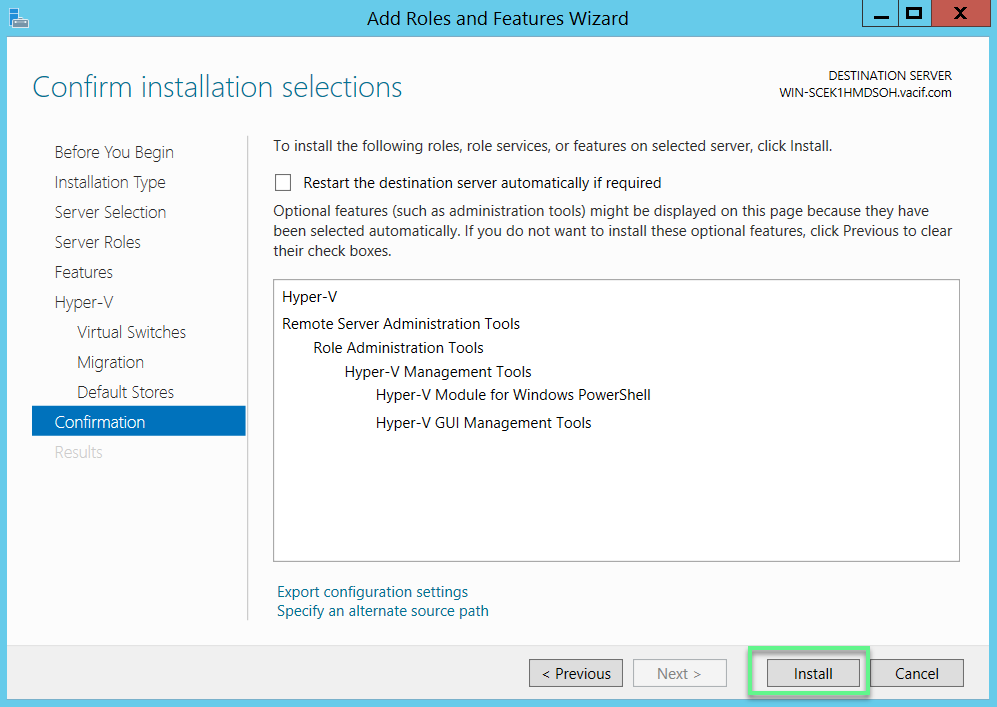
- Click Install
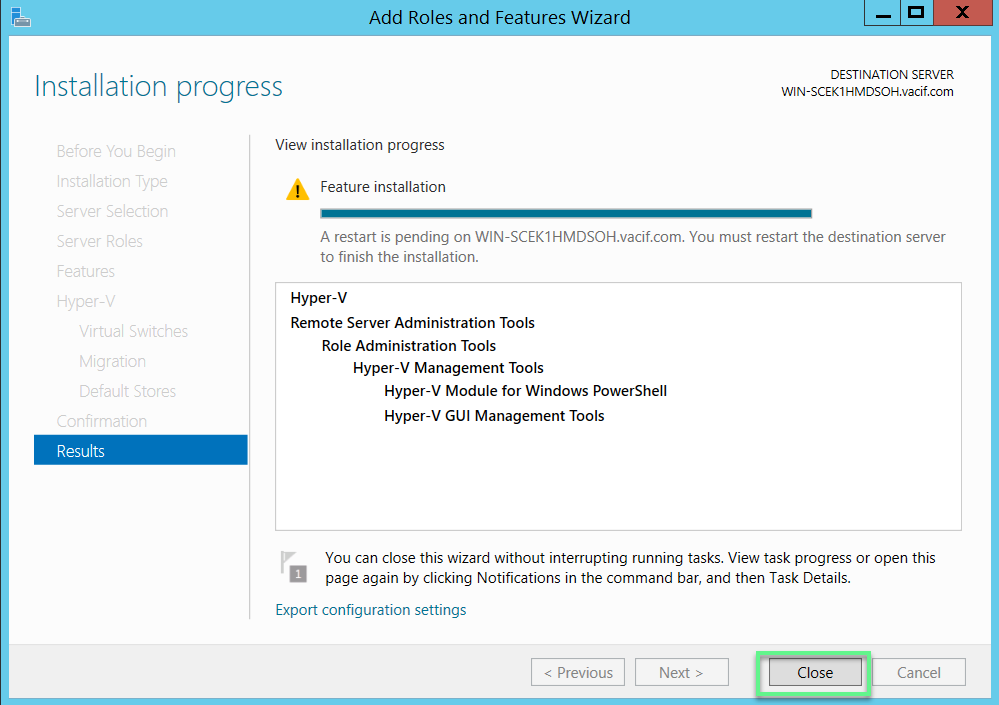
- Restart Windows Server 2012
** If you have difficulty in configuring Sophos products in Viet Nam, please contact us:
Hotline: 02862711677
Email: info@thegioifirewall.com
Leave a Reply