
Overview
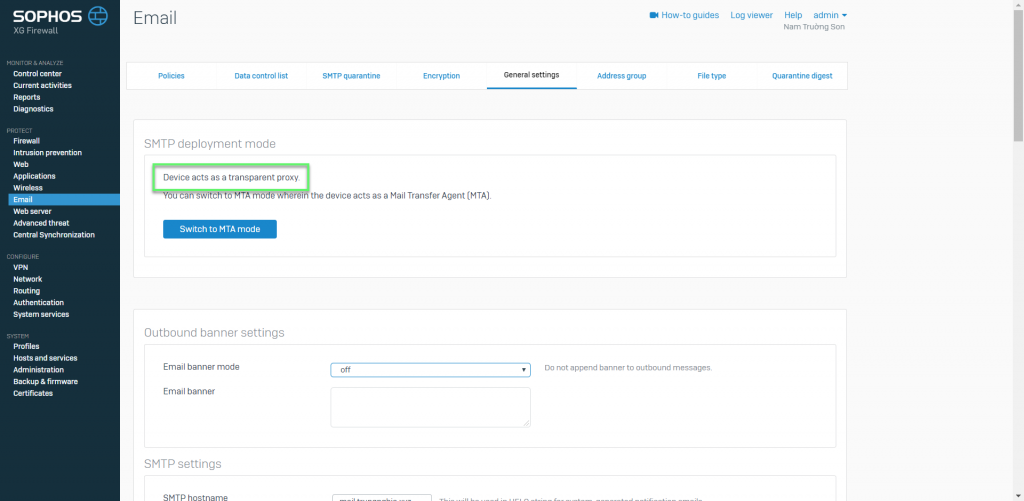
SMTP Malware Scan policies appear only when Legacy mode is enabled. The device acts as a transparent proxy
It helps protect the enterprise mail server system
How to configure
- Email -> General settings -> Check and switch to Legacy mode
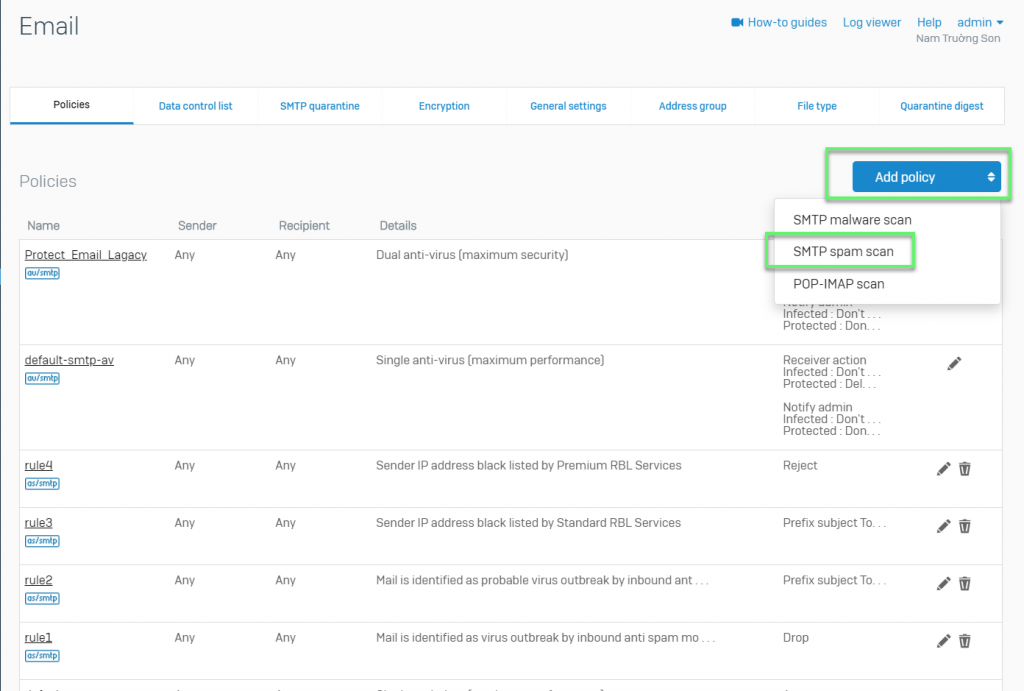
- Email -> Policies -> Click Add Policy -> Choose SMTP spam scan
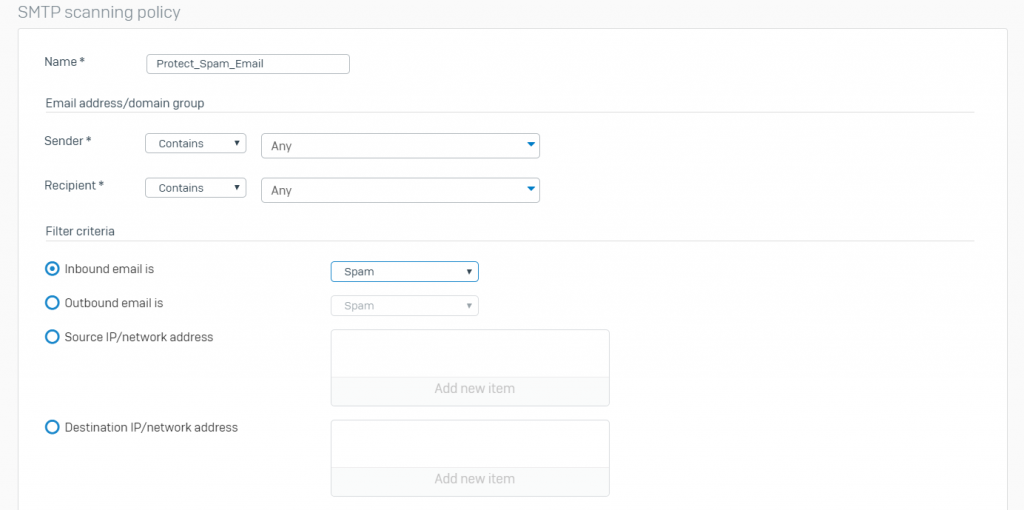
- Enter Name for the policy
- Enter Email Address/Domain Group details
- Sender: You can select from
- Contains: Specify keyworks to be matched with Sender Email Addresses. The rule applies to Address(es) containing those keywords
- Equals: Specify the exact Email Address(es) of the Sender(s)
- Recipient: You can select from
- Contains: Specify keywords to be matched with Recipient Email Addresses. The rule applies to Address(es) containing those keywords
- Equals: Specify the exact Email Address(es) of the Recipient(s)
- Sender: You can select from
- Select the Filter Criteria
- Inbound Email is: All the Emails that are received by the users in their inbox are referred to as Inbound. If you select Inbound Spam, all the Emails received by the users are scanned for spam and viruses by the Device. The specified action will be taken if the Device has identified the Inbound Email to be one of the following:
- Spam
- Probable Spam
- Virus Outbreak
- Probable Virus Outbreak
- Outbound Email is: Emails that are sent by the user in the network to a remote user on another Email system, are referred as Outbound. If you select Outbound Spam, all the Emails sent by the local users are scanned for spam and viruses by the Device before being delivered. The specified action will be taken if the Device has identified the Outbound Email to be one of the following:
- Spam
- Probable Spam
- Virus Outbreak
- Probable Virus Outbreak
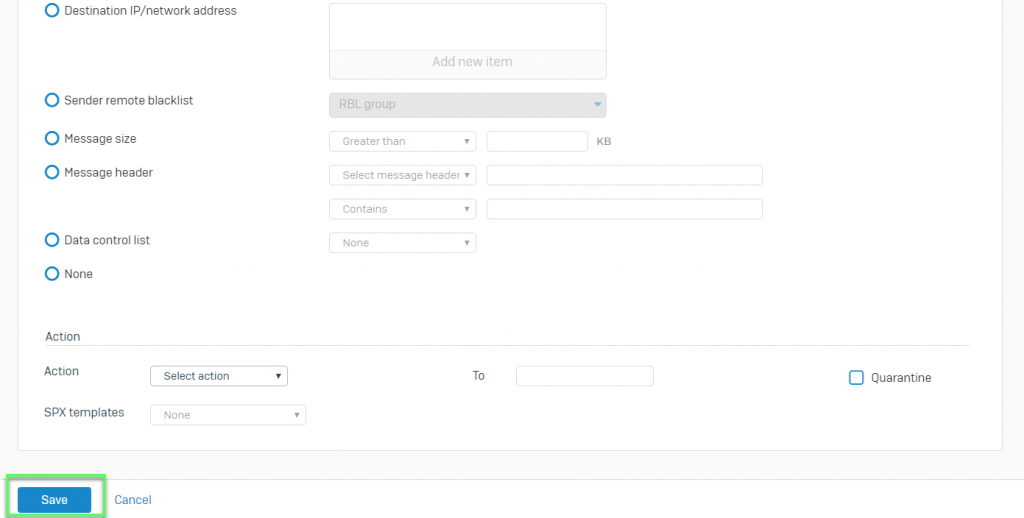
- Source IP/Network Address: Specify the action to be taken when the Email sender IP Address matches the specified IP Address
- Destination IP/Network Address: Specify the action to be taken when the Email recipient IP Address matches the specified IP Address
- Sender Remote Blacklist: Specify the action to be taken when the sender is listed in the specified RBL Group
- Message Size: The specified action will be taken if the message header equals or contains the specified text
- Contain: Specify keywords to be matched with Message Header. The rule applies to Header(s) containing those keywords
- Equals: Specify the exact Header(s) to be scanned
- Data Control List: The specified action will be taken if the message contains data matching with the configured Data Protection Policy
- Action
- Reject: Email is rejected and a rejection notification is sent to the Email sender
- Accept: Email is accepted and delivered to the intended recipient. The Administrator can bind an SPX Template to this action so that the Email is delivered to the intended recipient after being SPX-encypted
- Change Recipient: Email is accepted but is not delivered to the intended recipient for whom the message was originally sent. Email is sent to the recipient specified in the spam policy
- Prefix Subject: Email is accepted and delivered to the intended recipient but after tagging the subject line. The Administrator can bind an SPX Template to this action so that the Email is delivered to the intended recipient after being SPX-encrypted. Tagging content is specified in the To field. You can customize subject tagging in such a way that the recipient knows that the is a spam Email
- Drop: Email is rejected but a rejection notification is not sent to the Email sender
- Quarantine: If this is enabled, the device does not deliver Email but copies it to the quarantine file list
- Inbound Email is: All the Emails that are received by the users in their inbox are referred to as Inbound. If you select Inbound Spam, all the Emails received by the users are scanned for spam and viruses by the Device. The specified action will be taken if the Device has identified the Inbound Email to be one of the following:
-> Click Save
- Firewall -> Add firewall rule -> Choose Business application rule
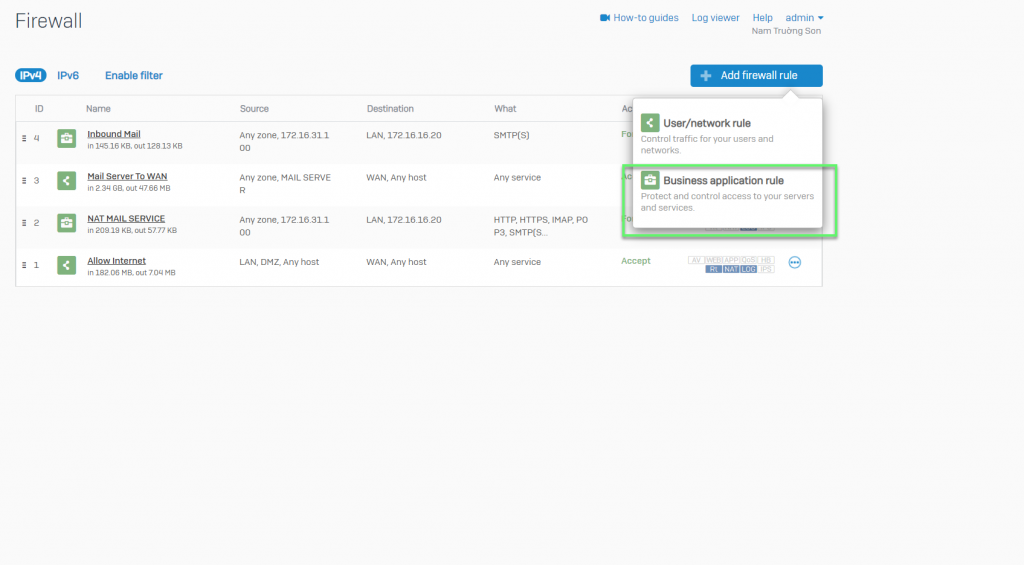
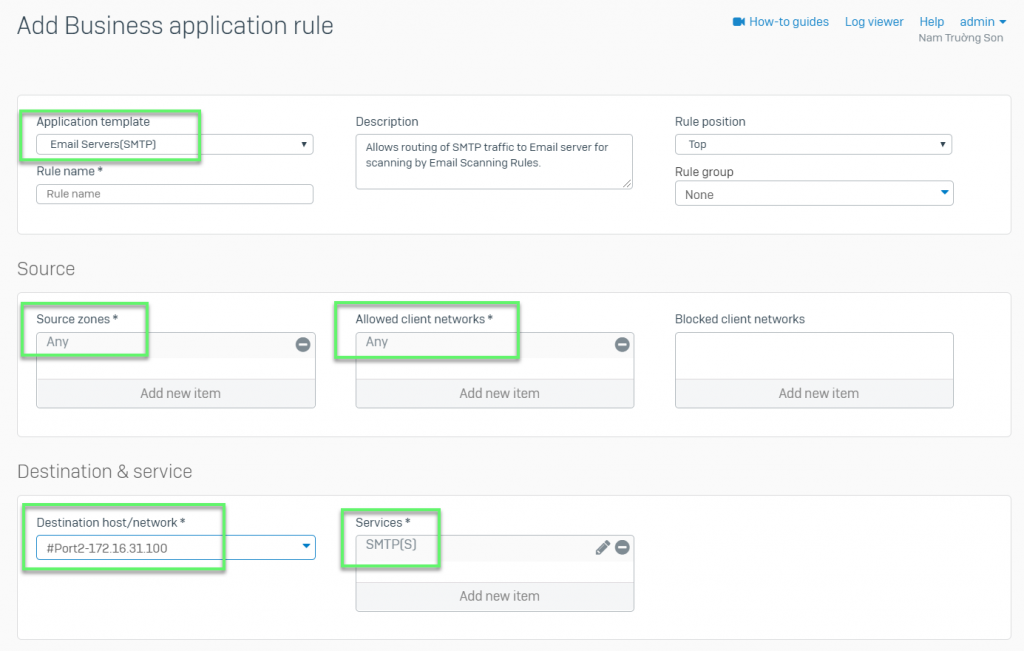
- In Application template: Choose Email Server (SMTP)
- In Source zone: Choose Any
- In Allowed client networks: Choose Any
- In Destination host/network: Choose Port WAN
- In Services: Choose SMTP(s)
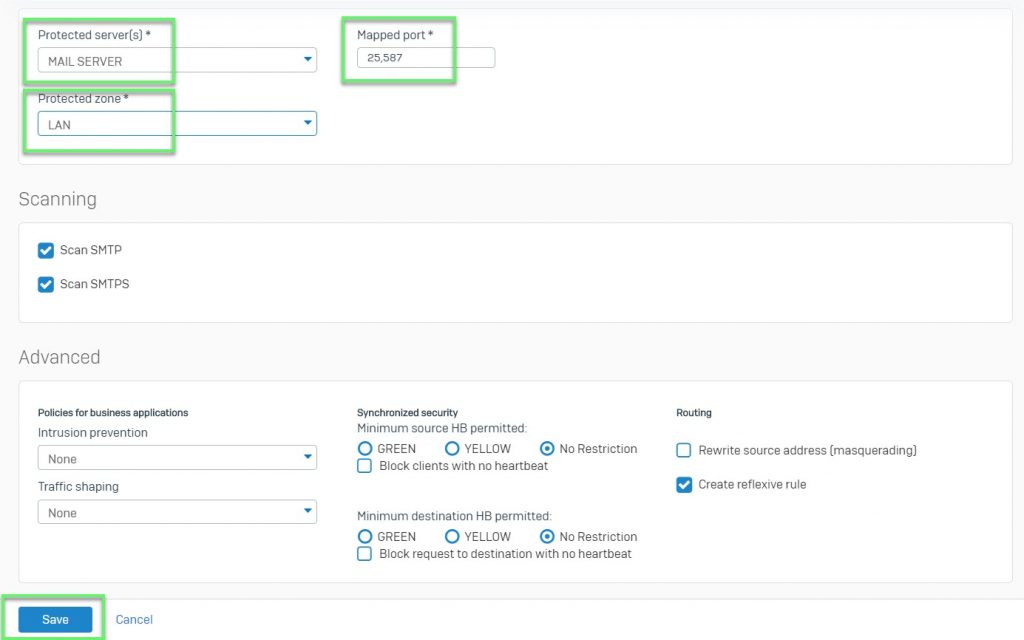
- In Protected server(s): Choose Mail server
- In Mapped port: 25,587
- In Protected zone: Choose LAN
-> Click Save
Leave a Reply