
Overview
This article will guide how to use Microsoft Stream.
What’s Microsoft Stream ?
Microsoft Stream is an enterprise video service where people in your organization can upload, manage viewers of their video content, and determine the level of widespread sharing within your organization.
You can share recordings of classes, meetings, presentations, training sessions or other videos that support your group’s collaboration. Microsoft Stream also makes it easy to share comments about videos, time tags in comments, and descriptions to reference specific points in the video and discuss with colleagues.
Microsoft Stream also helps you organize your content into channels and groups to make it easier to find. And Microsoft Stream works well with other Office 365 applications like Groups, SharePoint, OneNote and Yammer, providing more ways to discover more relevant content.
- Watch videos from across organizations in the stream app or in other apps you use every day, anytime, on any device.
- Text-speaking, auto-generated closed captions, and facial recognition features create more ways to find and interact with your videos so people can access relevant content quickly and easily.
- Make digital communications more impactful by delivering personality and emotional capture messages through video.
- Increase participation and retention of knowledge for training and education; allow people to contribute with peer-to-peer information sharing.
- Bring your training videos, group meeting records, and more into the applications you use every day to enrich the experience in the context of your daily work.
How to use ?
Get started with Microsoft Stream in minutes and watch videos on all your devices from anywhere, anytime. For more details, see our Microsoft Stream User Guide here.
Log in
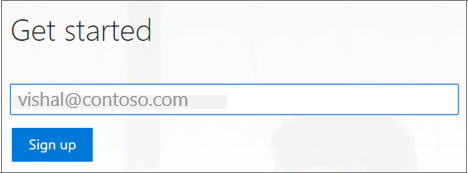
This article shows you how easy it is to register Microsoft Stream. To get started, visit https://stream.microsoft.com and press the sign up button.
- Enter your work email address in the Sign up dialog.
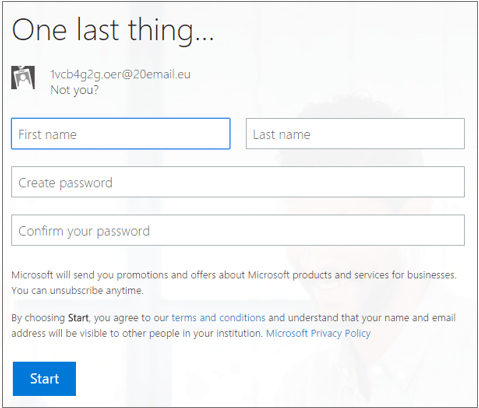
- Check your email for the Microsoft Stream verification email.
To get started, you need to enter some necessary information such as your name and choose a password.
You can invite other colleagues to sign up for Microsoft Stream by specifying their email addresses and clicking Send invitations.
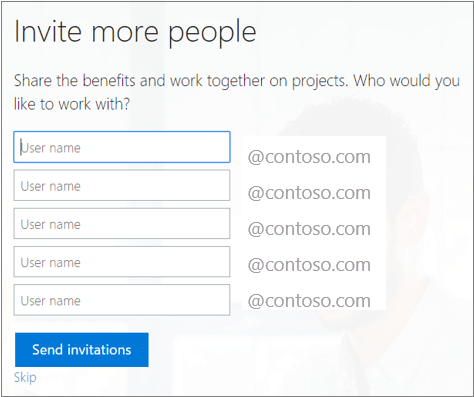
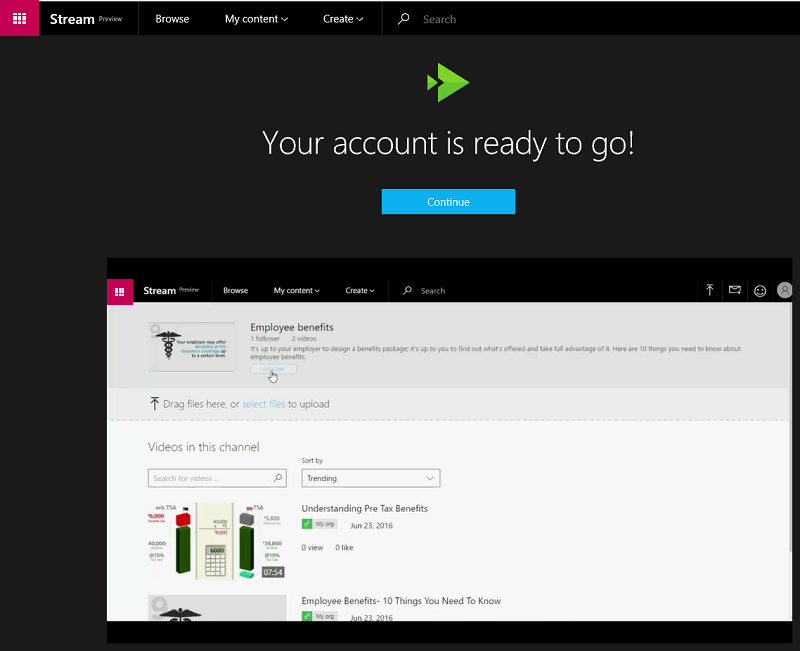
You may, optionally, skip this step and end your registration process. Once registration is complete, you will be redirected to the welcome page while the account is being provided in the background.
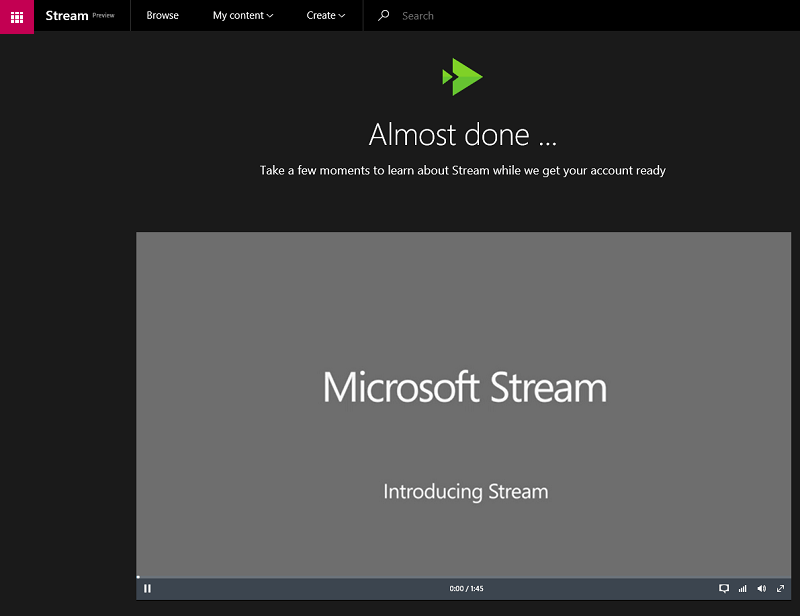
If the account is provided, you will see a continue button which will take you to the organization’s main portal page.
Upload videos
At the top of the homepage there are a few trending videos of your company. These are videos defined by views, likes and comments, a great way to stay in touch with what’s really popular within the company. You can click on one of these videos and watch to know more about the content.

The navigation bar makes it easy to browse videos, channels or groups, create new content, or easily search for content. You can also use it to invite colleagues, access help, or provide your feedback to Microsoft with the small icons on the left.

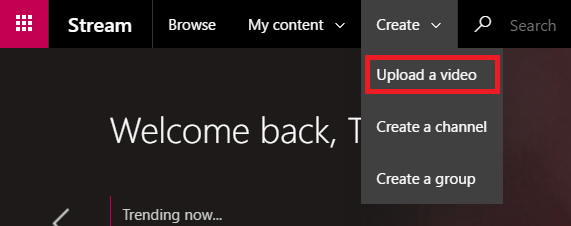
If uploading videos from any page:
- From the Microsoft Stream portal, select Create> Upload a video or the upload icon from the top navigation bar. Next drag and drop or select a file from your computer or device.
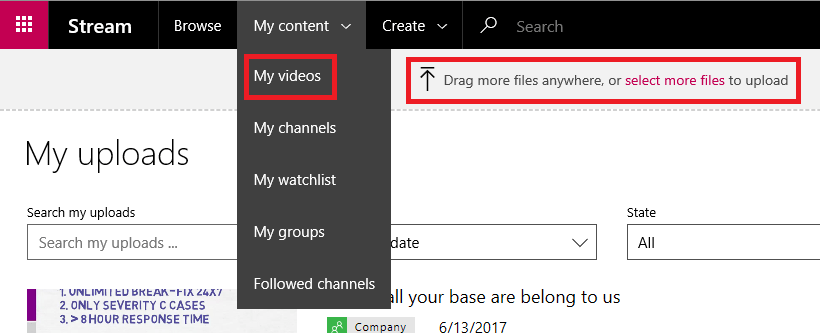
If uploading videos from your Videos page:
- Similarly, select My content > My videos from the top navigation bar. Drag and drop or select files from your computer or device.
If uploading videos directly to a group or channel
- Similar to item 2, navigate to a group that you can contribute. Select the Upload video button in the group navigation bar or drag and drop videos when on the Videos tab or the Featured video of the group.
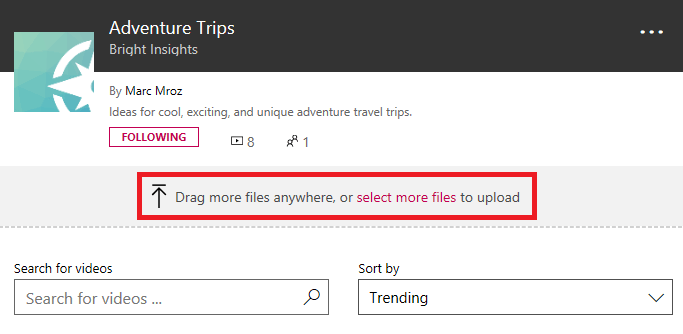
- For channels, click to add files or drag and drop videos directly to the channel page.
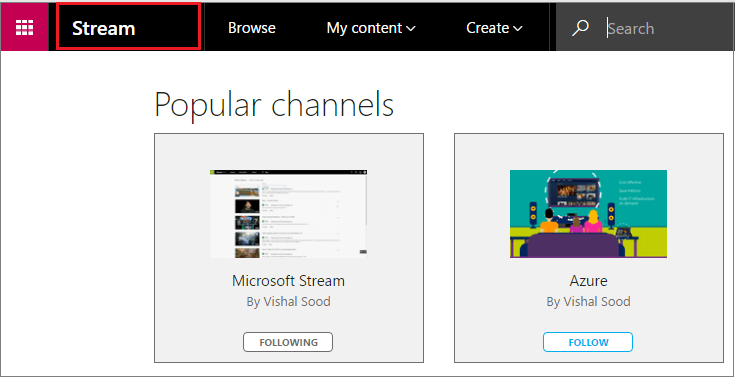
Discover interesting content
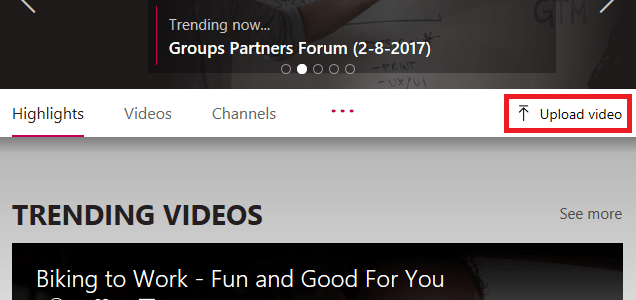
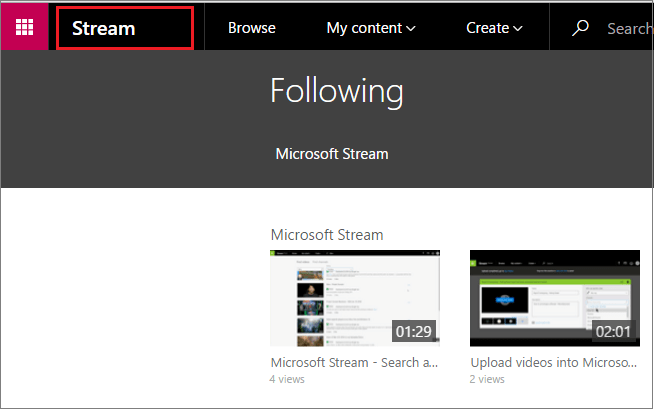
The homepage will display channels popular with your colleagues. To go to the homepage, from any page, select Stream at the top of the screen.
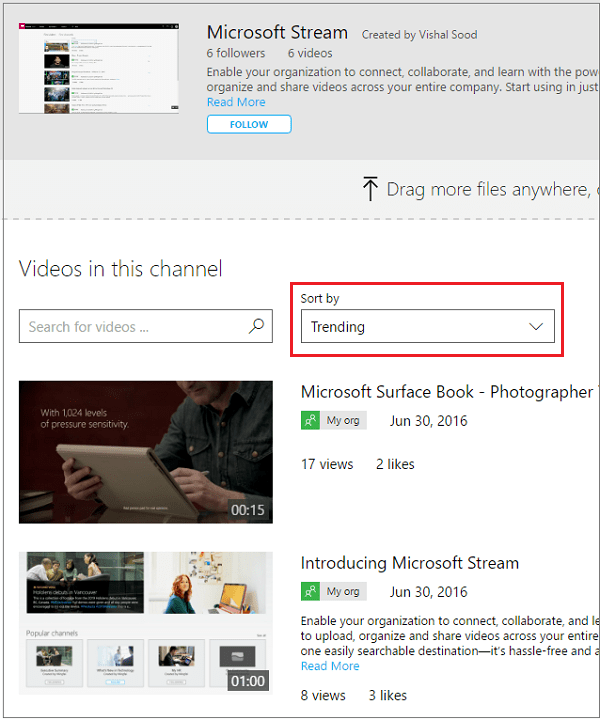
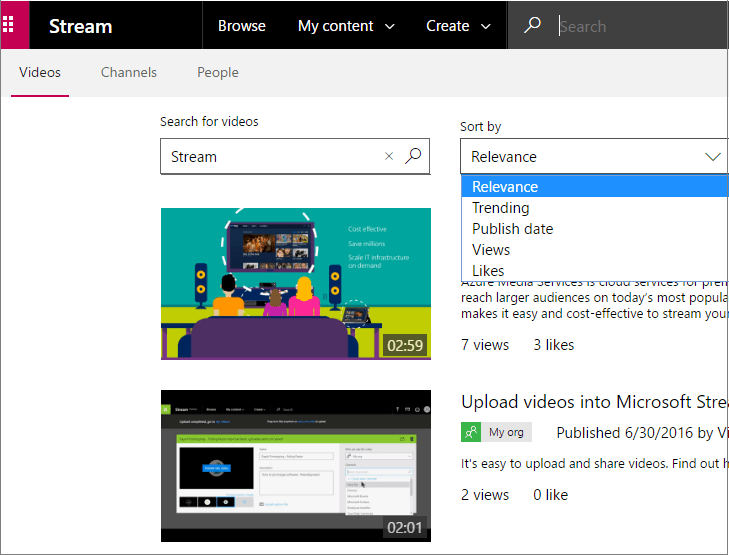
You can select a channel and watch all the videos it contains. You can sort by trending and related videos ..
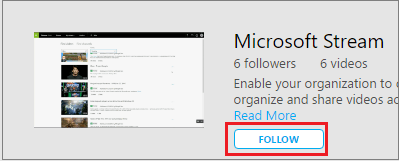
Choose to follow interesting channels and add it to your personal channel list so you don’t miss the content you’re interested in.
When you subscribe to a channel, you’ll see it listed below on your homepage, making it easy to access anytime.
If you want to see what your company is available on a particular topic, use the search box at the top of the page. Your search results are easy to organize, and can view the most relevant or popular videos.
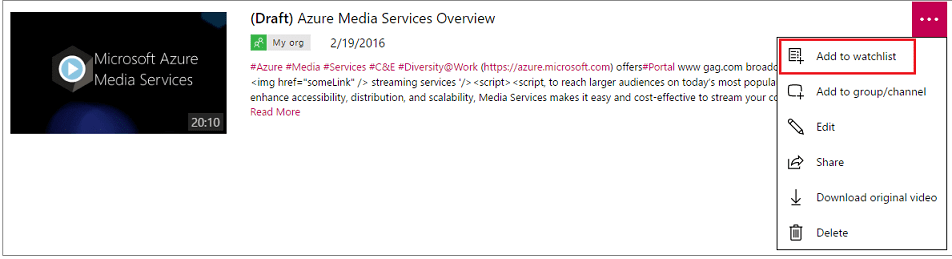
If you don’t have enough time to finish a video, add it to your watchlist.
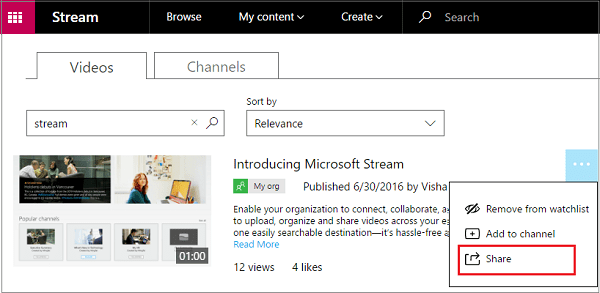
Sharing an interesting video with colleagues is also very easy, select Share from the menu and send them a direct link to the video.
Invite a colleague
When you invite your colleagues to Microsoft Stream, you allow them not only to view uploaded videos, but also to view their shared videos. Inviting your colleagues will help grow your video library and can increase productivity through collaboration between teams and cross organizations.
- Select the “Invite” button in the upper right corner of the Microsoft Stream navigation bar.

- Search for people or groups you want to invite to Microsoft Stream.
- If your organization uses the Azure Active directory, you should be able to search for colleagues by their names. If not, you can directly add an email address that belongs to the same email domain as yourself.
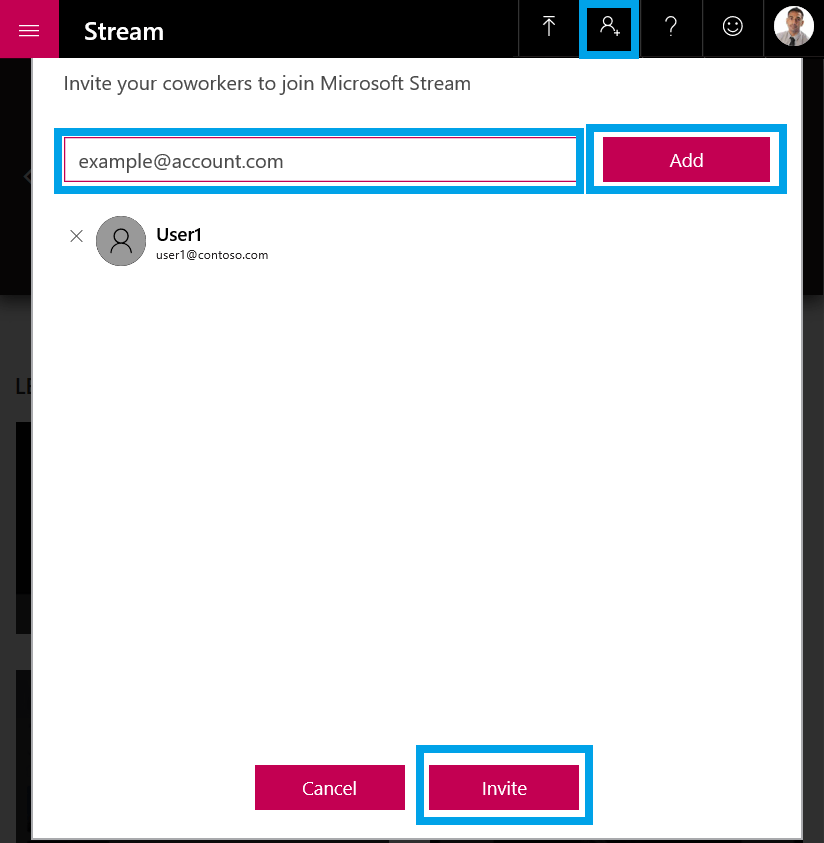
- Choose an invitation and Microsoft Stream will send email invitations to people who are listed but not signed up for Microsoft Stream. Once they register and participate, they can start watching and uploading their own videos.
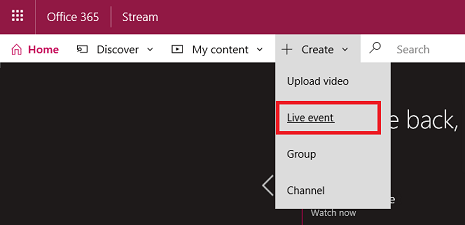
Create an event directly in Microsoft Stream
Schedule a live event
- In the Microsoft Stream portal, select Create > Live event
- Fill in the details box with event name, description and time. You can also upload thumbnails as poster images for users to see.
- Note: When you enter information, an automated table will be created to give your users information about the event before it starts.
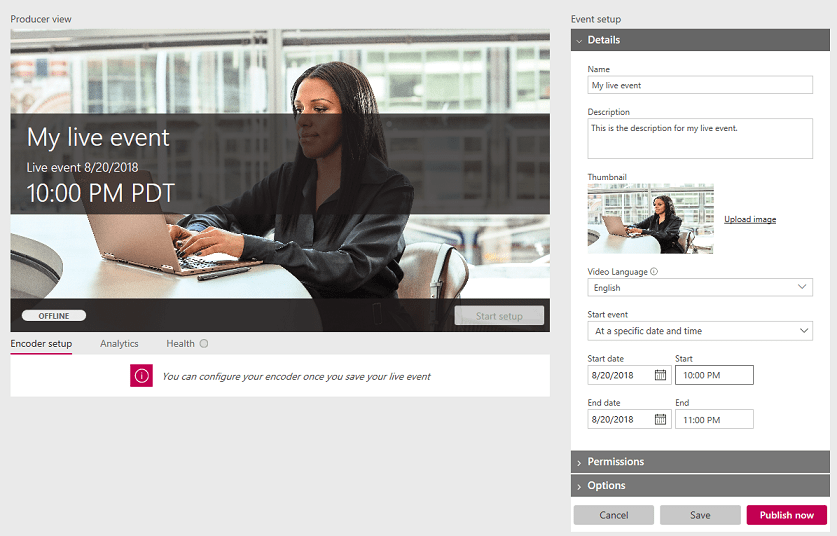
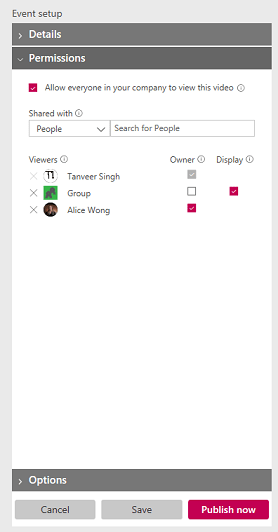
- Select the permission pane and set the person you want to access the video and which group will be shown to increase discoverability
- Optionally you can put additional options in the Options pane. Most options will take effect when the event completes after switching from live to on-demand.
- Select the save button to save your live event. By selecting the publish button now, those you have granted access will be able to see the event page in attendee’s view, but will be displayed automatically generated chart before you broadcast. direct.
Note: You must publish to share the URL. If you do not publish, the system will automatically publish your event when you are ready to live stream and start your own event. Once published, users can find events across the entire Stream portal in the browser, search and group pages.
Broadcast your live event
- When you save your live event, you will receive the URL entered into the RTMP server located in the encoder setup tab. Select an encoder from the drop-down list or choose a manual configuration. Check the list of encoders for easy setup instructions.
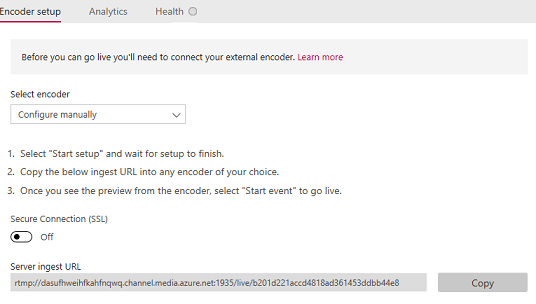
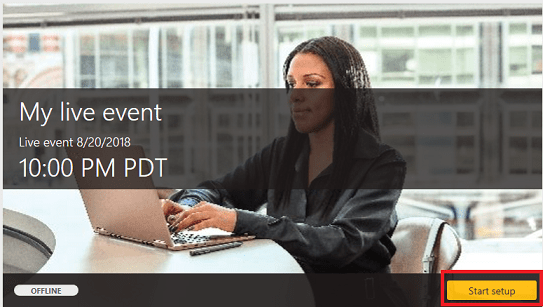
- (2) To set up your encoder, select Start setup on the manufacturer’s controls. It may take some time to start the setup process.
- When the setup is ready, copy the server URL into your encoder to start sending encrypted feeds directly to Microsoft Stream. Learn more about setting up your encoder Note: It is important to set up the encoder with the correct configuration and requires both audio and video to play back. Check the configuration requirements to make sure you set up the encoder correctly.
- When you start pushing from the encoder to the server’s entry point, you will see the manufacturer update preview.
- Note: Members of the audience will not see this until you start the live event – They will see automatically generated rankings.
- Choose to start the event once you are satisfied with your settings and can view the preview. If you have not previously published your event, Microsoft Stream will automatically do so when you start the event. After the event started, members of the audience can see this event. Note: You can also choose to disconnect at this time, this will bring you back to step # 2 if your intention is to check before the event.

- When you finish with your event, select the end event button on the manufacturer’s control. This will end the event and deliver content immediately to VOD.
- Important: Be sure to end the event in the stream before stopping your encoder. If you do this in reverse order, the audience members will see an error.

Leave a Reply