
Overview
- This article will introduce new features in PowerPoint.
What’s new?
As an Office 365 subscriber, you often get new and improved features of Office 2016. So what’s new in PowerPoint 2016?
Design proposals for the chart:
When you insert a chart on a slide, PowerPoint Designer proposes layout ideas.
PowerPoint Designer improves your slides by automatically creating design ideas that you can choose.
When you plan to put content on a slide, Designer works in the background to match that content with professionally designed layouts.
- The designer integrates images into the slide layout with other content already on the slide.
- The designer will also convert the text into an easy-to-read SmartArt Graphic.
- Design ideas and charts: PowerPoint Designer automatically suggests options for you when you’re online and adds pictures or charts to your PowerPoint 2016 presentation.
- Select the slide to which you want to add a photo or chart.
- Use Insert > Picture or Insert> Chart to add one or more graphics to the slide.
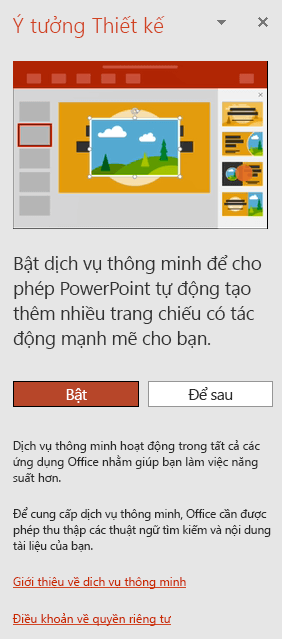
- The first time you use Designer, a message will appear asking for permission to give you the design idea. If you want to use Designer, select Enable.
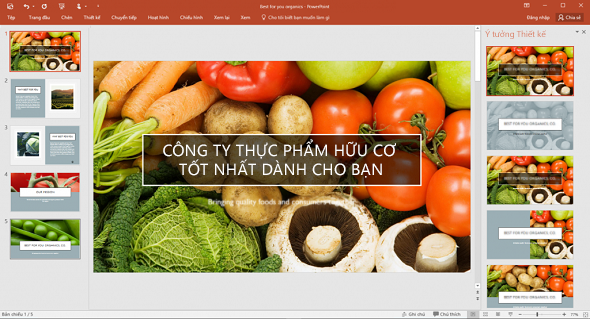
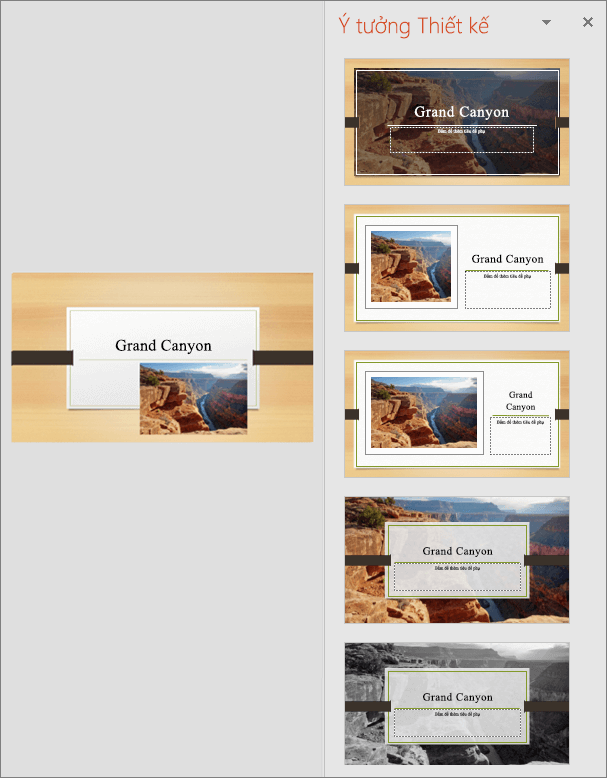
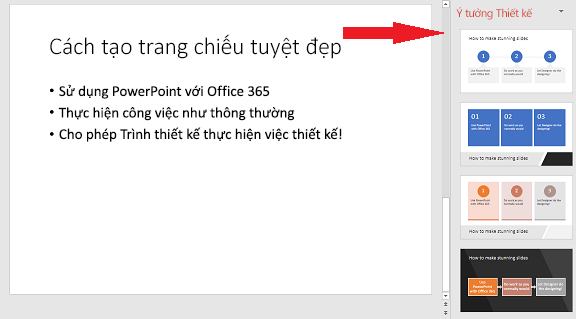
After enabling smart services, PowerPoint 2016 automatically displays design ideas for you when you upload photo content. For example, try adding one of your photos to the title slide. The designer will open up a task pane with a series of suggestions for you. When selecting thumbnails, the design ideas on it will be applied to your slides:
You can open Designer anytime by going to Design> Design Ideas.
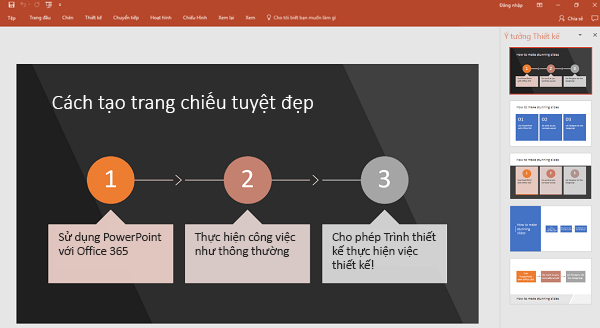
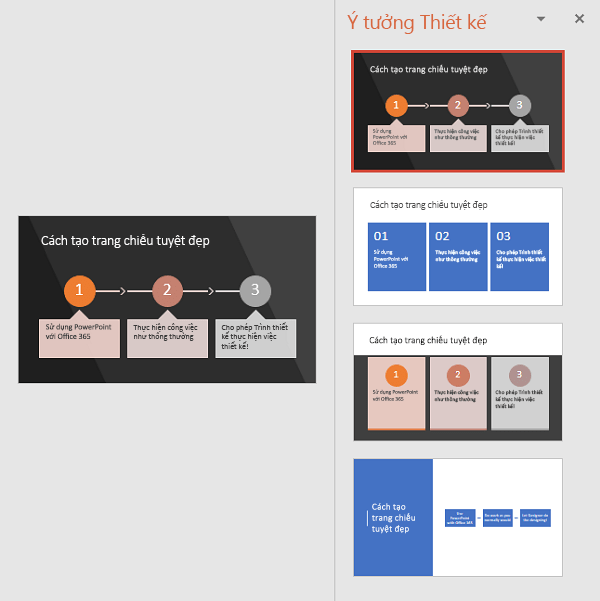
- Design ideas for sequential or action oriented text: PowerPoint Designer notices when you write a bulleted list of “steps” on a slide or list of reports, where each report captures Start with a verb. In either case, Designer will respond by offering to turn your list into SmartArt Graphics. (The video at the beginning of the article presents an example.)
- Enter the list of items in sequential orientation or action.
The Design Ideas pane will open and display some graphic descriptions for you to choose from.
- Click to select the idea you want, and if not, close the window. If you choose one of the ideas, your text will be converted into a SmartArt Graphic that you can continue editing.
If you want to revert to the original text list, select all SmartArt Graphics, right-click and then Convert to Text.
Note: You don’t see any suggestions from PowerPoint Designer?
If no Design Ideas are available to you, there could be a number of reasons. First:
- Please make sure you are connected to the Internet. PowerPoint Designer will be online to download its Design Ideas.
- Use the theme that came with PowerPoint 2016 (not a custom theme or a theme you downloaded elsewhere).
- Note that, to avoid conflicts, PowerPoint Designer will not provide design suggestions when two or more people are actively editing the same slide.
Here are some other things you can do to fix the problem.
No design ideas for slides that contain photos?
- Make sure your slides are applied to the Title or Content + Slide layout.
- Do not use any additional objects or images on the same slide as your photos.
- Use up to four images (.JPG, .PNG, .GIF or .BMP) per slide, and make sure they are larger than 200 x 200 pixels.
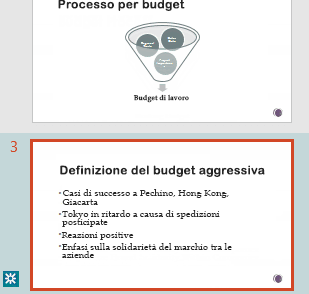
You have no design ideas for process background slides?
- Please ensure that your slide has been applied to the Title + Content slide layout.
- Do not use any additional images, objects, or images on the same slide as your process text.
- Turn off PowerPoint Designer:
- In the File menu, click Options.
- In the PowerPoint Options dialog box, click the General tab on the left and then scroll to the end and clear the Automatically display design ideas checkbox.
- Turn on Office 365 smart services:
To turn on or off smart services, go to File> Options and find Office Smart Services on the General tab.

Highlight edit:
PowerPoint 2016 keeps track of changes made in online documents. Turquoise highlighting helps you notice changes you haven’t seen before.
- Share the presentation with others and collaborate on it at the same time.
- Open your PowerPoint presentation, then select the Share option in the upper right corner of the ribbon when you are ready to collaborate.
- In the Invite people box, enter the email addresses of the people you want to share the presentation with. If you have already stored that person’s contact information, then you can simply enter their name. The drop-down list will help you determine whether your guests can edit the file or only see the file.
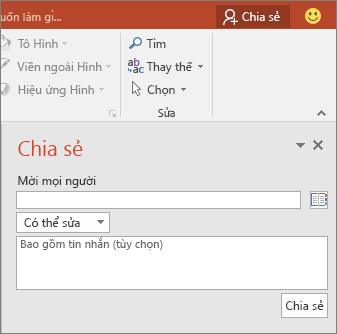
- Click Share. If your file has been saved to the cloud, an email invitation will be sent to the person you invited. If you have not yet saved your presentation to OneDrive or SharePoint Online for Office 365, PowerPoint 2016 will be prompted to do so. After you perform this operation, email invitations will be sent.
See where other people are working in your joint presentation:
- Open the presentation and start working on it.
If someone is viewing or working in the presentation, their thumbnail will appear in the upper right corner of the ribbon. PowerPoint 2016 will notify you when someone opens or exits your presentation.
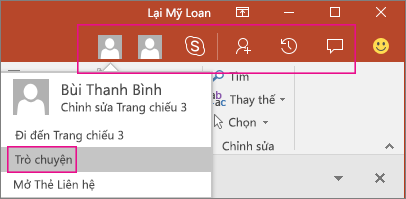
You can chat right now with the people who are working on the presentation using Skype for Business. This application will open a chat window for you to exchange immediately. Select the Chat button to start a group chat with everyone who is working on the document.
Select Comment to write or view the note. In addition, you can reply or resolve comments, then mark as done.
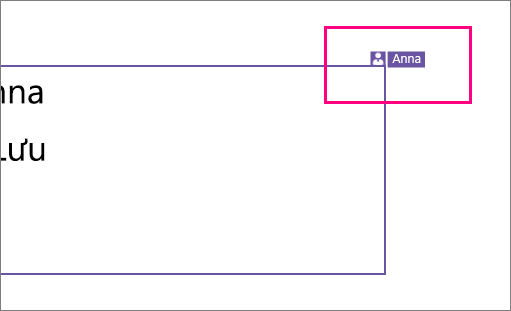
- You can also see the name of anyone who is viewing or editing the presentation in the Share pane. There’s an indicator — on the thumbnail of the slide and in the actual slide — that lets you know where someone is working on the presentation. Hover over or select that indicator to see who is editing.

(For accessibility, PowerPoint 2016 also allows you to turn on the option to automatically display the editor’s name. You can turn this option on by following this procedure: File> Options> Advanced> Display > Display the available flags for the selected items.)
- When you are done, select File> Save.
When other authors make changes, you will see the following when you save.
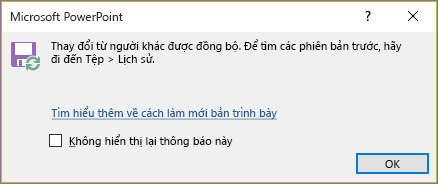
- Changes made by others will be highlighted.
- When you reopen the modified presentation (or are in a file that is being edited directly by someone else), the changed slides will all be highlighted in turquoise in the thumbnail pane.
- Select a thumbnail to view the slide in full size. You should see the changed part of the slide highlighted in turquoise. An accompanying symbol tells you who this change was made and when it was made. (In some cases, the edited slide will be highlighted, but the type of change made will not be highlighted on each page. Examples of these changes include: Changes in the Notes pane, deleting an image, adding captions and changing animations.)
Resolve conflicting changes:
If there are conflicting changes, a visual comparison between your changes and conflicting changes from one of your collaborators will pop up when you select Save. You can choose the changes you want to keep.
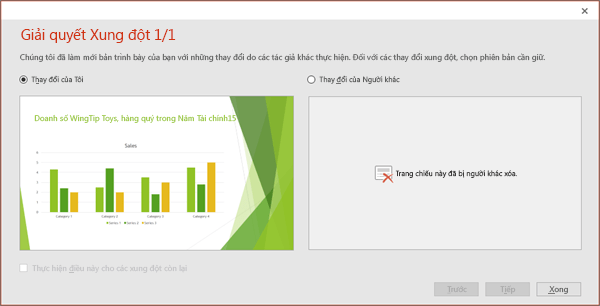
Only changes made by others that directly conflict with the changes you have made are displayed in the comparison. Conflicting changes are automatically merged into your presentation as you save them, and you can view them in the My Changes view.Choose My Changes or Changes from Others.
- Choose My Changes or Changes from Others.
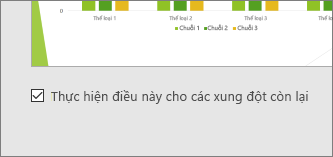
- If more than one change needs to be resolved, do one of the following:
- Select Next to continue resolving conflicts. Select Previous to review a previous conflict.
- If you want to select the same changes for all remaining conflicts, select the Do this for the remaining conflicts check box.
- When you are finished resolving conflicts, select Done.
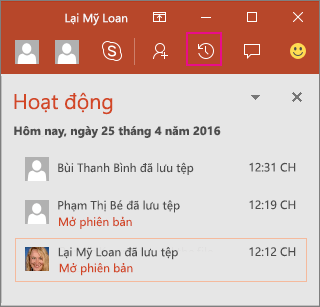
Document activity:
The Activity pane helps you see the complete list of changes that have been made to date. This pane also gives you access to previous versions. Select Activity on the ribbon to see the Activity pane.
Leave a Reply