
Overview
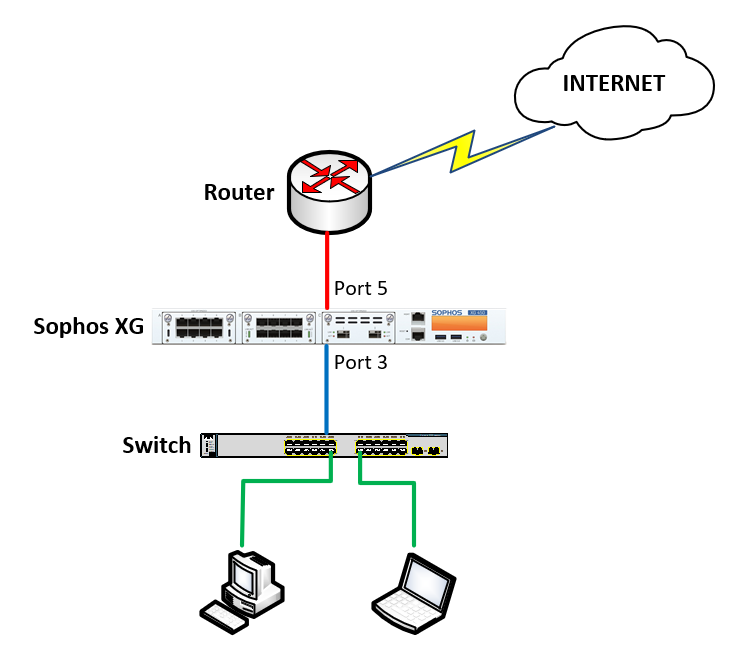
Instructions are configured according to the following diagram:
How to configure
- Login to Sophos XG with Admin account
- CONFIGURE -> Network -> Click Add interface -> Choose Add bridge
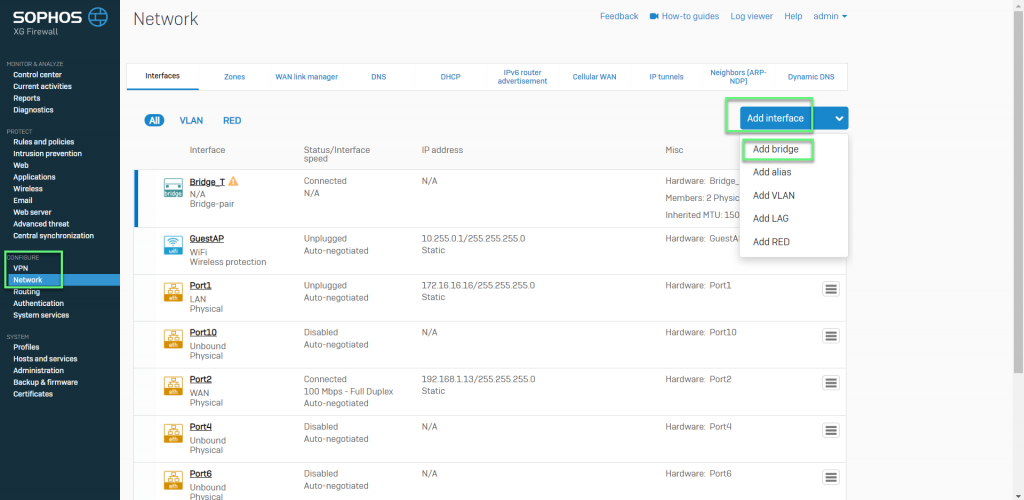
- Enter Name for Bridge interface
- In Member interfaces: Choose interfaces which you want to bridge transparent (here i will bridge port 3 and port 5 on Sophos XG)
- Get 2 port in 1 zone (LAN or WAN)
-> Click Save

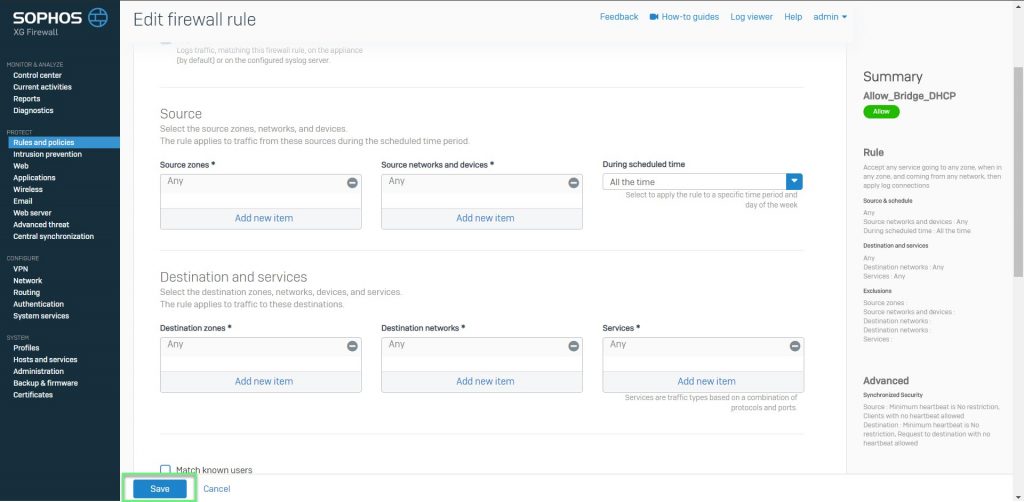
- PROTECT -> Rules and policies -> Click Add firewall rule
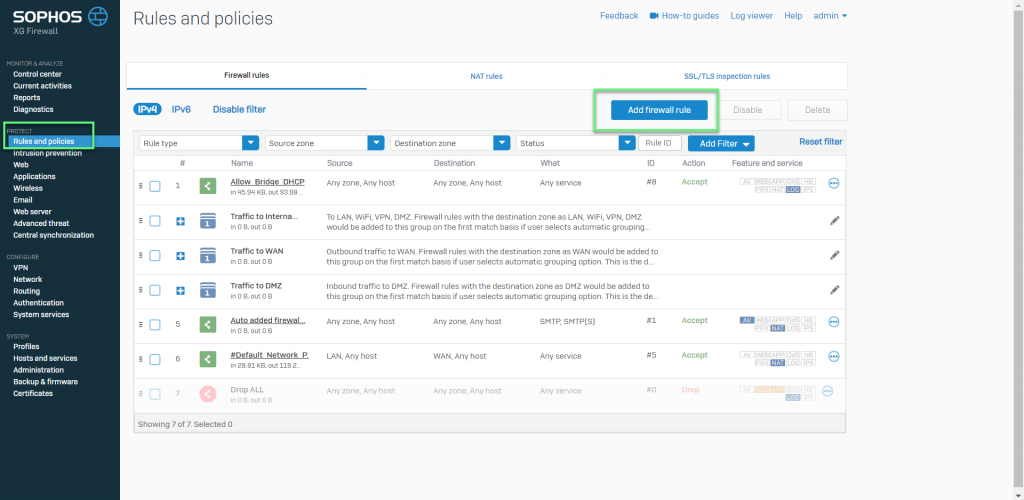
- In Source zones: Choose Any
- In Source networks and devices: Choose Any
- In Destination zones: Choose Any
- In Destination networks: Choose Any
- In Services: Choose Any
-> Click Save
Leave a Reply