
Overview
Minimum 2 nodes required to build Virtual Storage
The system will integrate the hard drives of all nodes in the cluster to form Virtual Storage
Distributed File System-based Virtual Storage
Virtual Storage requires aSAN license
Diagram

How to configure
- Log in to HCI system by Admin account
- Go to Storage -> Choose Virtual storage -> Choose Advanced -> Choose Storage Area Network -> Click to Settings to choose Deployment Mode -> After you’re done selecting mode -> Click Next
- Choose Physical Interface
- Enter IP to communicate between nodes (here I leave default)
-> Press OK to continue when you’re done selecting mode
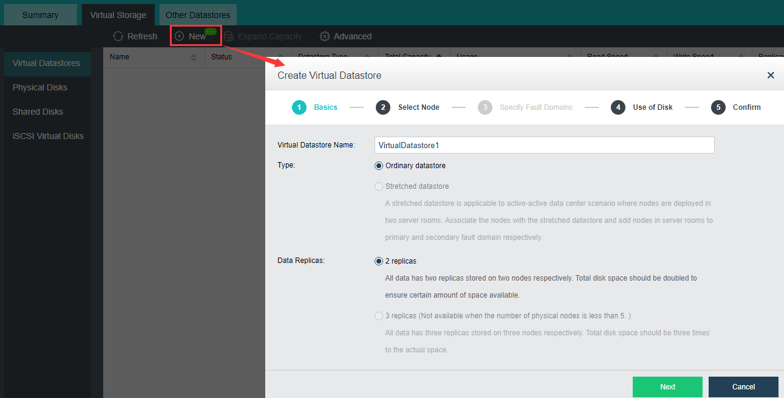
- Click Next -> Choose Create Virtual Datastore
- Choose Ordinary datastore or Stretched datastore (minimum have 4 nodes)
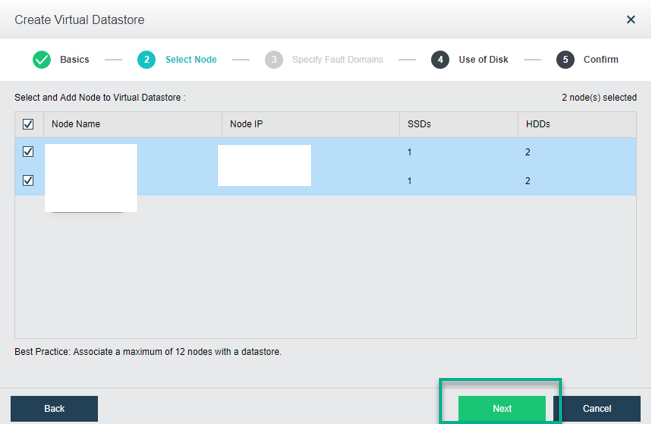
- Select the nodes that you want to add Virtual Datastore -> Click Next to continue
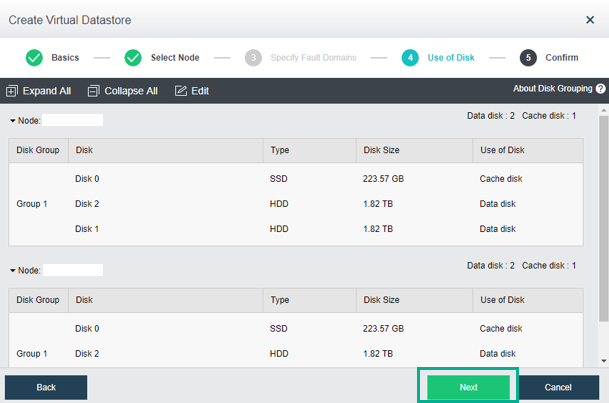
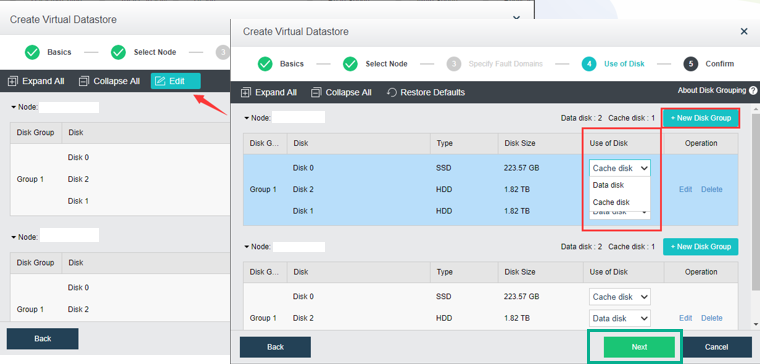
- Configre disk usage
- SSD are often configured as Cache Disks
- HDD are usually configured as Data Disks or Spare Disks
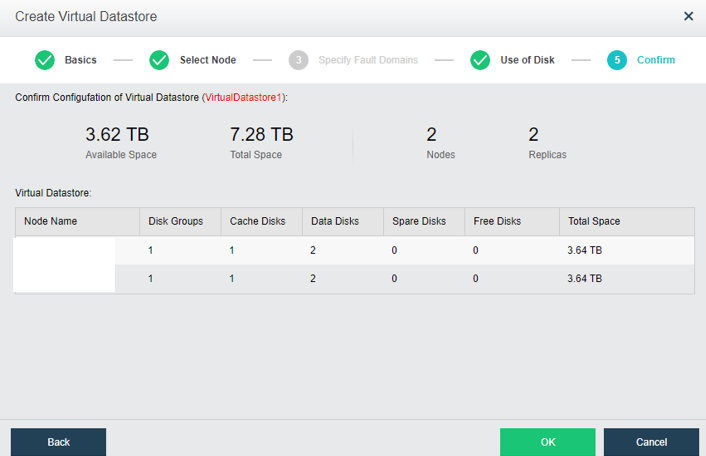
- Review the configuration and click OK
Leave a Reply