
1 Creating a new user
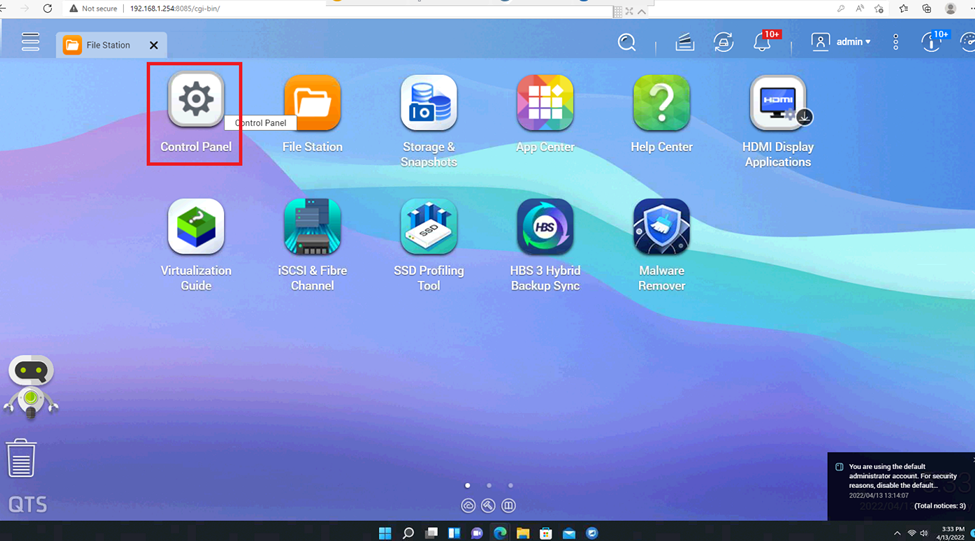
At the main interface, go to Control Panel
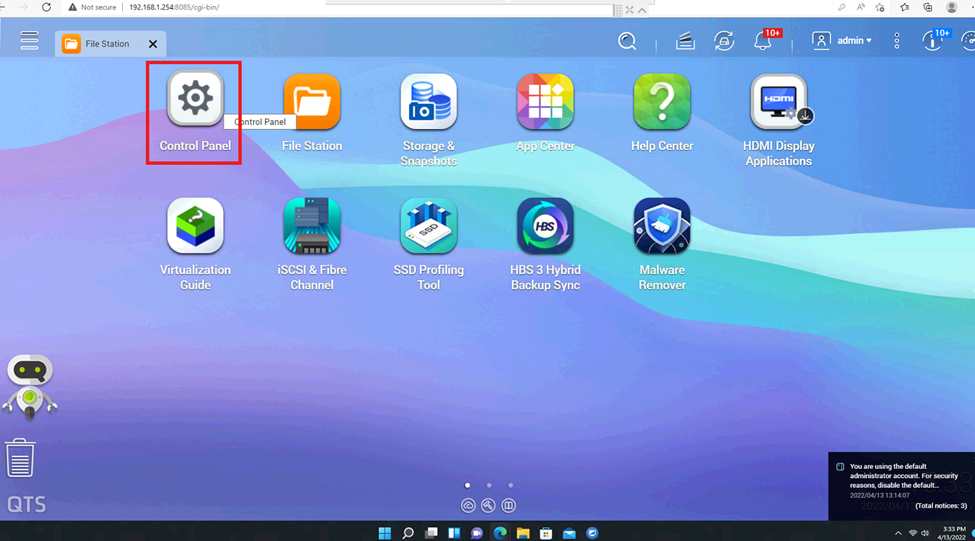
Select Users item.

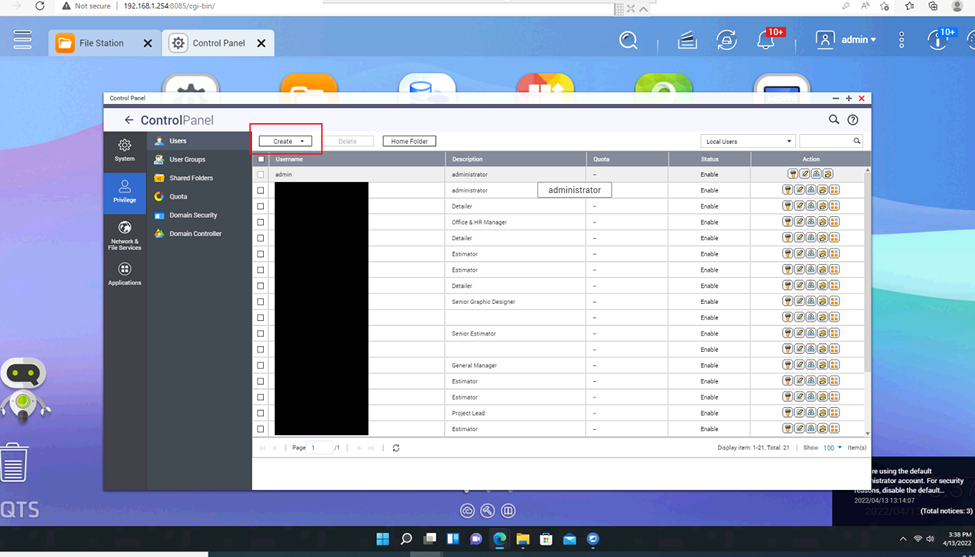
User management interface appears. We press Create
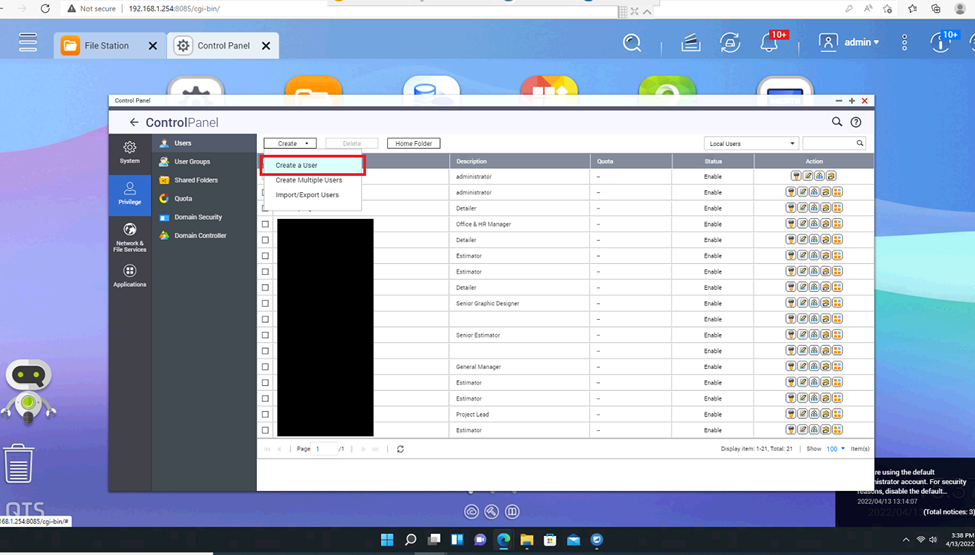
Select Create a user.
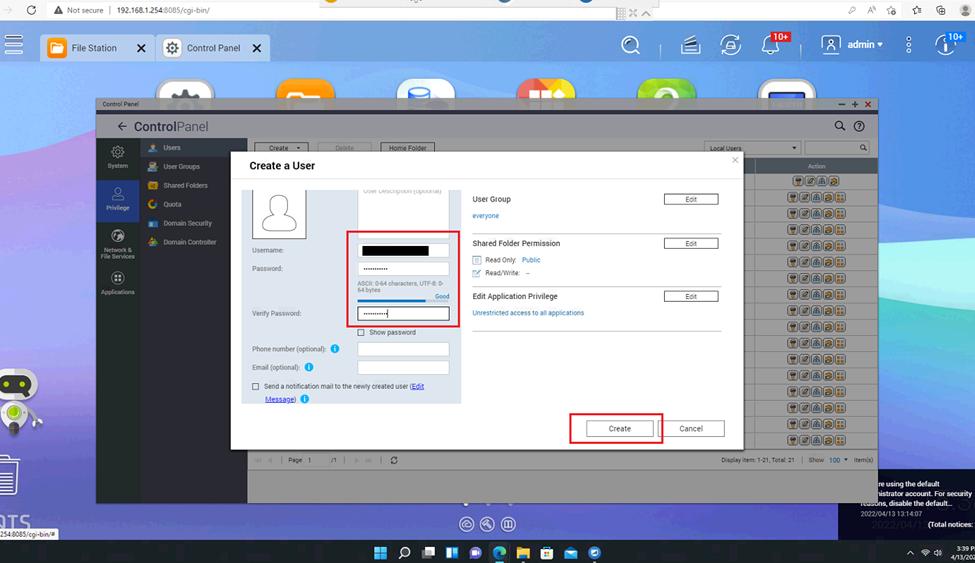
Fill in the username, password, re-enter the password. If the syntax is wrong, red will appear for warning and we have to re-enter it accordingly. After filling in, click Create.

The User list appears and we can see the User we just created. Below are the page numbers and buttons to go back and forth between the list pages.
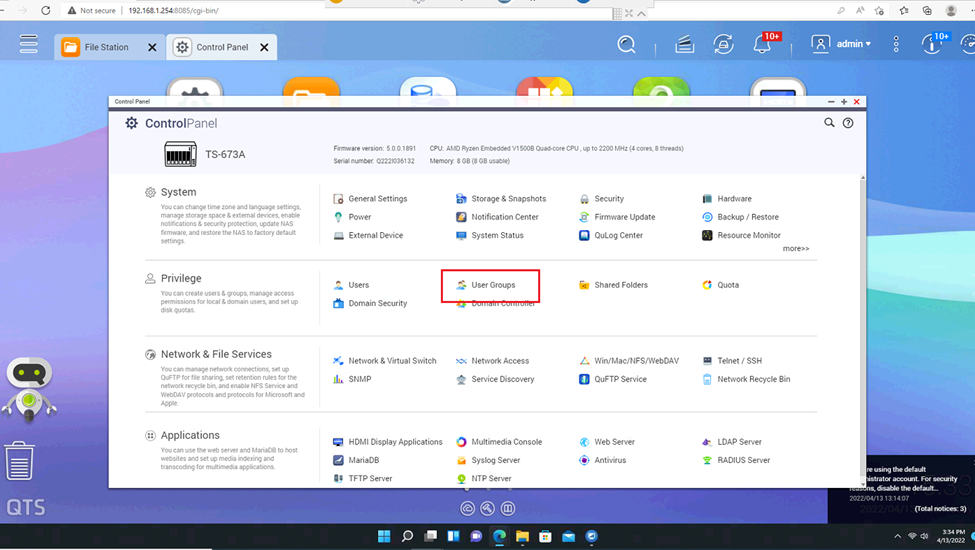
2 Creating a group on QNAP
At the main interface, we open the Control Panel.
Select the User Group item.
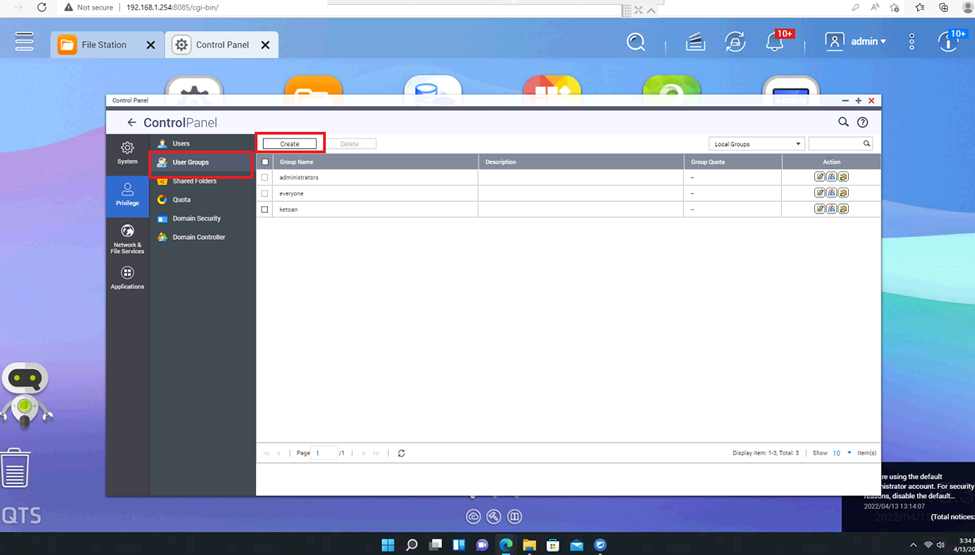
Group management interface appears. We press Create
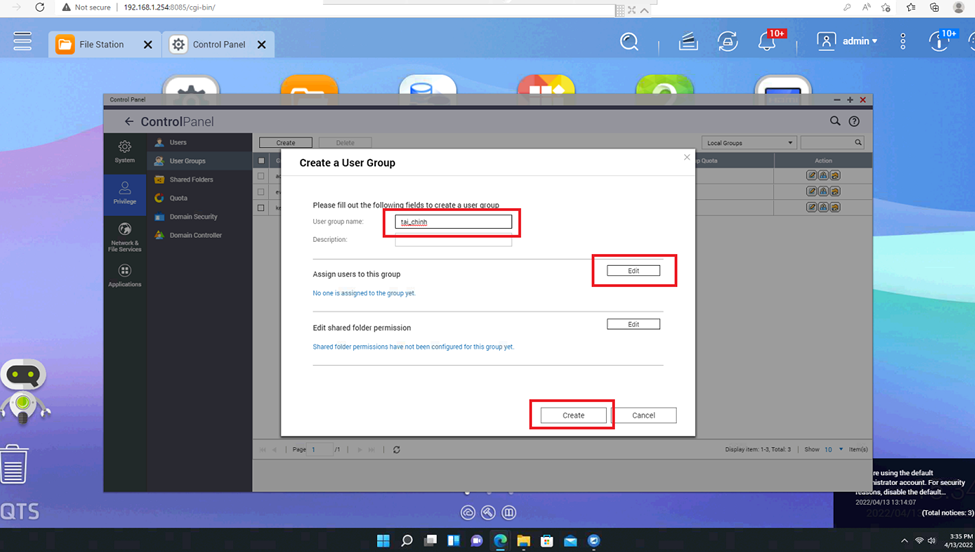
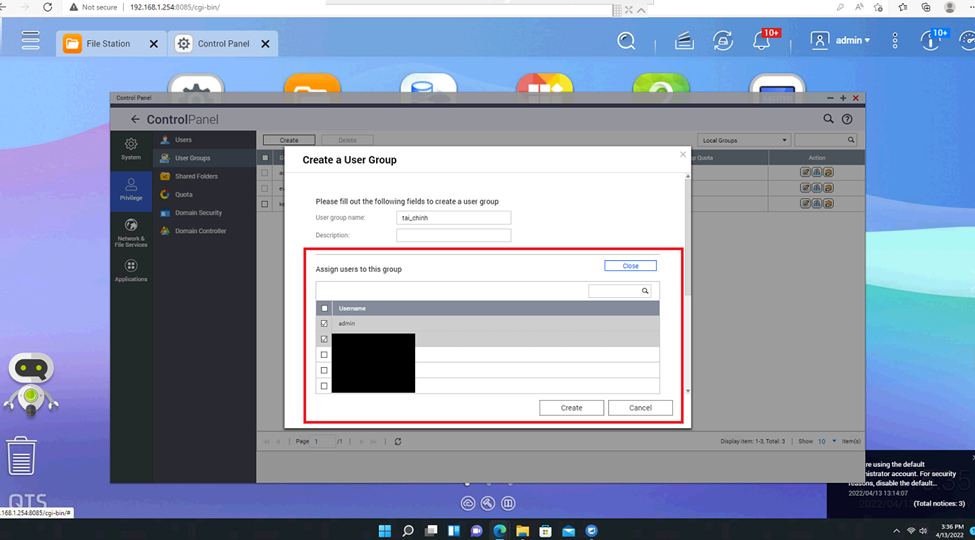
Enter the name of the Group you want to create. If you already have a user before, in the Assign user to this group section, click Edit to add the user to this Group. If you want to add a user later, then skip it and click Create to create a Group.
To add Use, in the Assign user to this group section, when you click Edit, the interface will appear as follows, select the user you want to add to this group, scroll down to see more.
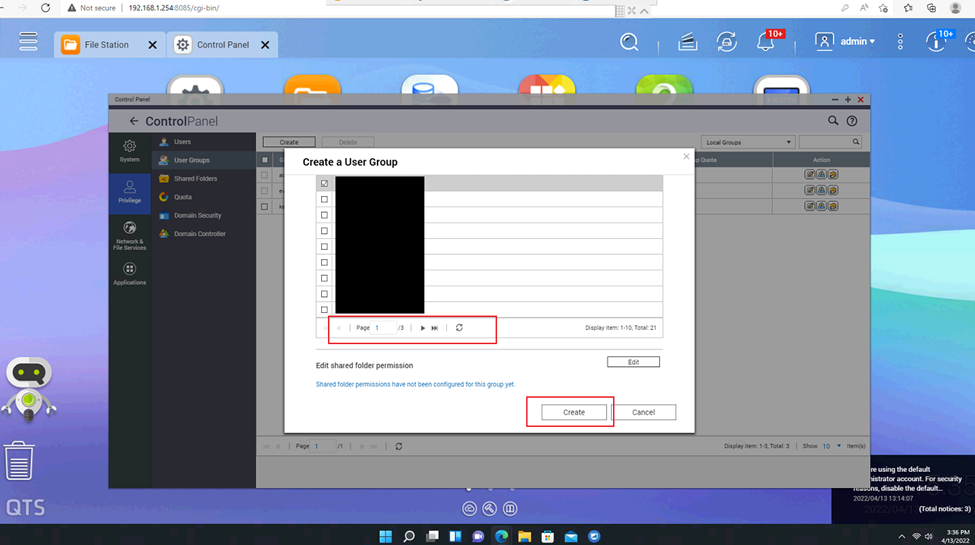
The page number of the list is below, we press the arrow to go to the page. After selecting enough users to add, we click Create.
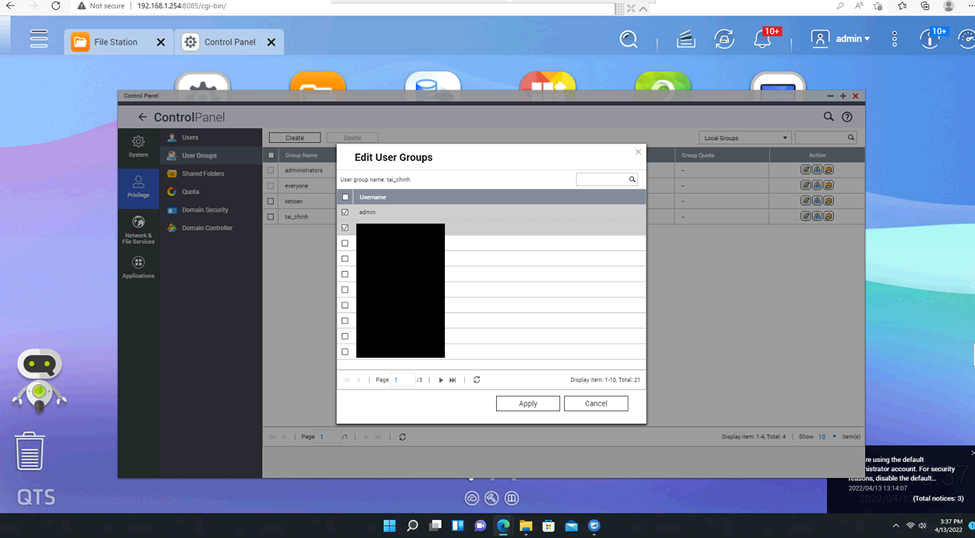
The newly created group will appear as follows. If you want to change or add a user to this group, click the middle icon.

A list of users will appear, edit the list and click Apply to change.
Leave a Reply