
1 Create a shared folder
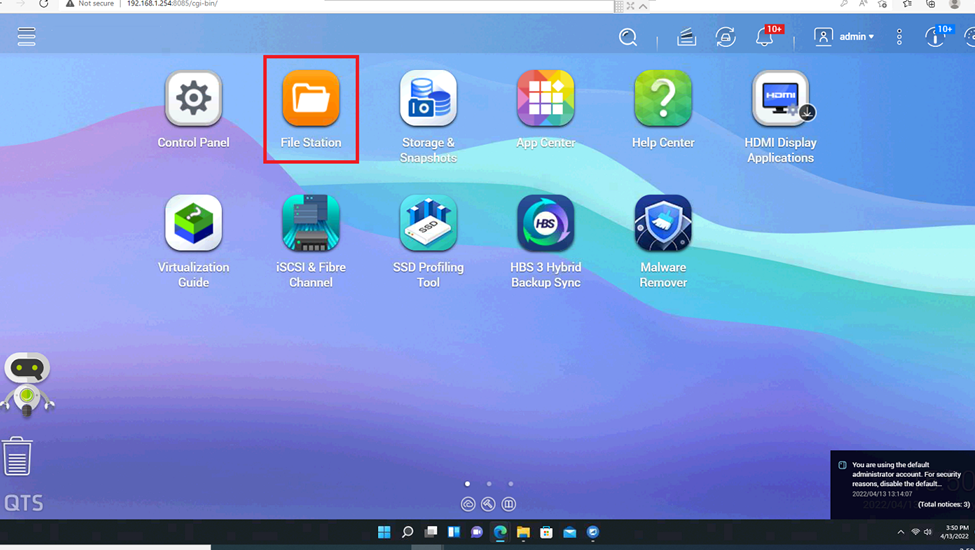
We go to File Station
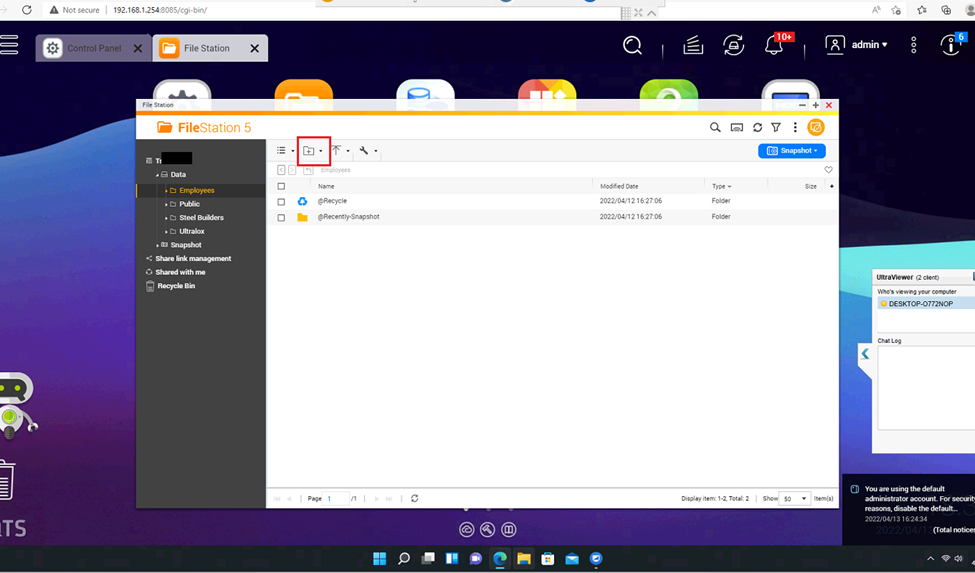
The folder management interface appears. We select the New folder item as follows.
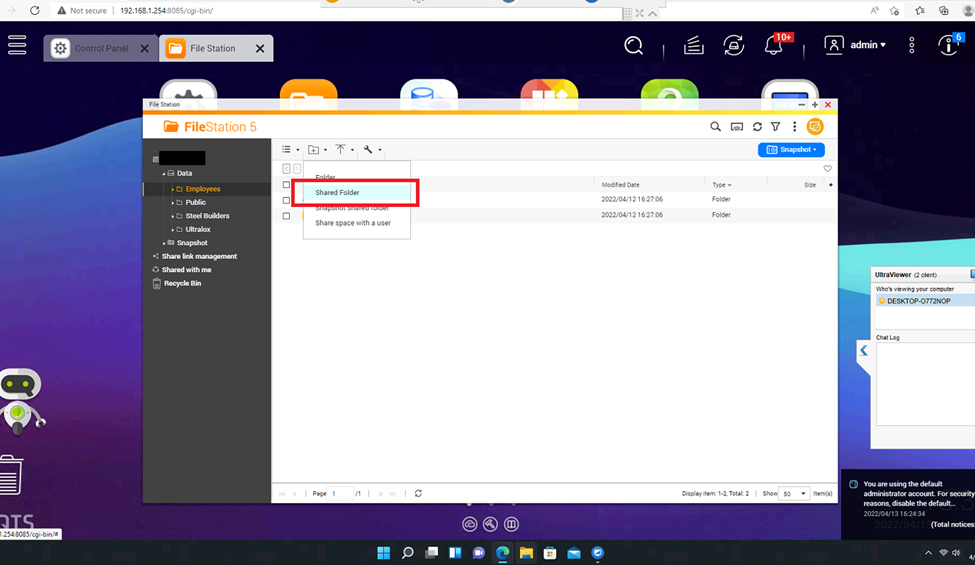
Select Shared folder.
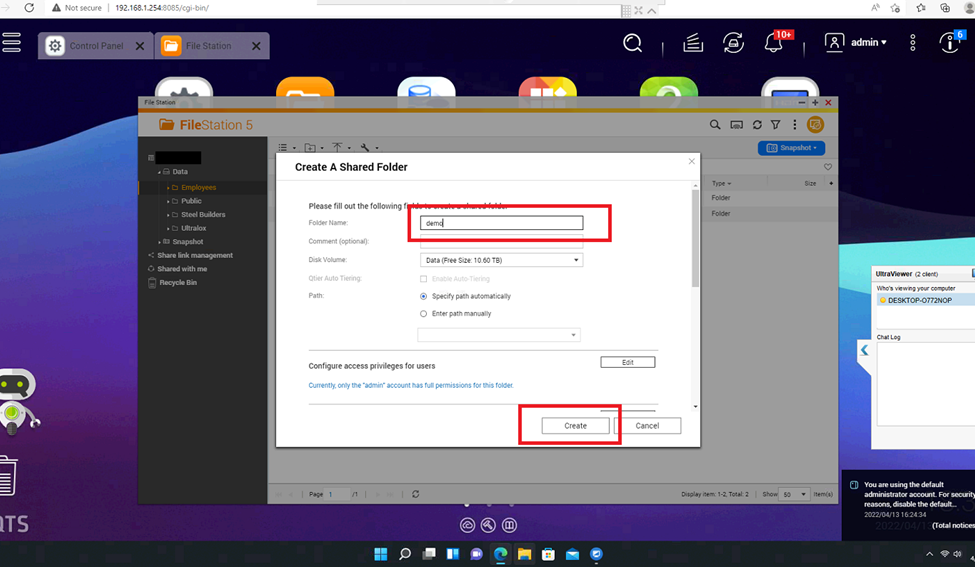
Enter the name of the folder you want to create and click Create.
We see the folder has been created.

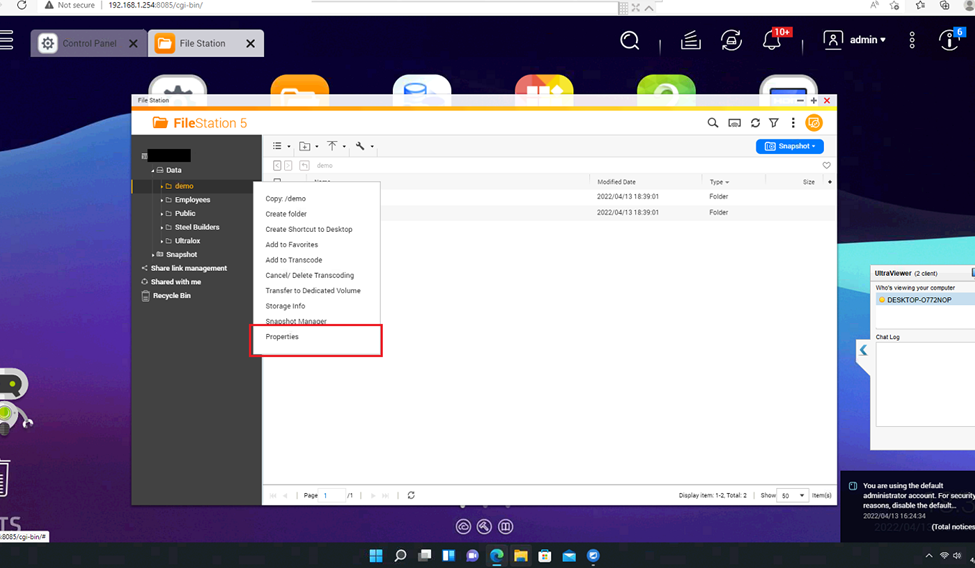
Right-click the folder name and select Properties.
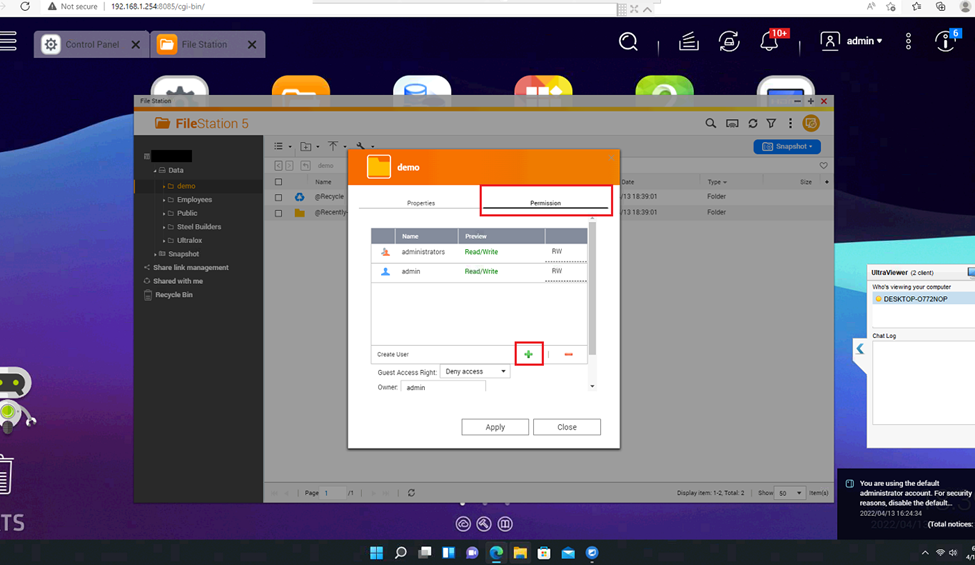
Permissions for the newly created folder will appear. Go to the Permissions tab and click the + sign to add a group.
Select Local Group. A list of groups will appear.

This is a shared group, so all members must be able to see this group. In the Everyone group, we tick the RW box to allow everyone to have full read and write permissions in this folder. Then click Add

We can see that the Everyone group has been added with read and write permissions. We click Apply.

The Finish panel appears, click OK.

2 Create subfolders and assign permissions to this subfolders
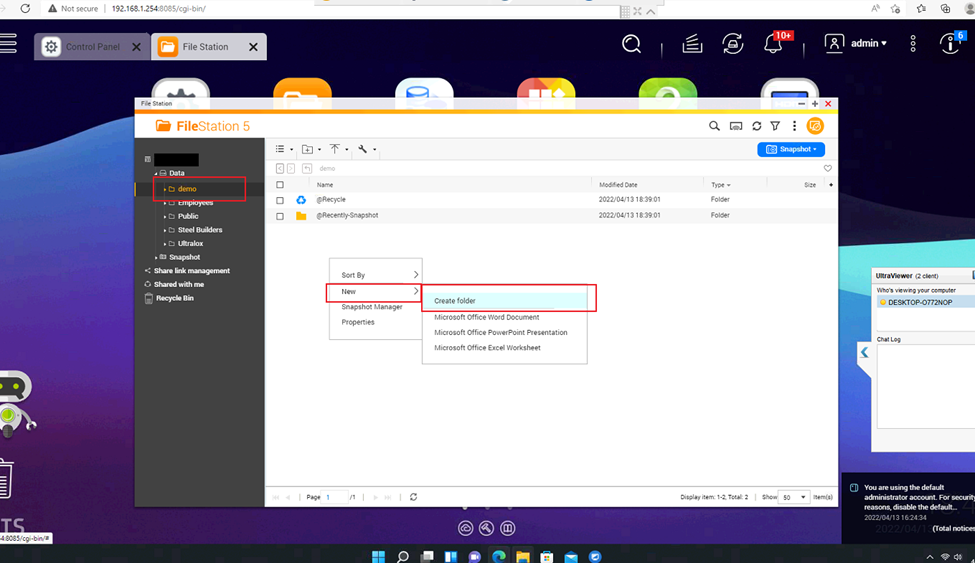
To create a subfolder for the parent folder. Here is the demo folder. Right-click on the parent folder screen. Select New >> Create Folder.
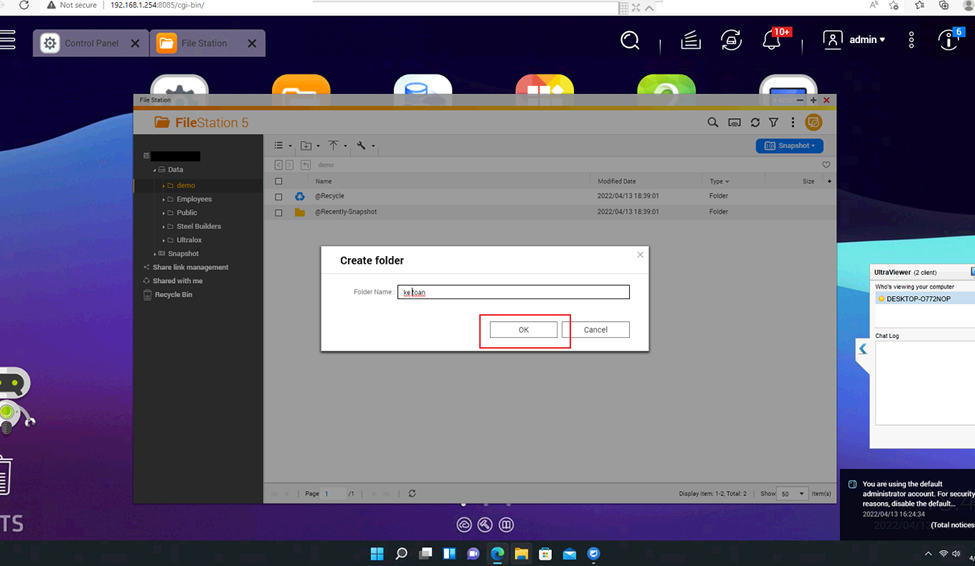
Enter the name of the subfolder you want to create and click Ok.
The subfolder has just been created successfully. We right-click on the folder and select Properties to assign permissions.

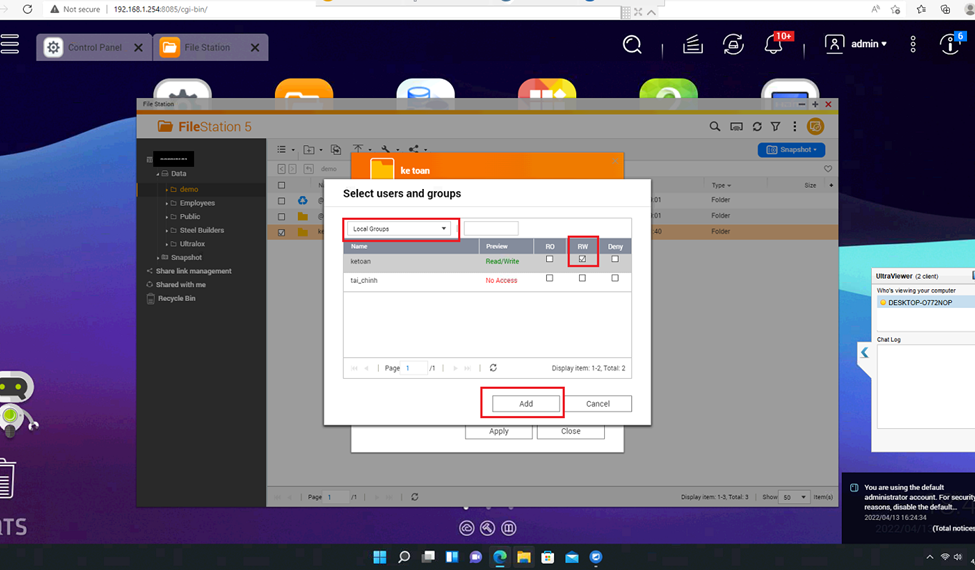
At Tab Permission select the + sign to add a group.

Select local Groups and check the RW item in the group we want to have read and write permissions in this folder. Click Add.
We remove the groups that are not allowed to access. Here group everyone means everyone has read write permission in this directory. We select everyone and check the – sign to remove this group access from the folder. Click Apply.
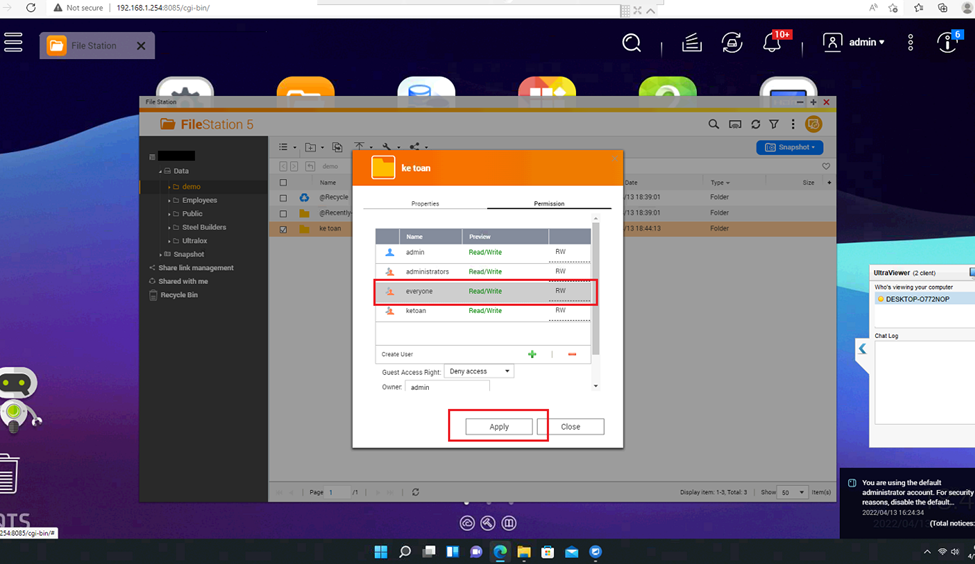
And finally the folder only admin and group ketoan are allowed to access. We click Apply to agree.

3 Advanced policies to protect folders
The following settings help us prevent users from deleting folders we have authorized and prevent users from creating a lot of junk files in the shared folder, keeping our shared folder structure unchanged.
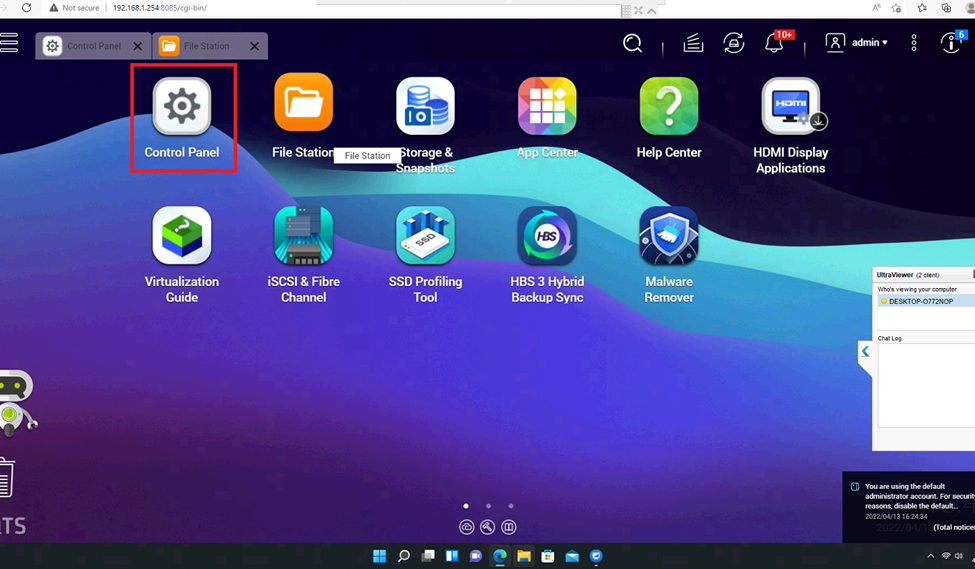
At the main interface. Go to Control panel
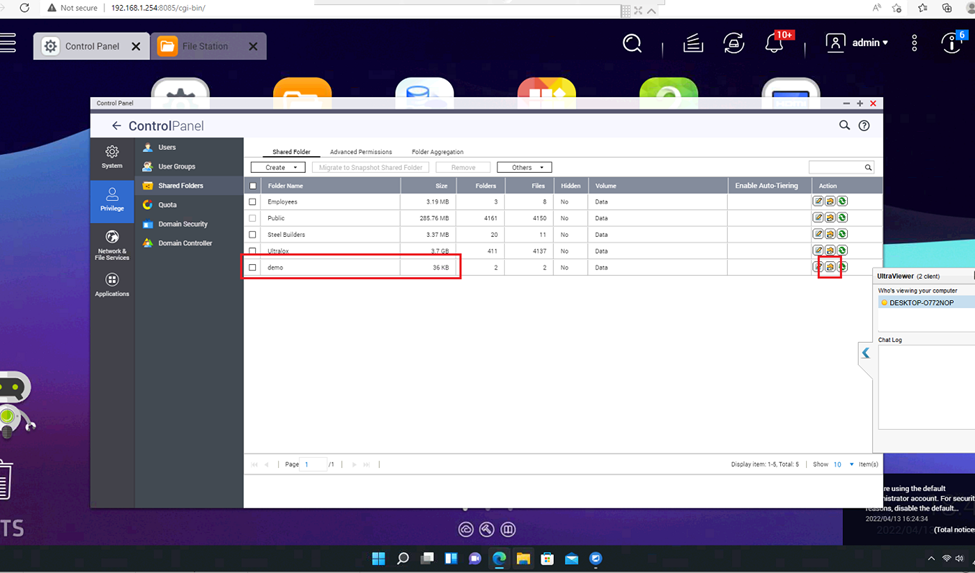
Enter Shared folders.
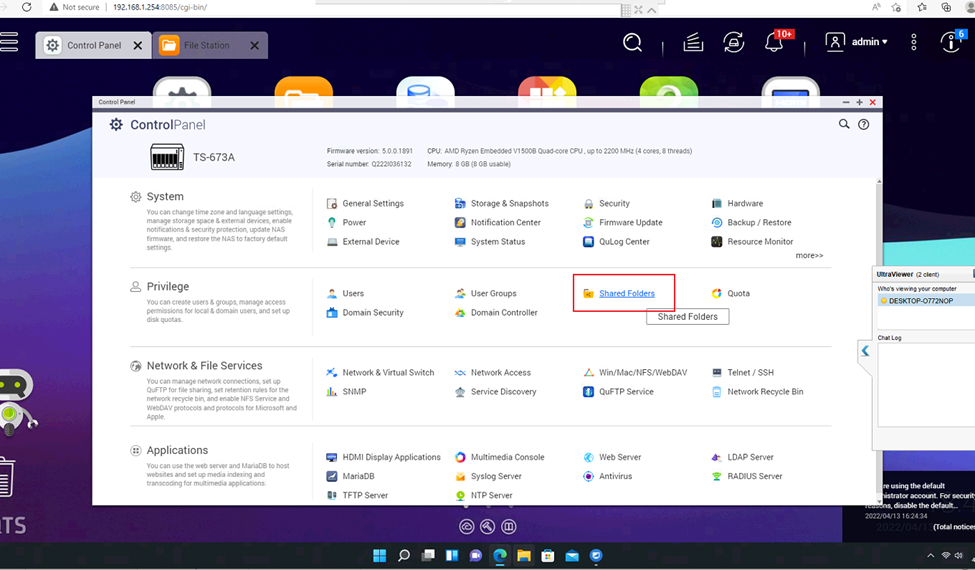
Select the parent folder and click on the middle icon to enter settings.
Check the options as shown. The options are as follows:
- Owner is admin, the person who created this folder
- Only the owner can delete this folder
- Only admin can create files and folders
- Apply to files and subfolders inside
These options ensure that in the parent directory only admin can create files and folders, group members cannot delete files and folders in the parent directory. From there, only the designated members have access to create and delete files in the subdirectory as authorized in the previous section.
Leave a Reply