
1.Overview
Firewall Management allows you to monitor and configure the Sophos firewall devices that you connect to Sophos Central.
This article will show you how to add 1 Sophos firewall device to be able to manage multiple firewalls at the same time on Sophos Central.
2. Instruction
Step 1: Enable Sophos Central Service
Log in to the Sophos firewall you want to register to Sophos Central. Go to Protect > Central synchronization or Sophos Central (new firmware version).
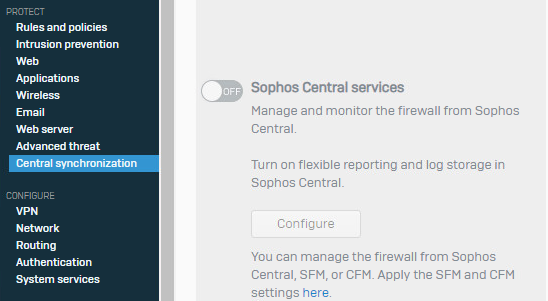
If the message “You are not registered with Sophos Central” appears. Click Register.

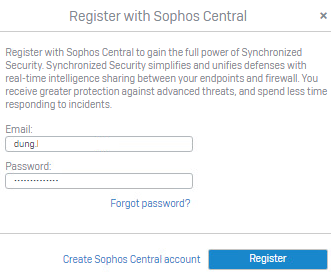
If you have created a Sophos Central Account before, enter your registered email and password, then click Register.
If you haven’t created it, click “Create Sophos Central Account” first and then come back to register later.
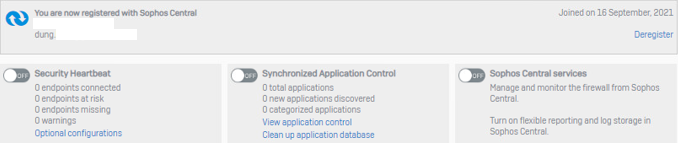
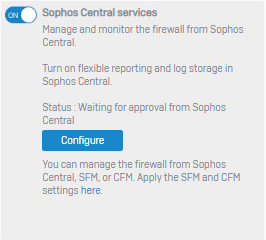
After the registration is complete. Click to enable Sophos Central Services.
Click Use Sophos Central reporting and Use Sophos Central Management and Apply.
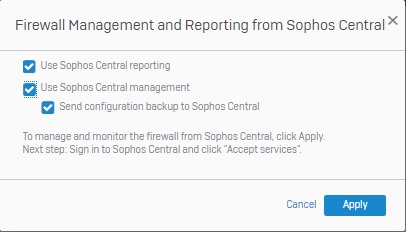
Sophos Central Service is enabled.
Step 2: Accept Sophos Firewall on Sophos Central.
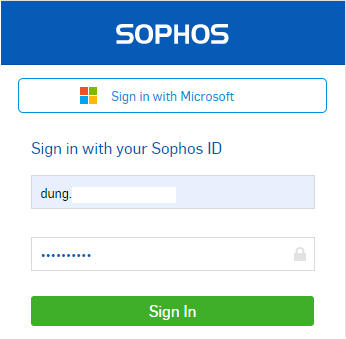
Log in to Sophos Central at the following link: https://central.sophos.com
Use the registered email and password Sophos Central Account.
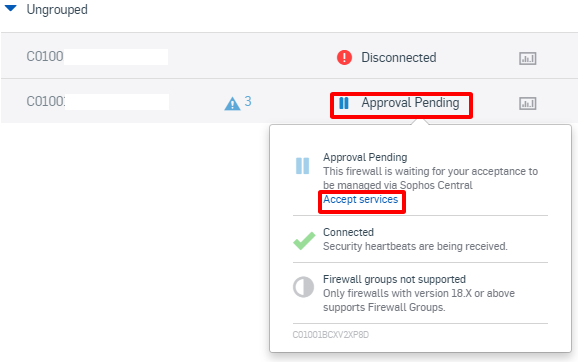
On Sophos Central Admin > Firewall Management > Firewall. You pay attention to the Approval Pending.

Click Approval Pending and select Accept Service to allow the Sophos firewall connection to Sophos Central.
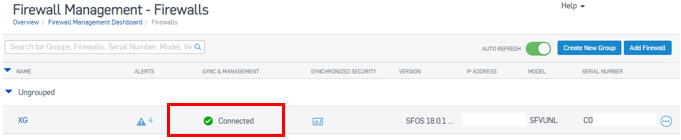
You wait about 1 minute for the Connected item to show green.
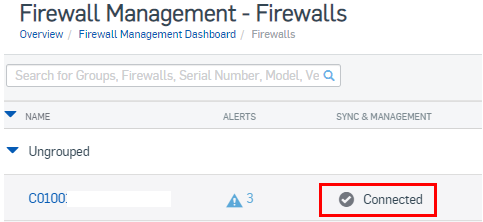
Your Sophos Firewall has been connected to Sophos Central.
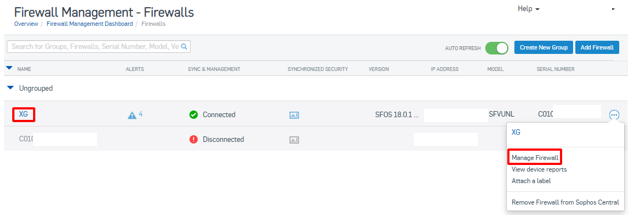
To connect to Sophos Firewall Dashboard, select the firewall name or click the 3 dots icon and select Manage Firewall.
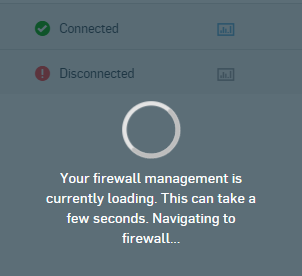
You wait for a while to connect.
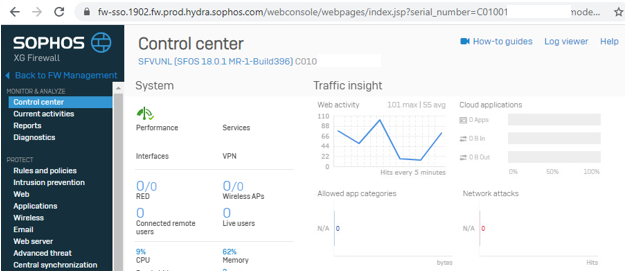
Sophos Firewall Dashboard when connection is successful.
Step 3: Create a group for the firewall.
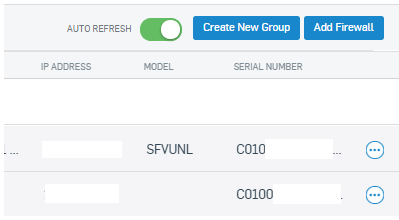
If you have multiple firewalls connected to Sophos Central and want to group them for easy management and differentiation. Click Create New Group.
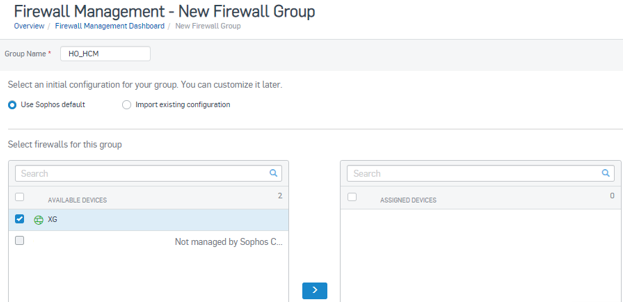
Enter name for Group Name and select the firewall you want to add to the group. Switch to the Assgined Device panel with the arrow “>”. Click Save.
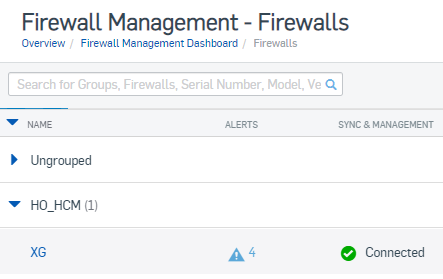
Thus, the firewall named XG has been moved to the HO_HCM group.
Leave a Reply